6 Reasons Every Carpenter Should Own a Block Plane
Finish carpenter Kit Camp describes several pros of having a block plane in your tool belt, plus offers tips on choosing and maintaining one.
Synopsis: Finish carpenter Kit Camp describes the many pros of having a block plane in your tool belt. He details six different uses for block planes, including closing gaps, backing out (removing material from the back of a piece), easing edges (including creating chamfers and roundovers), removing saw marks, making scribes, and flushing up two pieces. He then explains how to tune up a block plane by flattening, sanding, filing, and sharpening the plane. The article includes a detailed illustration of a block plane and recommendations for three types of block planes currently on the market.
After many years working as a finish carpenter, I can tell a lot about someone by the tools in their tool belt. If I see them using a sharp chisel or block plane, I know we’re probably going to get along fine, because it shows me that me that they’re interested in producing the best work they can.
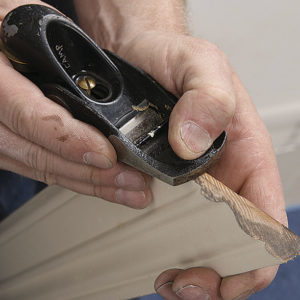
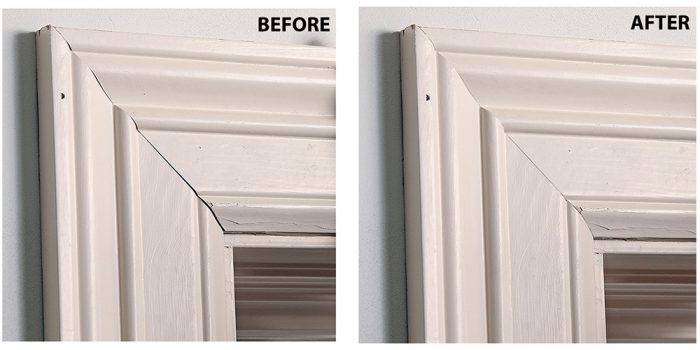
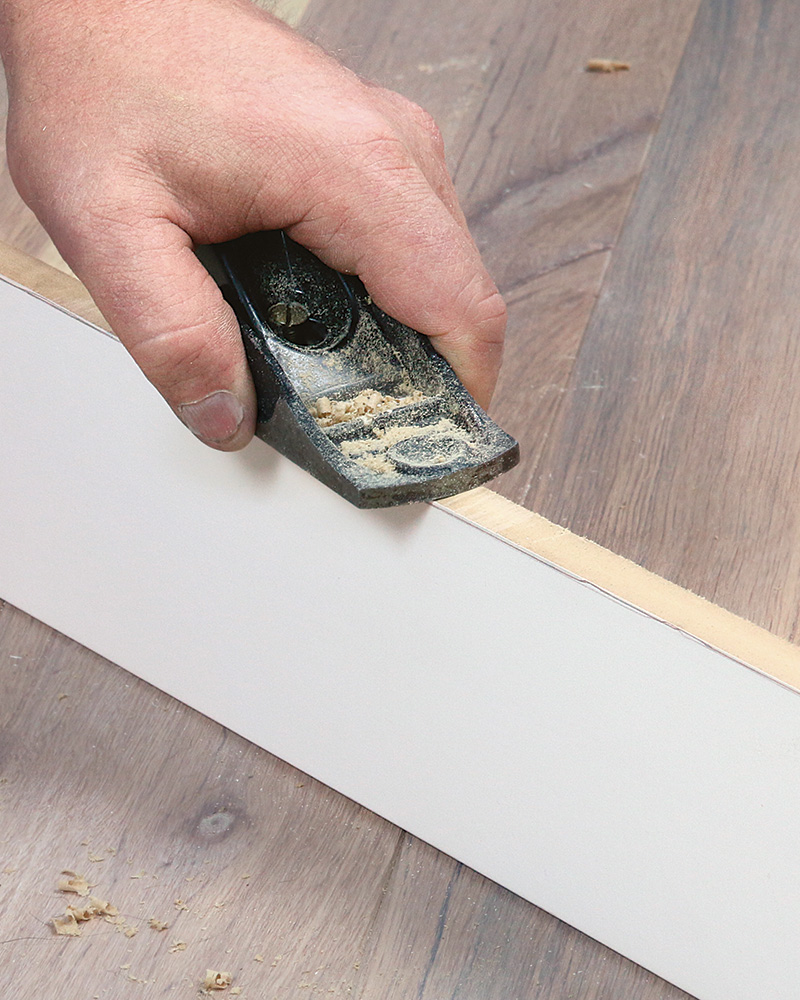
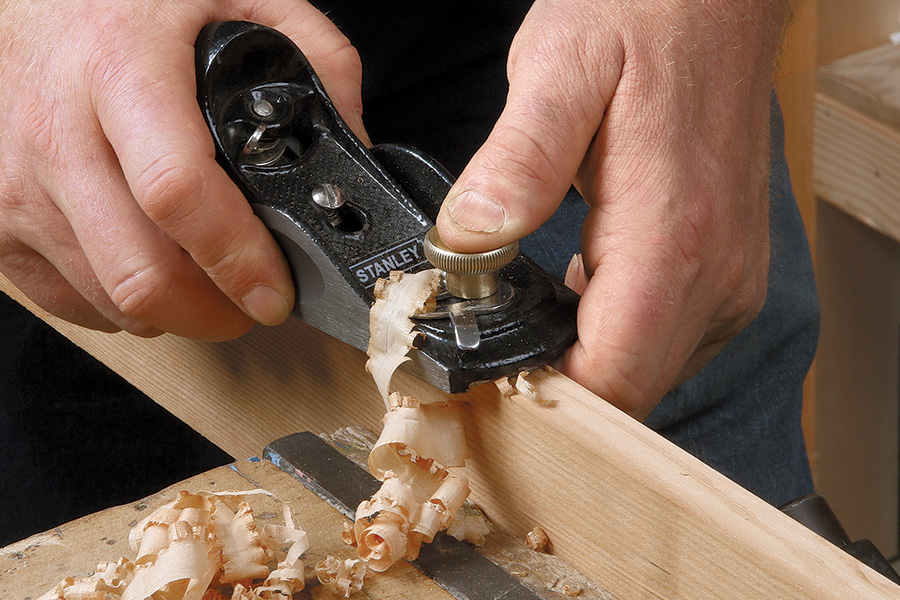
No other tools I own have attracted as much attention over the years as my block planes. I prefer the low-angle variation, which I keep in the front hammer loop of my tool belt. I use it for fitting casing, crown, and baseboard, and it’s an ideal tool for making tapered extension jambs. It’s also great for scribing stock to old plaster walls and it gives me great control when I’m flushing one surface to another (think edge banding, wood plugs, etc.). Keep in mind that planing is like petting a cat—planing in one direction generally produces a smooth surface, cutting and pushing the wood fibers down, while planing in the other direction (against the grain) does not. If your blade is sharp and you’re taking a light cut and getting tearout, try reversing the planing direction.
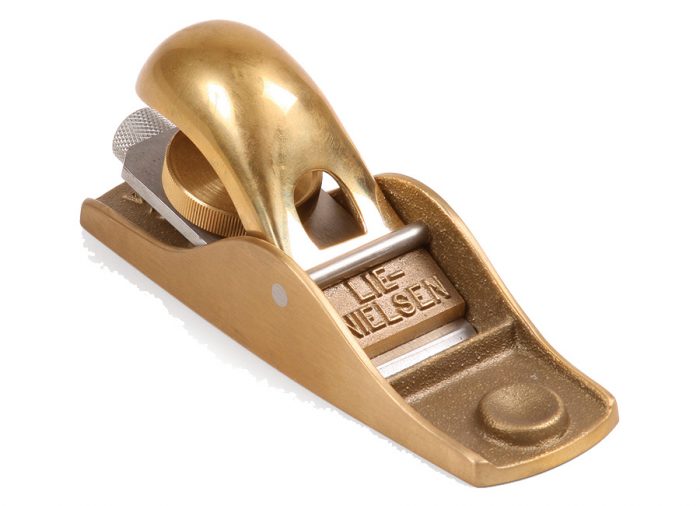
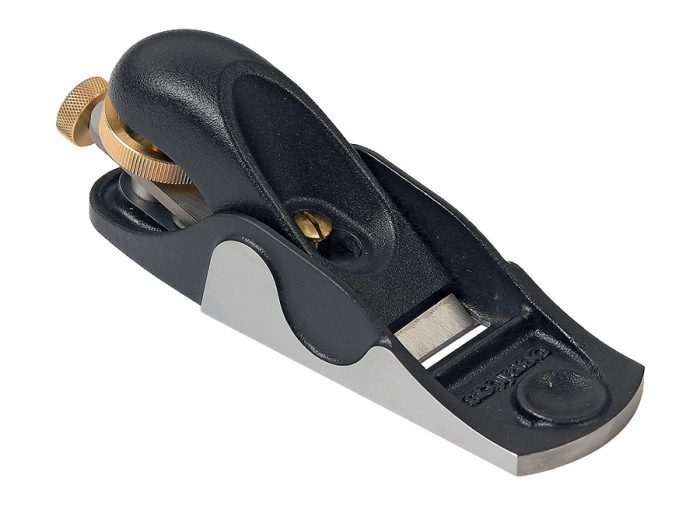
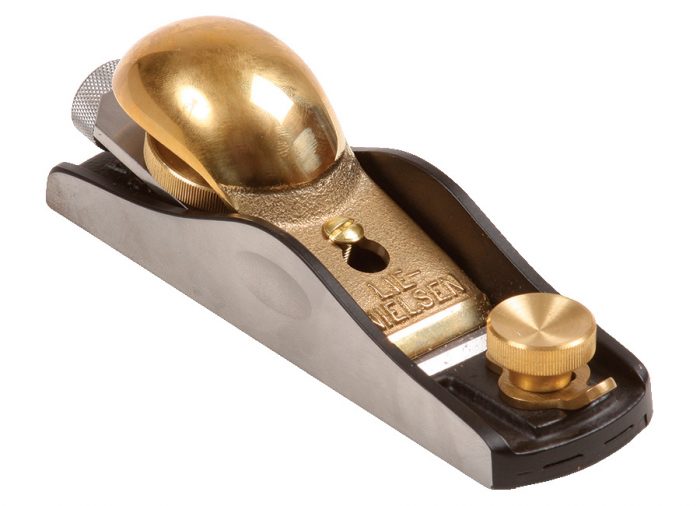
My recommendations for block planes come from my experience using these tools for many years. My favorites for job-site work are the Lie-Nielsen No. 102 and the Veritas Apron Plane from Lee Valley. Both are durable and have high-quality blades that are impeccably machined for easy honing, and their bodies are compact enough to carry easily. If I want a wider blade and an adjustable mouth—nice if you often work with figured or difficult woods, or if you are taking heavy cuts in softwood like cedar—my top choice is Lie-Nielsen’s No. 60-1 ⁄ 2. Should a block plane be one of the first tools you buy when starting out as a carpenter? Maybe not. But if you’re interested in working more precisely, breathing less dust, and getting out fewer tools at the beginning of the day, a block plane should be in your tool belt.
Five more tasks where a sharp plane shines
1. Backing out
Remove material strategically from the back of a piece to get it to lie flat—this is called “backing out.” Push the blade out far and take
a heavy cut (it’s OK, the planed surface won’t show). If your plane has an adjustable mouth, open it wide to let the big shavings escape.
2. Easing edges— a little or a lot
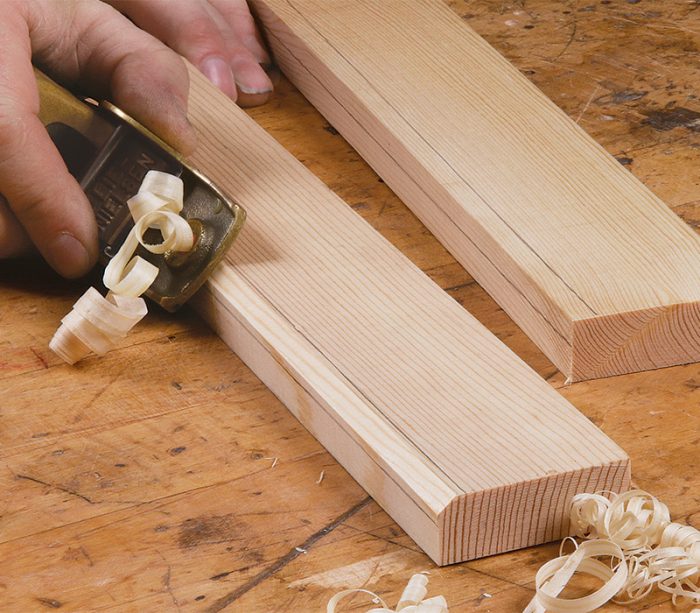
Even simple flat-stock trim looks and feels better with its sharp edge broken slightly. One light pass will do, and should produce a tiny spiral shaving. Chamfers take a few more passes; for cutting big ones, draw layout lines to help guide your cuts. These lines are especially important if the angle is anything other than a simple 45°. Roundovers are also possible, simply by planing a series of small bevels, which can be blended together into a smooth curve with some sanding.
 |
 |
3. Removing saw marks
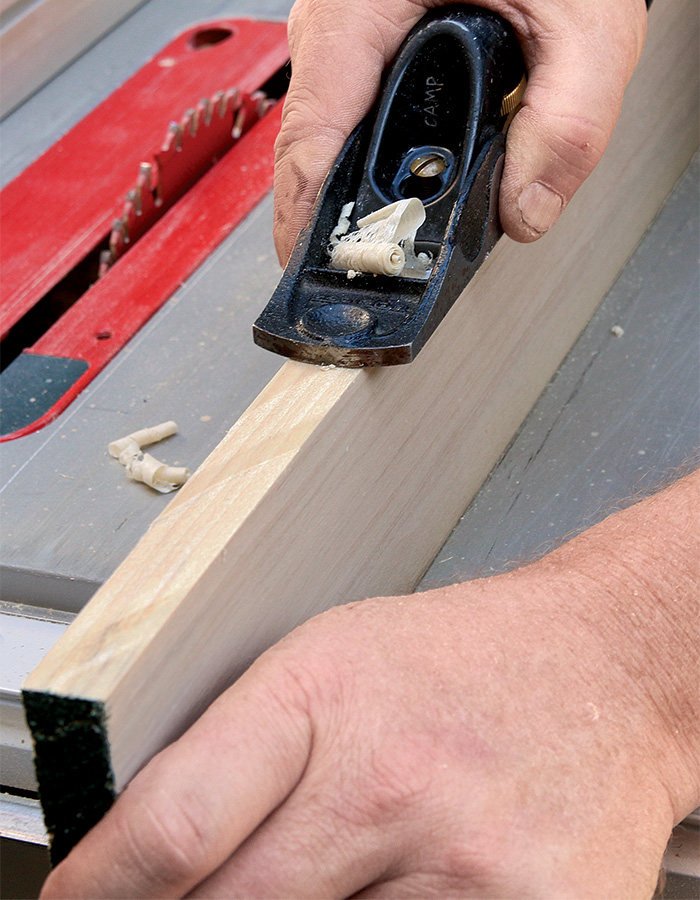
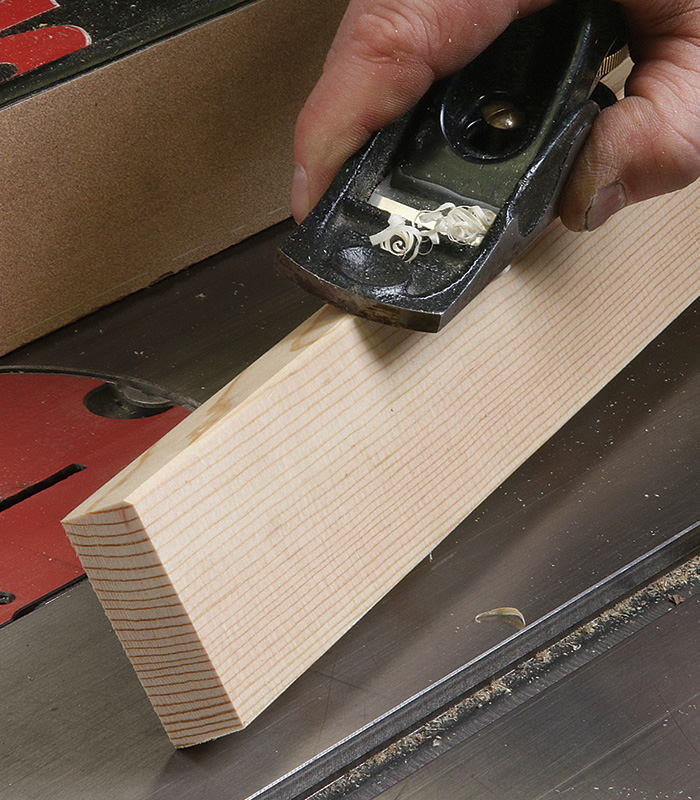
Your block plane offers a fast and quiet way to remove saw marks from the edges of stock you have sawn to width. I do this task onehanded, and if I’m sawing the stock to width, right there on the tablesaw. Doing this work with a plane yields a crisper edge than you will get with sandpaper, and leaves you with a glass-smooth surface.
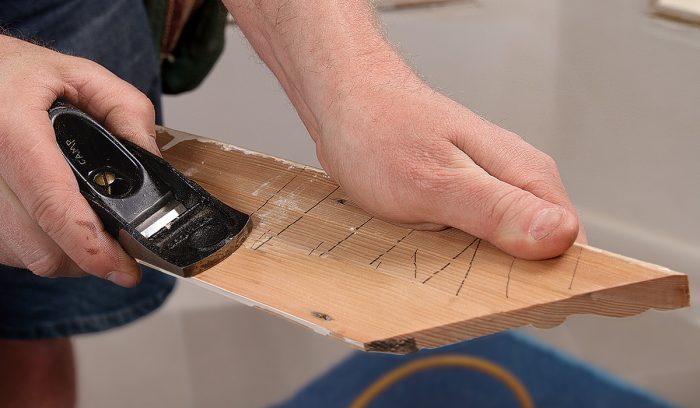
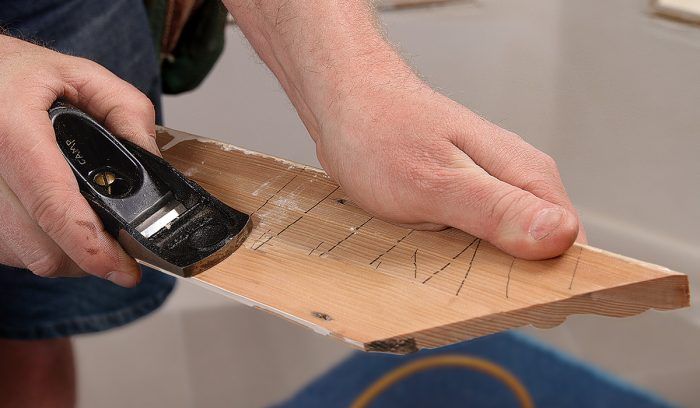
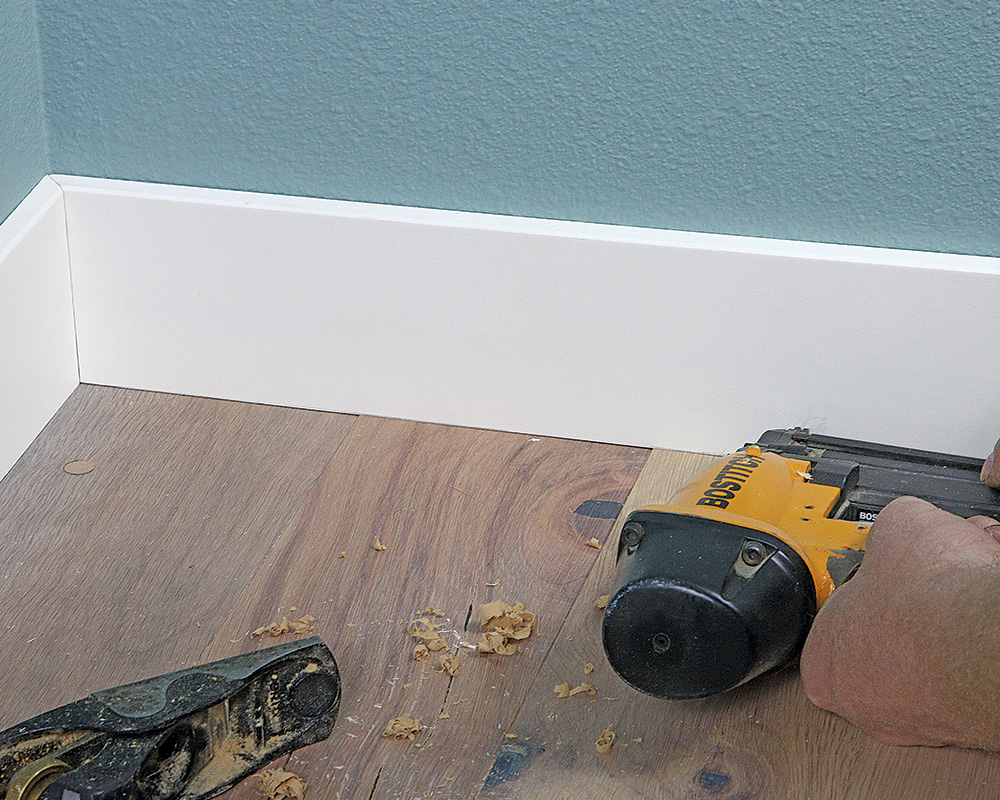
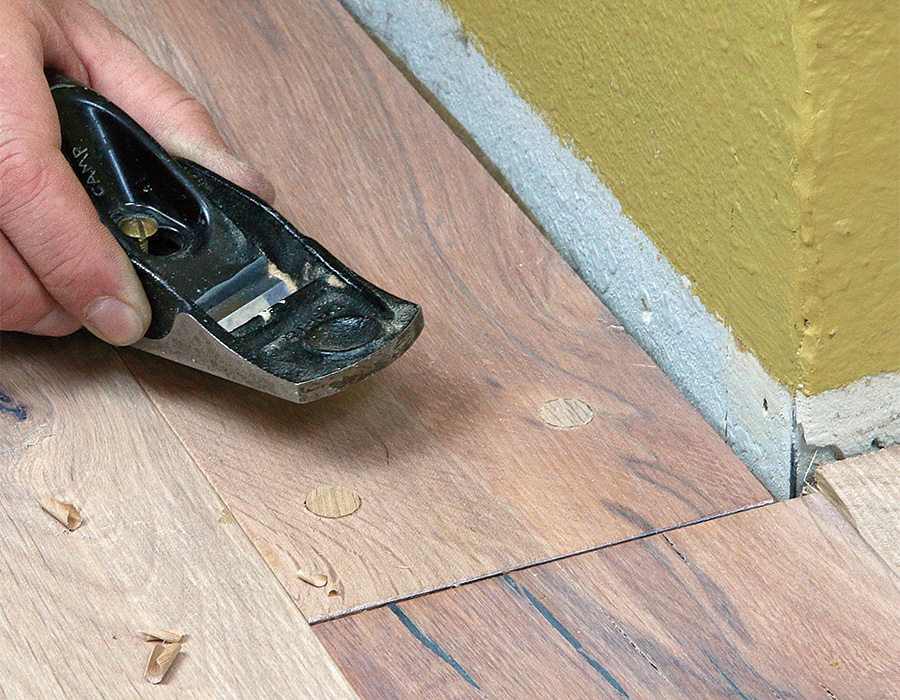
4. Making perfect scribes
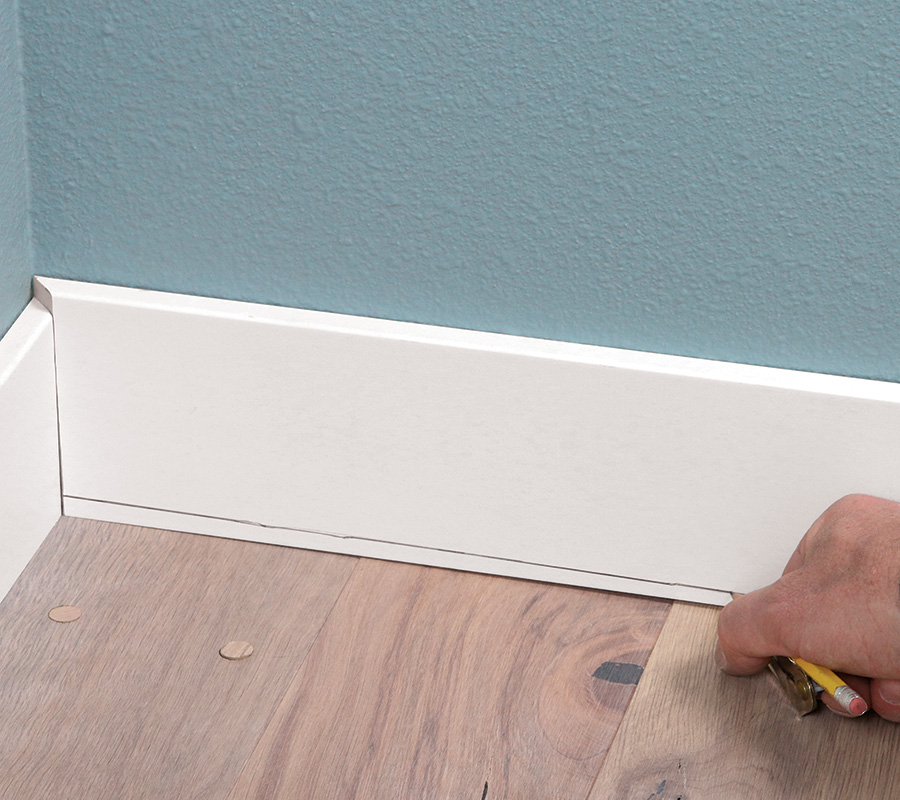
Scribes start by back-cutting the piece 10° to 15° on the tablesaw, so there’s less stock to plane away. Begin planing where you need to remove the most material and gradually lengthen your cuts as you get closer to the scribe line. To create an inside curve, hold the plane at an angle to the stock. The more you angle it, the tighter the curve you can plane.
 |
 |
 |
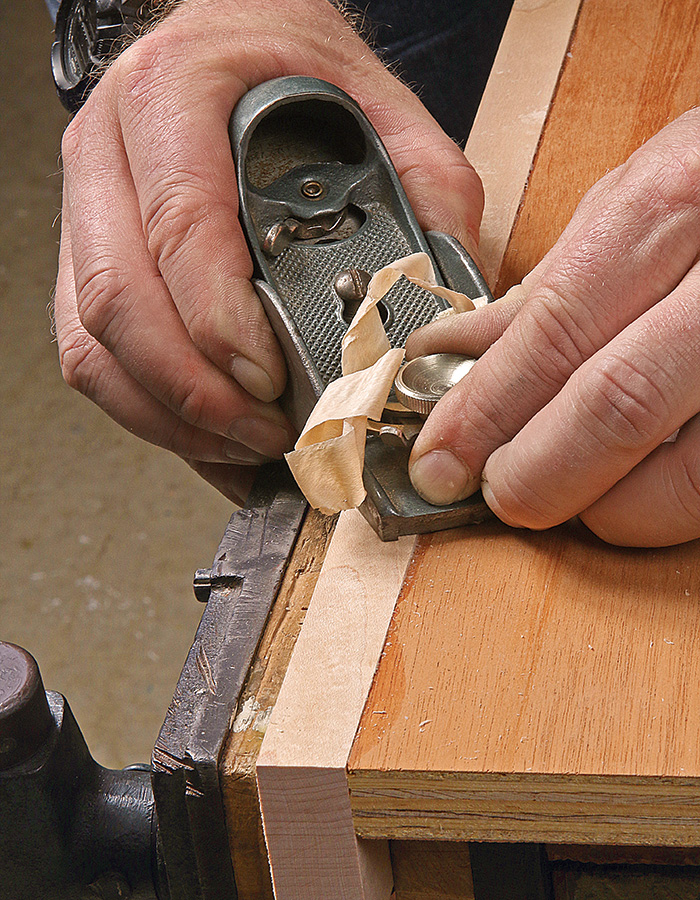
5. Flushing up
To flush up two pieces of stock glued together, like solid-wood edging glued to a plywood shelf, skew the plane so the toe rides on the plywood and the heel hangs off the work. This position may seem backward, but trust me, it’s less likely to result in tearout. Be sure to switch to sandpaper when the edging is just a hair proud of the ply. The same technique works for wood plugs, too.
 |
 |
Tune up an old or inexpensive plane
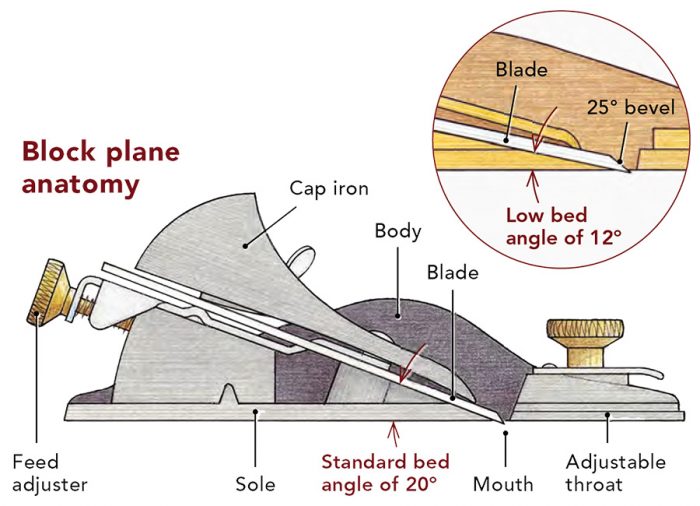
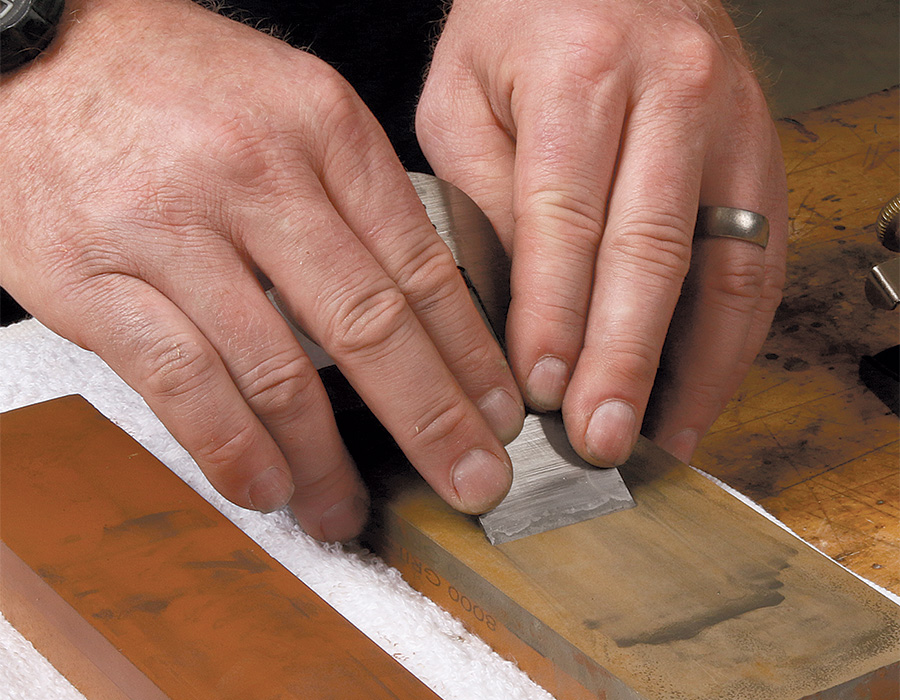
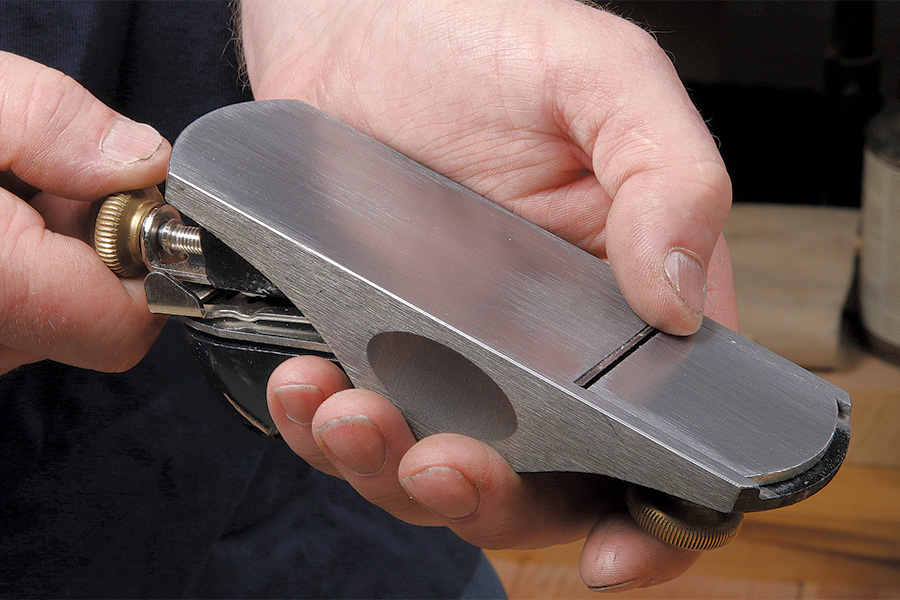
The new planes I recommend below will only require a quick honing of the blade before being put to work (See “Tune up a block plane,” FHB #234). But a middle-of-the-road or vintage plane will require some initial rehab to produce fine results. So, in addition to flattening the back of the blade, you’ll need to spend some time on the plane’s sole, mouth, and edges.
Flattening
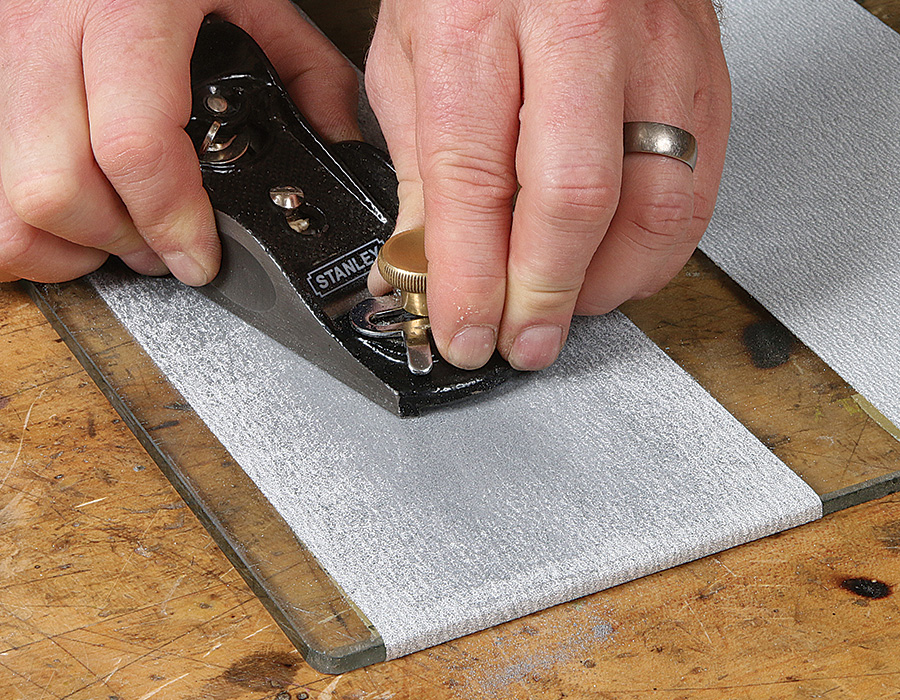
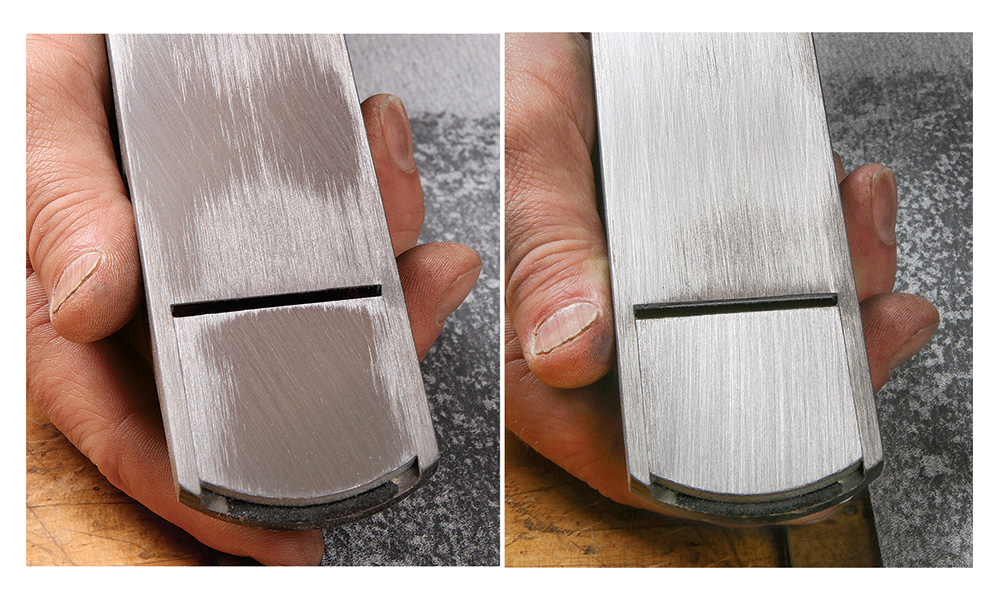
Filing
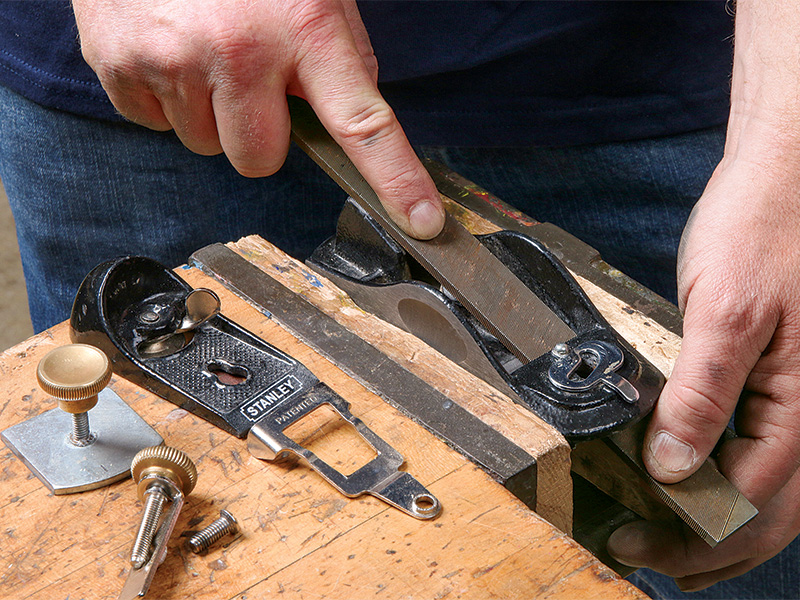
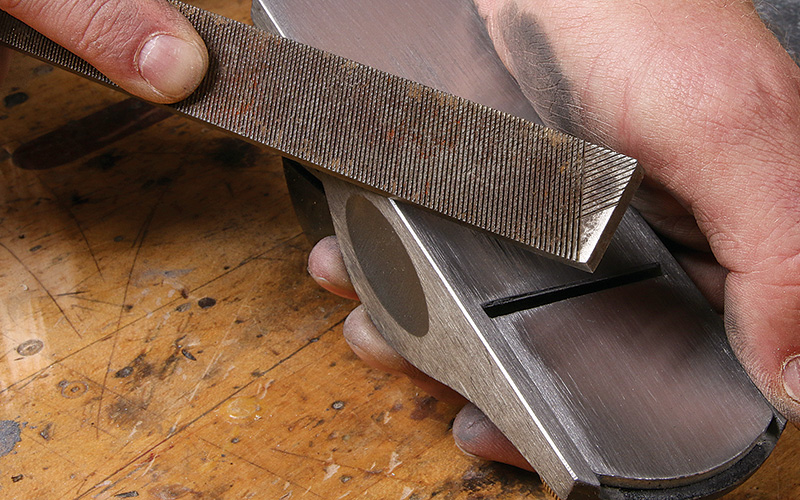
Sharpening
Kit Camp is a finish carpenter and teaches middle- and high-school woodworking in Portland, Ore.
Photos by Asa Christiana, except where noted.
Product photos: The Taunton Press staff.
Originally published in Fine Homebuilding #278 titled “Tighten Up Your Trimwork”
To view the magazine version of the article, please click the View PDF button below.

