Tips for Scribing and Installing Wainscot Cap
Trim carpenter Greg Kossow shows how to fit a cap ripped from chair rail to the top of wainscoting.
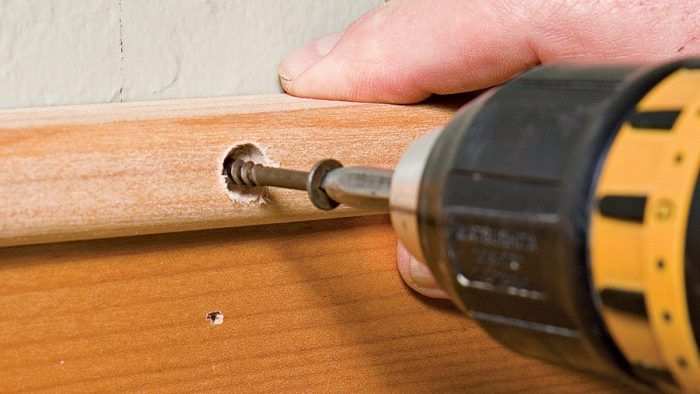
The cap that terminates the top of wall paneling is typically screwed or nailed to the wall studs or to the top of the wainscot. The outside and inside corners are mitered using glue and nails or screws to fasten the miters together. The railing must fit tight to the top of the wainscot to eliminate any gaps or if the chair rail is wide enough a transition molding may be used under it, which will cover up any gaps.
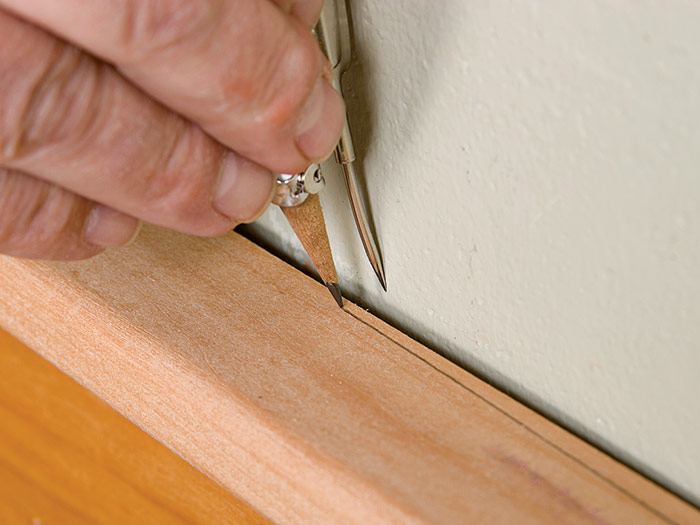
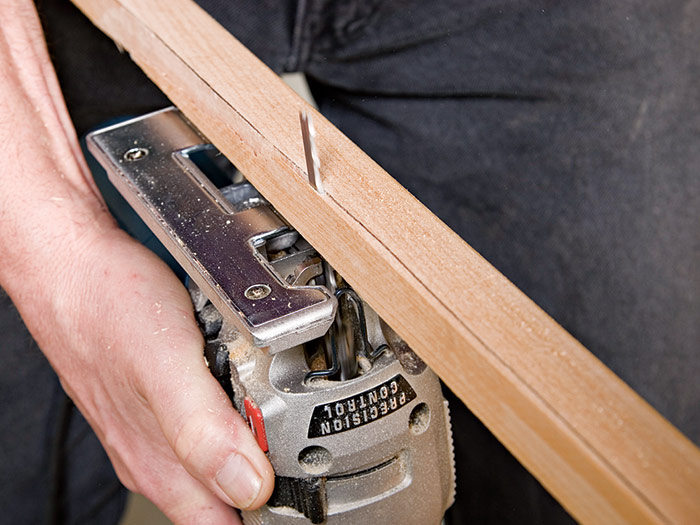
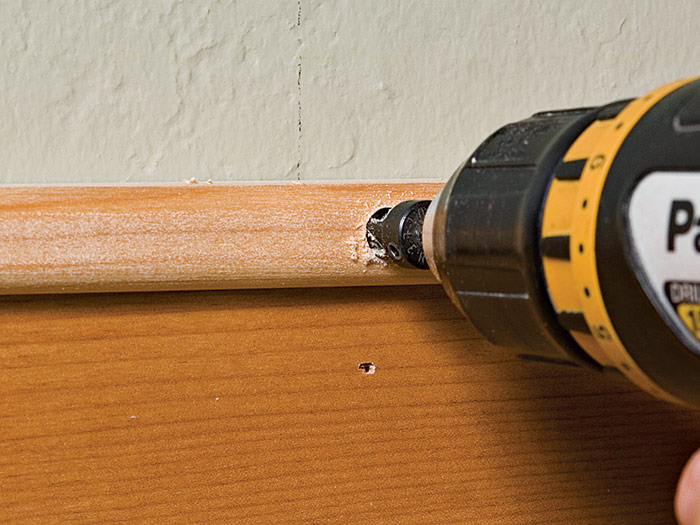
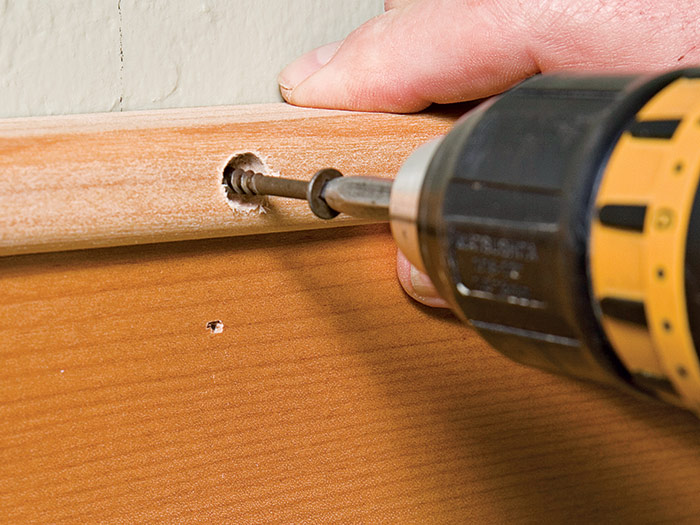
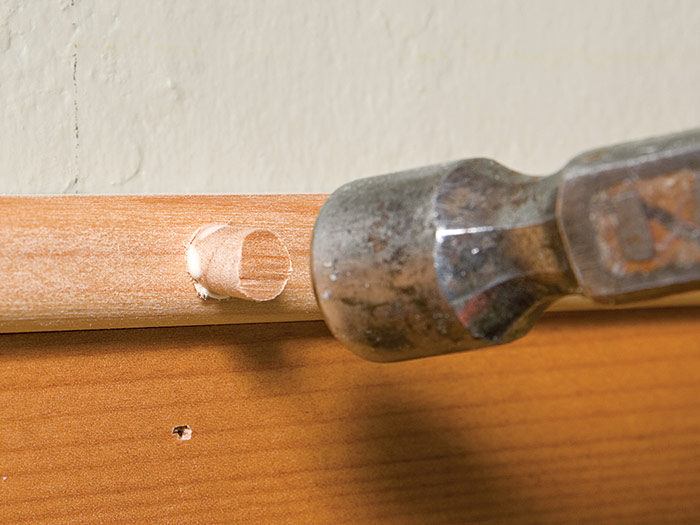
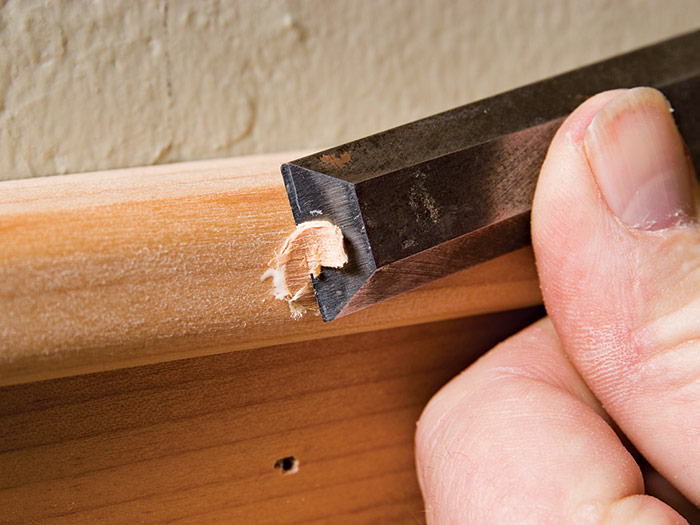
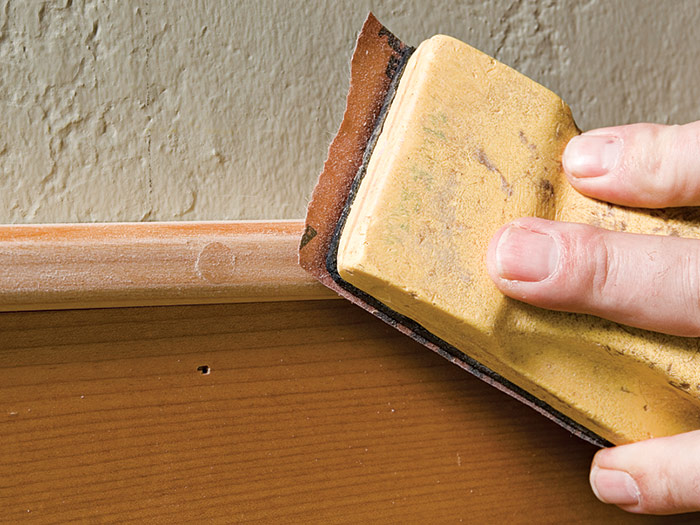
In many cases the cap will need to be scribed to fit tight to the wall. For this reason, rip the chair rail stock wider to provide the desired overhang after the scribed material is removed. Start by cutting the ap to length. Set it in place and scribe it to the wall by adjusting the scribe to span the largest gap between the wall and the chair rail. Add 1⁄8 in. to that setting to ensure that the scribe won’t slip off the edge of the chair rail while you run the scribe ❶. Use an inverted saber saw to cut to the scribe line, trimming as necessary with a belt sander or block plane ❷. Once the cap fits tightly to the wall, fasten it in place. Drill a countersink and pilot hole at each stud location and screw through the edge of the cap and into the wall studs, drawing the cap tight to the wall ❸, ❹. Now brush a bit of yellow glue into the counter sink holes and then lightly tap in a plug ❺. After the glue has dried trim the plug with a sharp chisel and then sand it smooth ❻, ❼.
Excerpted from Trim Complete: Expert advice from start to finish by Greg Kossow
Available in the Taunton Store and at Amazon.com.

