Traditional Door Casing with Parting Bead
For a variation on Craftsman-style door trim, add a few distinctive details to the head casing.
The Arts and Crafts style is similar to, though more complex, than the Craftsman. It uses the same square section casing pieces but adds a bit more ornamentation through the use of cove moldings and parting beads at the transition points. You can pre-assemble the entablature before installing it to the door as we did for the window casing.
But you can also install the trim piece by piece. Begin by installing the side casings as for Craftsman trim.
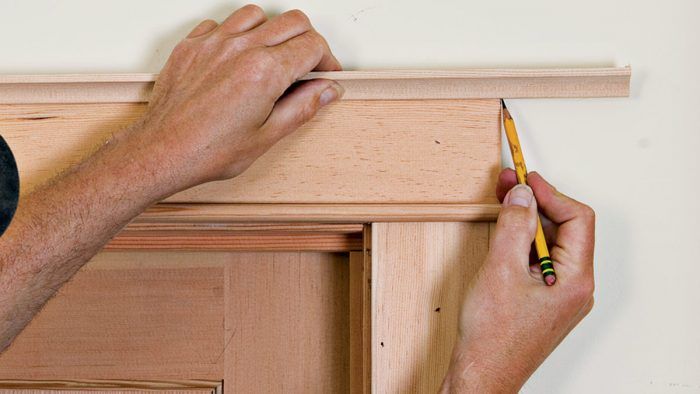
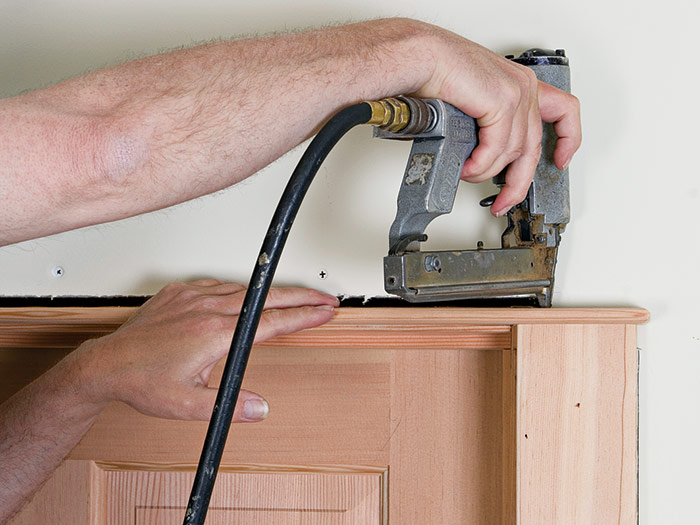
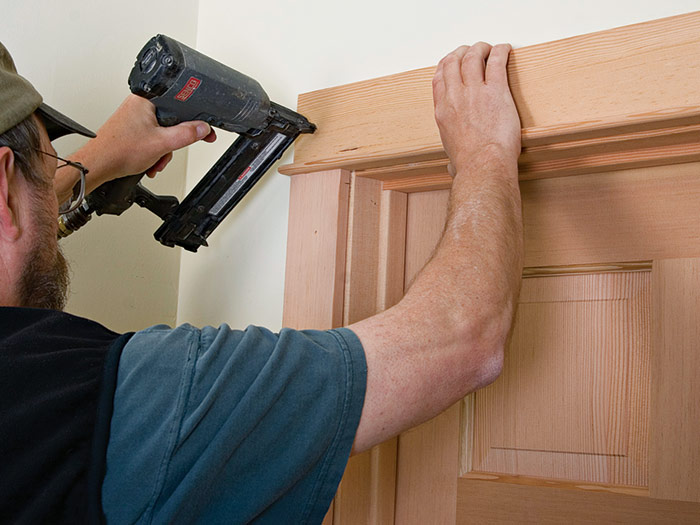
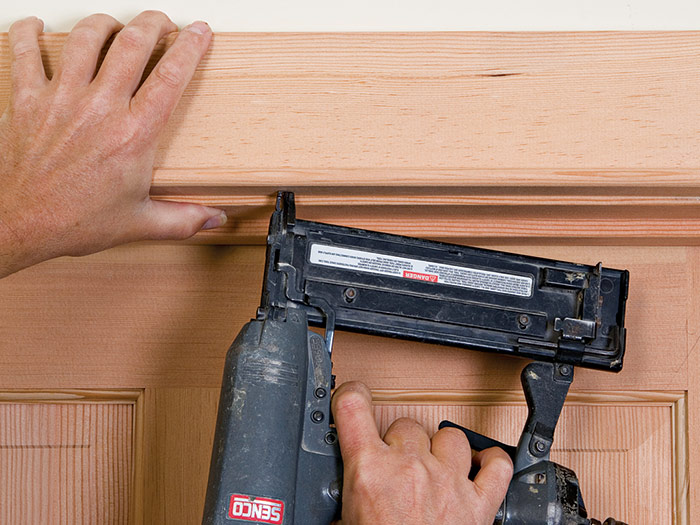
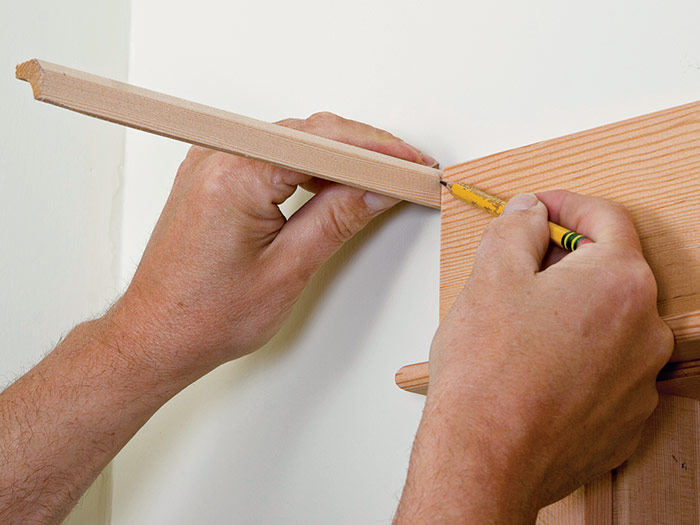
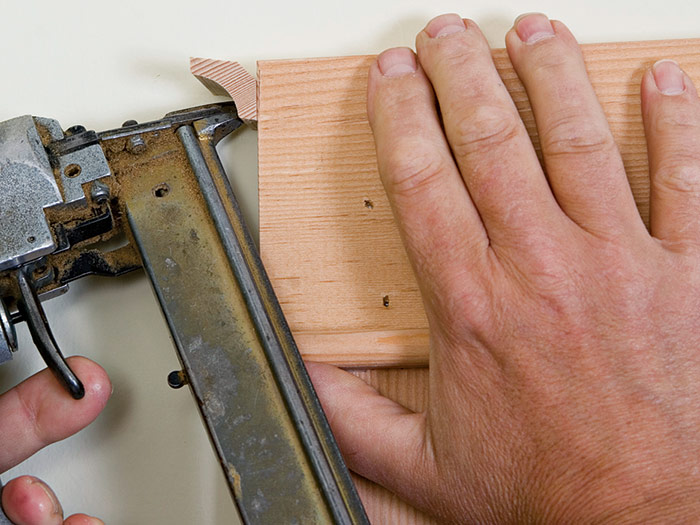
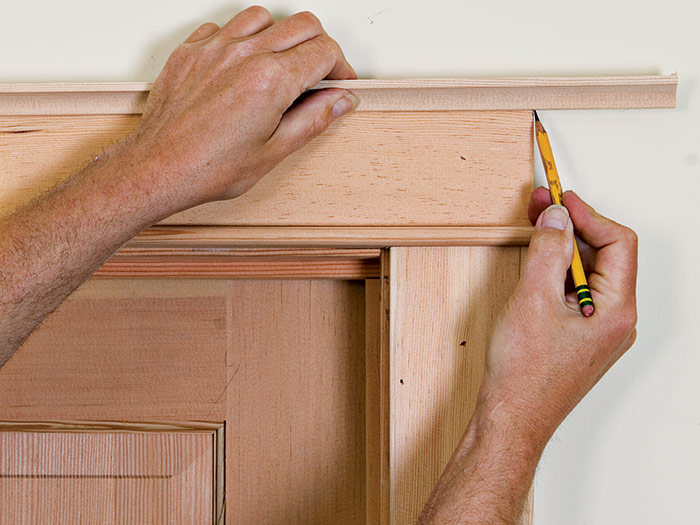
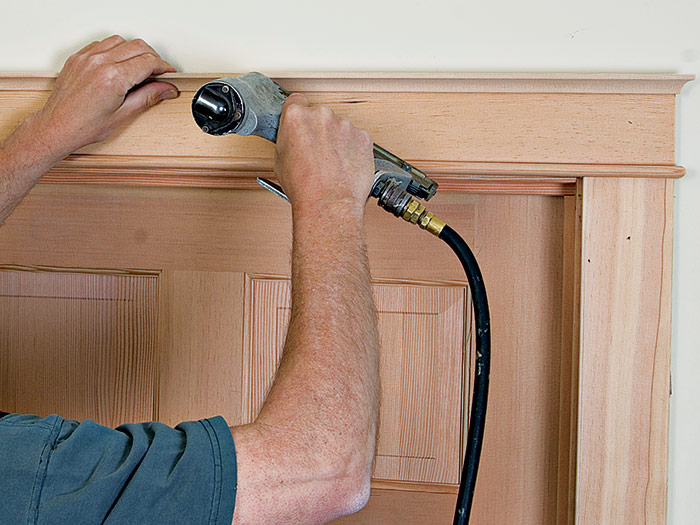
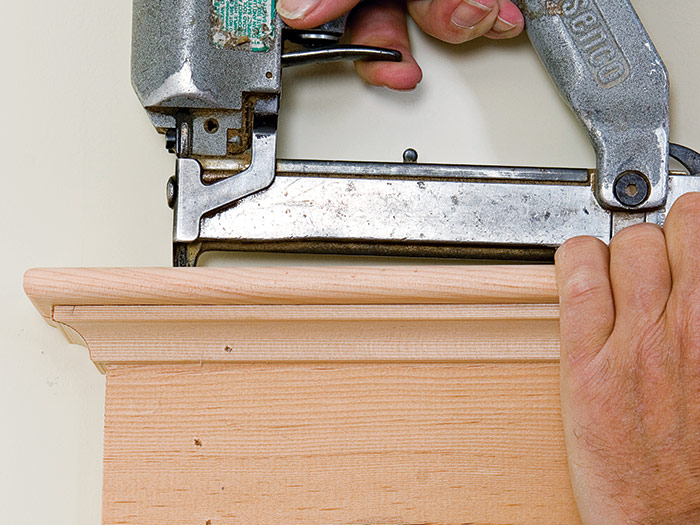
Determine the overall length of the parting bead by measuring to the outside edges of the side casings and adding the combined overhang amounts. Rout and sand a radius at the ends of the parting bead to match the front, then nail it in place to the top of the side casings ❶. Now nail the head trim into the wall framing ❷. Push the parting bead tight to the doorjamb and nail up into the head casing ❸. Next, install the cove molding. Mark the molding to length at both ends of the head trim by butting an end to the wall and marking the inside corner of the miter ❹. Miter-cut them to length and nail one of them in place ❺. Now cut a miter on one end of a length of cove molding and, while keeping it tight to the installed piece, mark the other end for length ❻. Cut the piece to length, apply glue to the miter joint surfaces, and nail it and the last end piece to the head casing ❼. After measuring and cutting the top cap to length nail it to the top of the head casing ❽.
Excerpted from Trim Complete: Expert advice from start to finish by Greg Kossow
Available in the Taunton Store and at Amazon.com.


