
Building a Fire Pit: Gravel Base
A free-draining gravel substrate will make your fire pit safer and long lasting.
For this fire pit, we used compacted gravel as the base rather than a poured concrete footing. A gravel footing allows water to drain quickly and is easier to install than concrete.
Layout
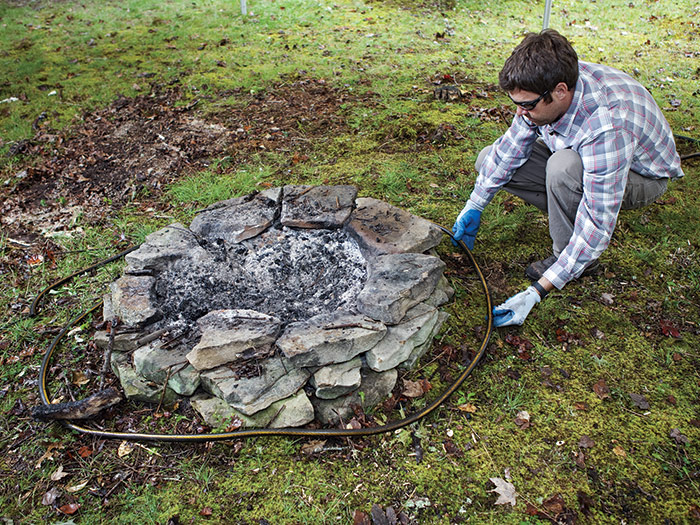
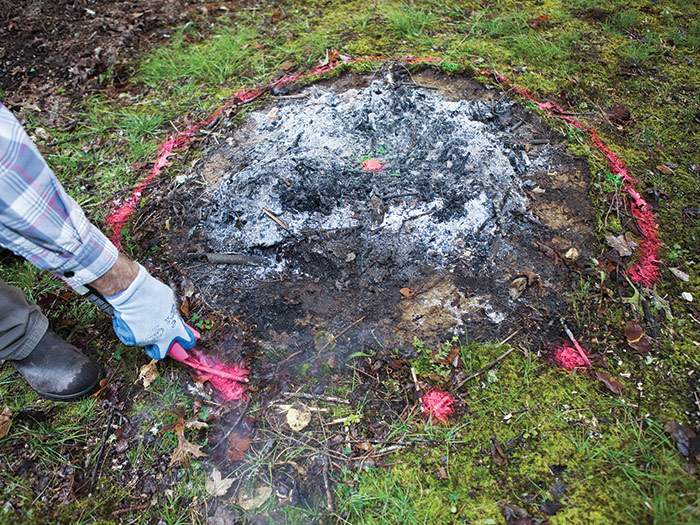
A garden hose can help you visualize where to put the fire pit; you can move the hose around as much as you want. A hose can also help you understand how big the finished fire pit will be 1. It’s not, however, a substitute for drawing the plan on paper or properly measuring and marking a layout on the ground.
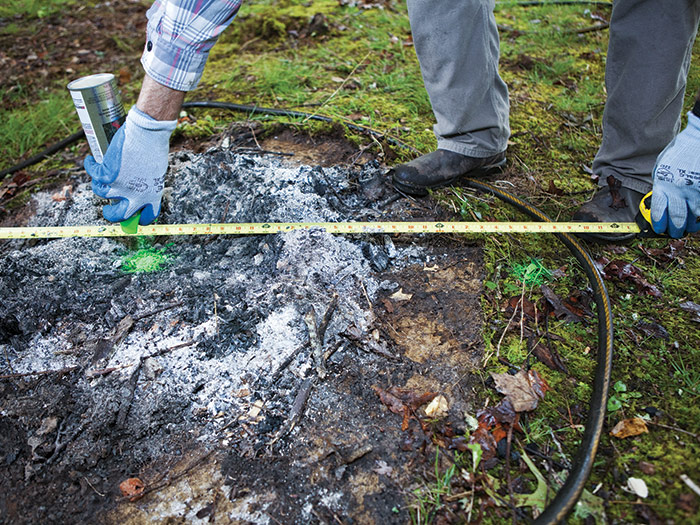
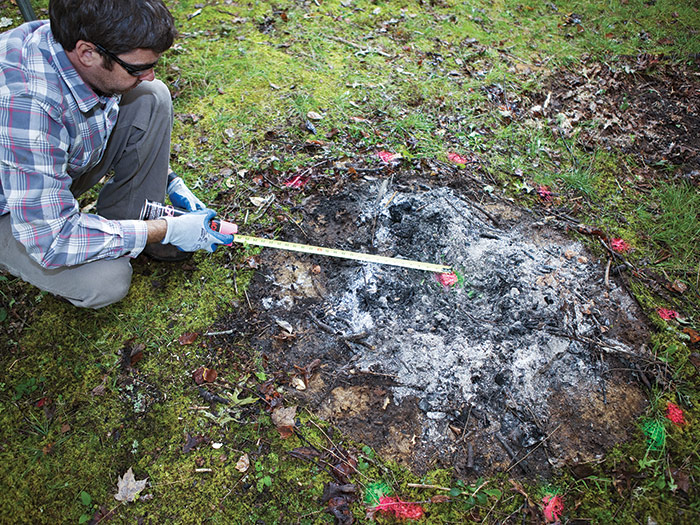
To lay out a perfect circle, measure the pit’s diameter and divide by two to find the radius. Mark the pit’s center 2 and set the end of the tape on it. Rotate the tape around the center, and mark the circumference at 10-in. to 12-in. intervals. 3. Connect the dots with a continuous line around the circle 4.
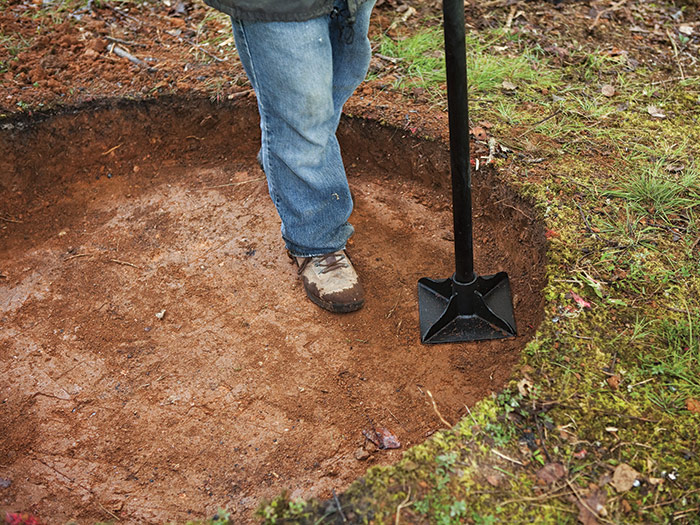
Excavate and add gravel
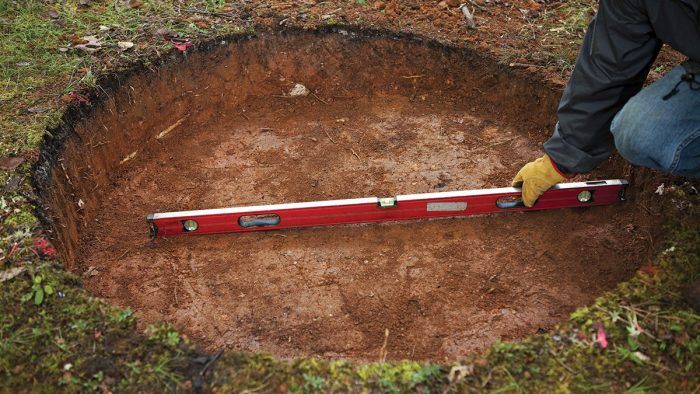
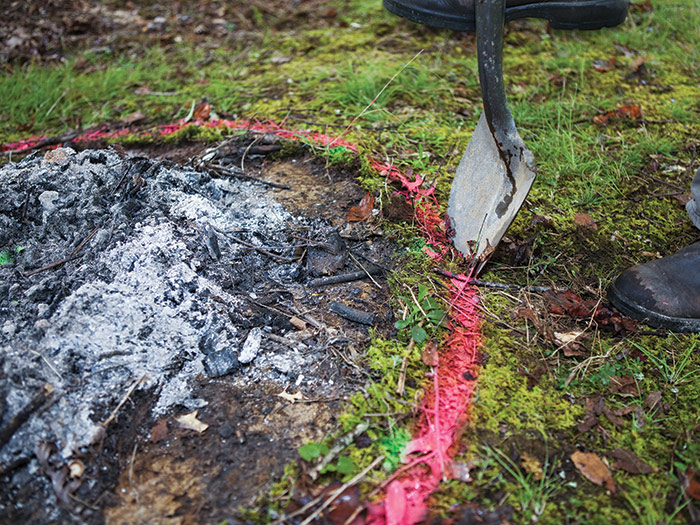
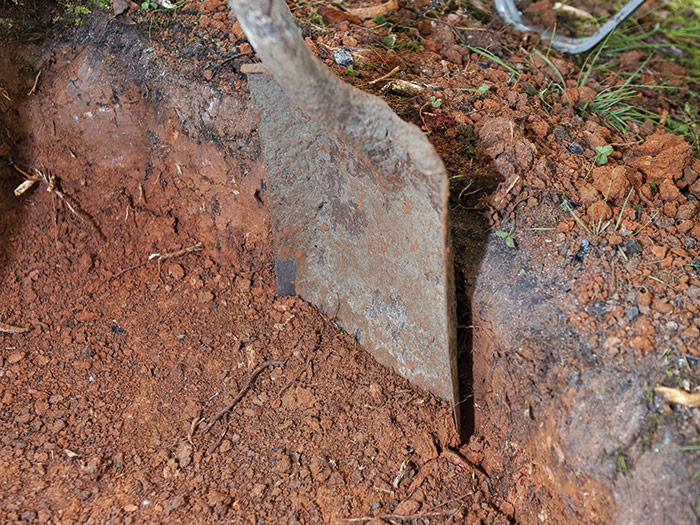
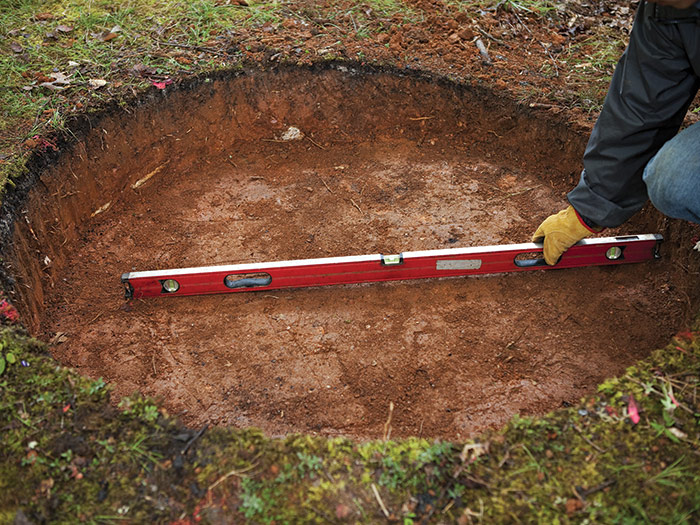
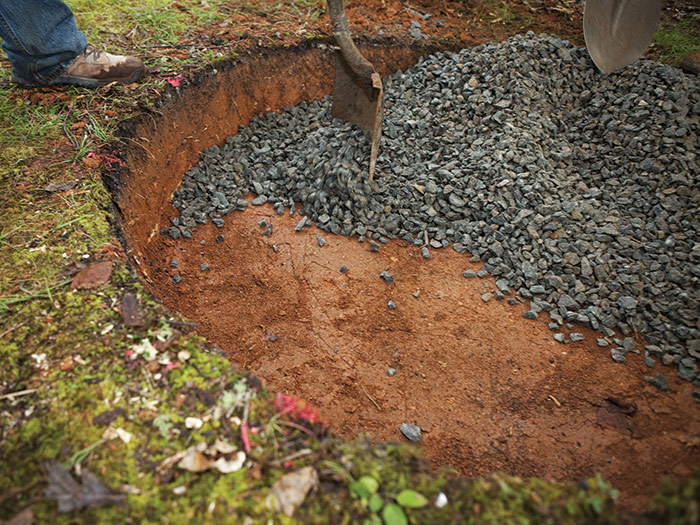
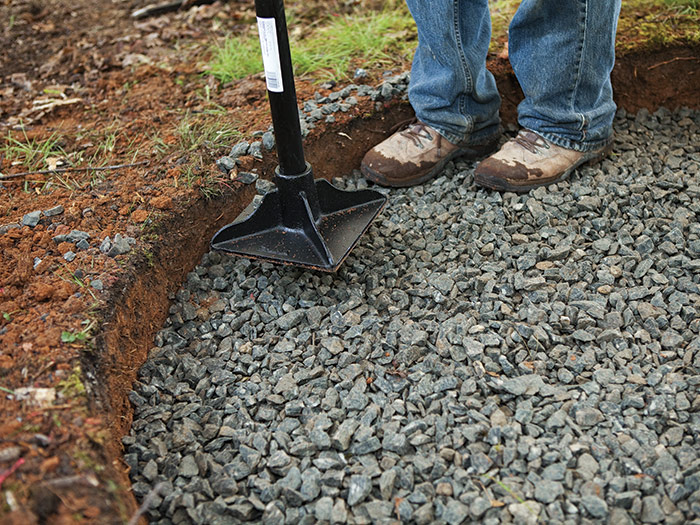
Use a spade to cut along the circumference, and then dig the footing to a depth of 8 in. to 12 in. or deeper until you find undisturbed soil 5. When digging, take care to cut clean, vertical sidewalls 6. Later, you’ll use the edge of the hole to set the perimeter stones; any irregularities will transfer to the stonework, so dig a perfect circle. Also create a flat base, without bumps and without depressions that can hold water 7. With a hand tamper, thoroughly compact the pit base; pay special attention to the area near the circumference upon which the wall will be built 8. Add 3 in. of gravel and spread it evenly with a rake or flat shovel 9. As with the soil base, it’s important to create a flat gravel surface without dips or bumps. Use a level to check for flatness and for any desired slope; then compact the gravel thoroughly 10.
Excerpted from Masonry Complete (The Taunton Press, 2012) by Cody Macfie
Available at Amazon.com.

