Building a Modular Retaining Wall
Stacked on a stable base, interlocking concrete blocks offer a mortarless solution to common landscaping problems.

Synopsis: Interlocking pieces of cast concrete can be stacked into sturdy and attractive retaining walls that are lower in cost or less time consuming to install than other alternatives. The author shows how he used one such type of block, called PISA II, to form a 220-ft.-long wall at his own house.
When my wife and I had our house built, the budget was far too tight to consider professional landscaping. When finished, the house looked as if it had been dropped on the site of a bomb blast. What was worse, any rain that fell carried silt toward the back door, and on windy days, the back of the house was scoured with airborne grit. My wife tactfully suggested that we either needed a retaining wall and a patio to keep all that soil at bay, or we might as well board up the back of the house.
She was right, but what kind of wall? I looked at several options: poured concrete, concrete with stone veneer, timber, dry-stack stone, and concrete block with stucco facing. All of them have advantages, but they were either too expensive, were too time consuming to construct or didn’t have the right look. I was about out of ideas when I came across something called a segmental retaining wall: basically, a wall made of interlocking pieces of cast concrete. I liked the way it looked; also, it wasn’t too expensive, and construction seemed simple. Clearly, this stuff was for me.

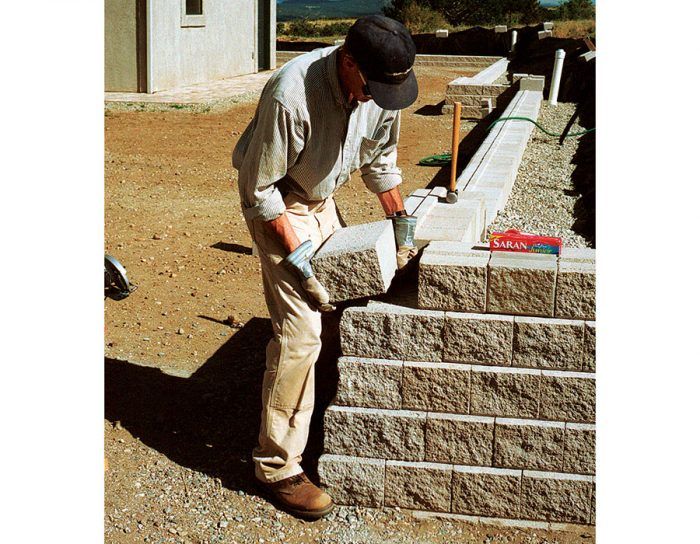
Several companies make this kind of wall system, and they share a number of similarities. A segmental wall is made of concrete blocks that stack together without mortar. Once finished, the wall has enough mass to retain the soil behind it. Each course is set back slightly from the one below, so the wall steps back into the bank as it rises. Corners, curves, and stairs can be built, although specially shaped blocks may be required.
Segmental walls up to about 4 ft., like the one I planned, are considered “gravity walls,” meaning they need nothing more than the force of gravity to keep them in place. (Higher walls are typically reinforced with a polyester filament geogrid that ties the wall to the compacted earth behind it.)

Concrete blocks may be solid or hollow and use either pins or integral lugs to align the units and lock them together. The finished faces and colors of the block vary by product line and regional manufacturer, and the weight of the individual blocks can differ significantly. I chose a product called PISA II from Risi Stone Systems. The solid blocks have a rough-finished face and are 6 in. high, 8 in. wide, and 12 in. deep, weighing 45 lb. each. PISA also offered accessories, including a built-in light I liked enough to incorporate in my plans. Just as important, I was sold on the strong reputation of McKinney Concrete, the regional manufacturer that makes the blocks for Risi. Excluding shipping, blocks and cap pieces cost about $4.50 per sq. ft. of wall face.
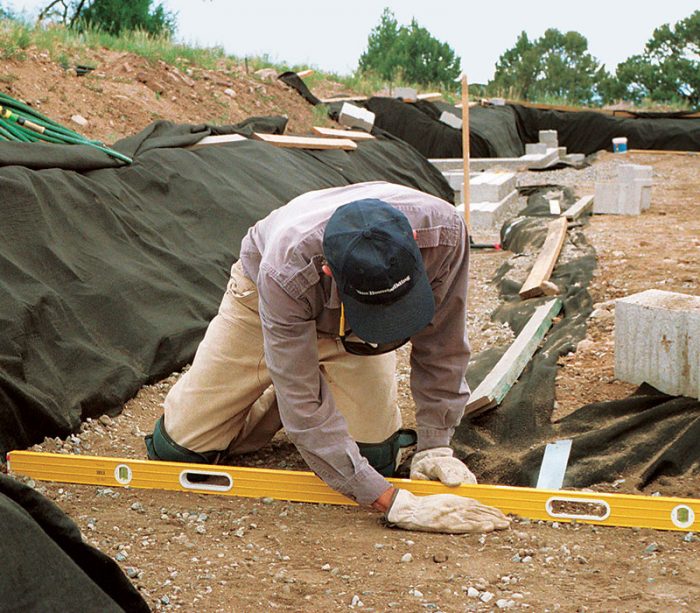
Correcting mistakes early is easier in the long runLike the best-laid plans, the blocks will sometimes go awry. To keep the wall stable and attractive, the top surface of each course should be level and straight. Errors do creep up, and they can compound into real problems unless they are fixed. How much error is too much? That’s a subjective issue. I usually fixed any misalignment of adjacent blocks more than 1/32 in. Generally, correcting errors was easy. My first step was to remove the block and check for interference from gravel or concrete chips underneath. Next, I tried switching blocks because individual blocks may have slight variations. These two steps corrected the vast majority of problems. If, however, I still wasn’t satisfied, I would temporarily stack a few blocks of the next row above the problem area, which sometimes showed the problem was canceled out. If so, I would forget about it and move on. If these steps were hot enough, I’d resort to shims to level the row. Shims can be almost any material, but they should be something that will neither erode nor decompose. I used thin strips of aluminum when necessary. In the extremely rare cases where a shim would only compound the problem, I removed the irregularities by taking light passes with my trusty circular saw with a diamond blade. A grinder would also work. —A. B. |
—Andy Beasley, a retired Air Force instructor pilot, is completing his house near Hillside, CO.
Photos by the author.
Drawings: Gary Williamson.
For more photos, drawings, and details, click the View PDF button below:
From Fine Homebuilding #141


