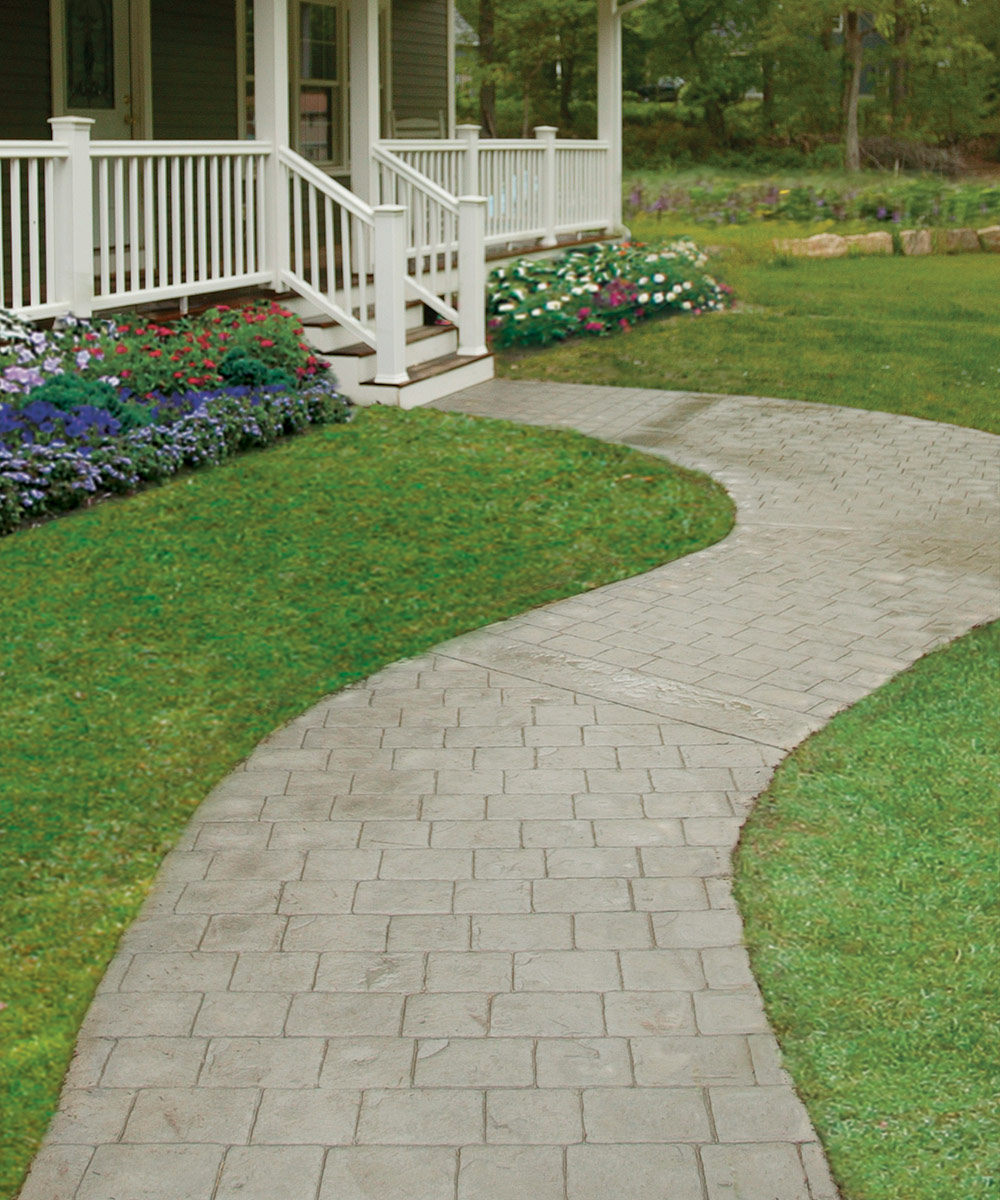
Creating a Curved Concrete Walkway
Form, pour, and stamp a concrete sidewalk for an inviting path to any front door.
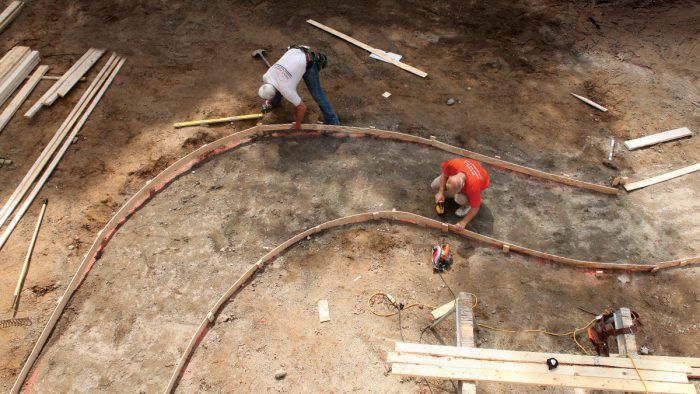
Synopsis: Concrete work can seem intimidating, but veteran builder Rick Arnold says installing a curved concrete sidewalk is an easy project that anyone can handle with a few friends and a day of good weather. Arnold begins the process by laying out the sidewalk and then setting up forms that will hold in the wet concrete. Once the forms are set up, it’s time to pour the concrete and finish it by first using a bull float and then a smaller float made of magnesium, aluminum, or wood. Finally, once the concrete has set up enough, you can use stamps, which can be rented at concrete-supply yards, to create an attractive pattern on the sidewalk. After stamping, it’s time to cut control joints. This article includes two sidebars. The first tells you what you need to keep in mind to order concrete like a pro; the second lists six steps for keeping up with concrete so that you can finish it properly.
While the work might seem intimidating, installing a curved concrete sidewalk is a surprisingly easy project that most anyone with a few friends and a day of good weather can handle.
The first step is preparing the base. In general, the base needs to be free of organic material, well compacted, and free-draining. For this walk, I excavated the topsoil, then placed and tamped down a layer of gravel and dirt so that the top of the base material was 4 in. below the final elevation of the walkway.
I also pitched the section near the house about 1/8 in. per ft. to direct water away from the house. Although the minimum width of a sidewalk is 3 ft., I made this walk 4 ft., which is more comfortable to use. Because this walk needed to turn 90° toward the house, I included a curve for extra interest.
Plan the path
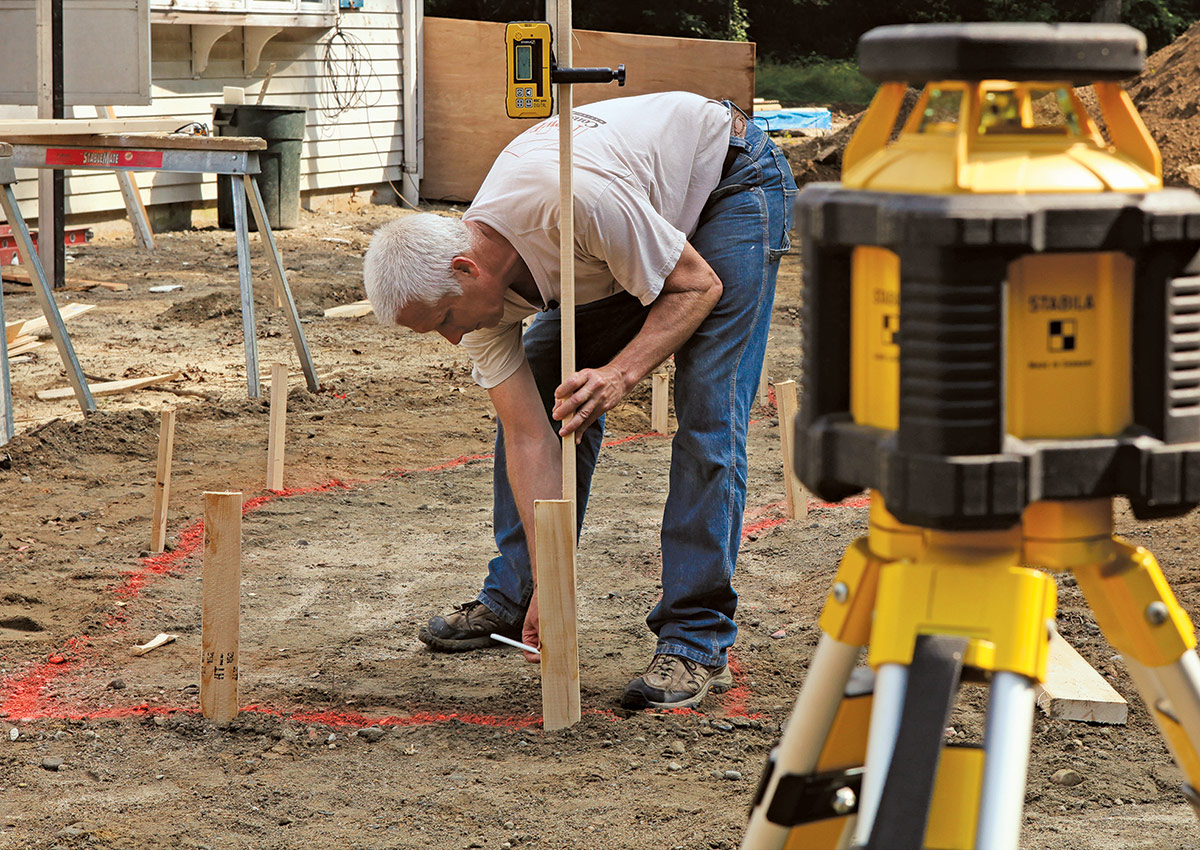
If you’re working around established landscaping, you can stretch out a garden hose or two to visualize the path. Because this simple design was built on bare soil, I outlined one side of the path with a can of marking paint and then used a 4-ft. stick to space and mark the other side evenly. With conventional 3/8-in. plywood forms, a 2-ft. radius is the tightest turn you can make, but tighter turns are possible with plastic forms, which are available at concrete-supply houses.
Reinforcement is a must
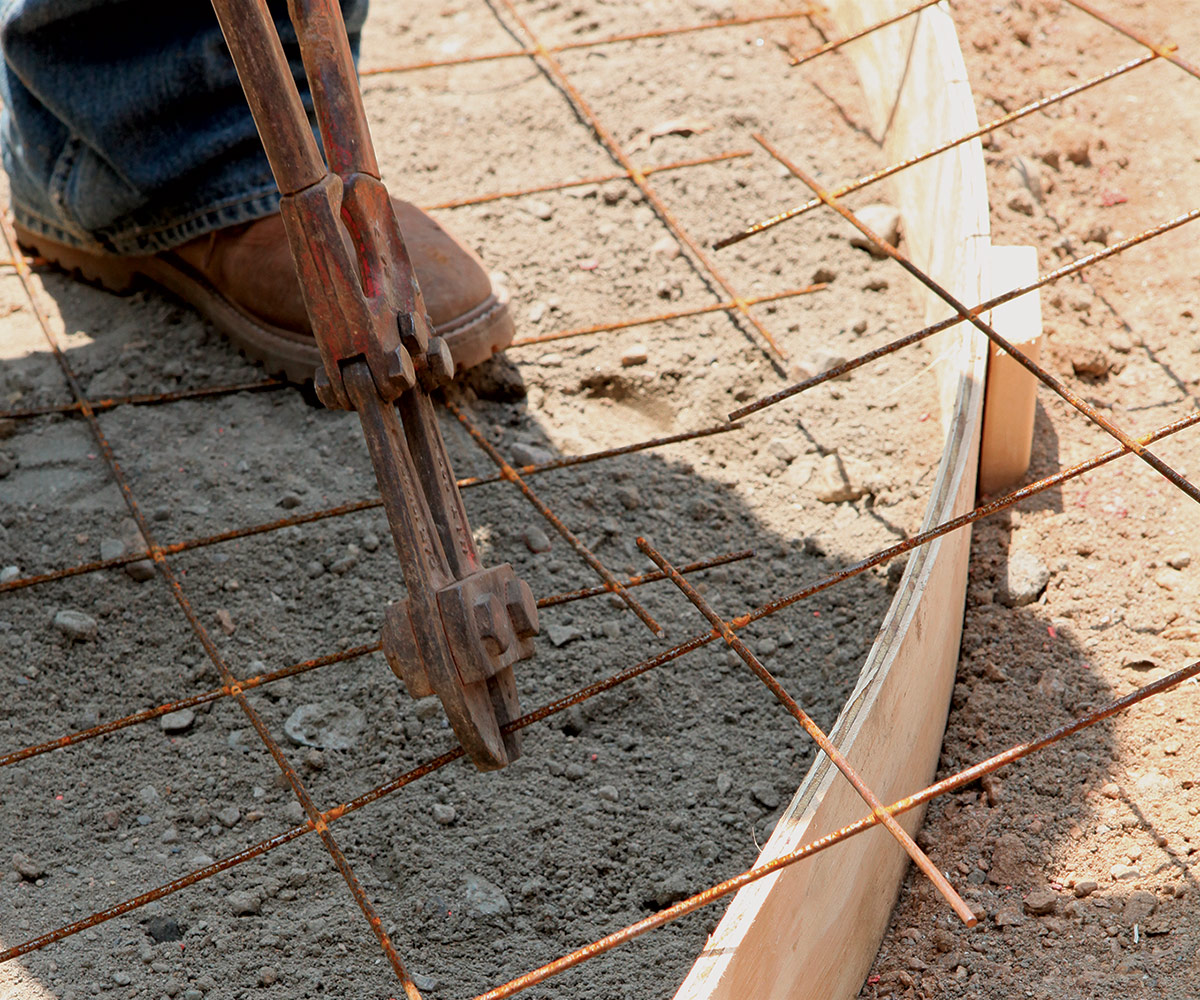
All concrete needs reinforcement to prevent cracks. For this sidewalk, I used 6-in. wire mesh and #3 (3/8-in.-thick) rebar. To bend the rebar to fit the curves, have a helper lift up the end while you walk down its length. When placing it, be sure to overlap the bars by at least 12 in., and secure the joint with tie wire (or plastic zip ties) in two places. The steel should be near the middle of the concrete depth (about 2 in. from the bottom). You can either place the reinforcement on supports (called chairs), or you can pull it up as the concrete is being placed.
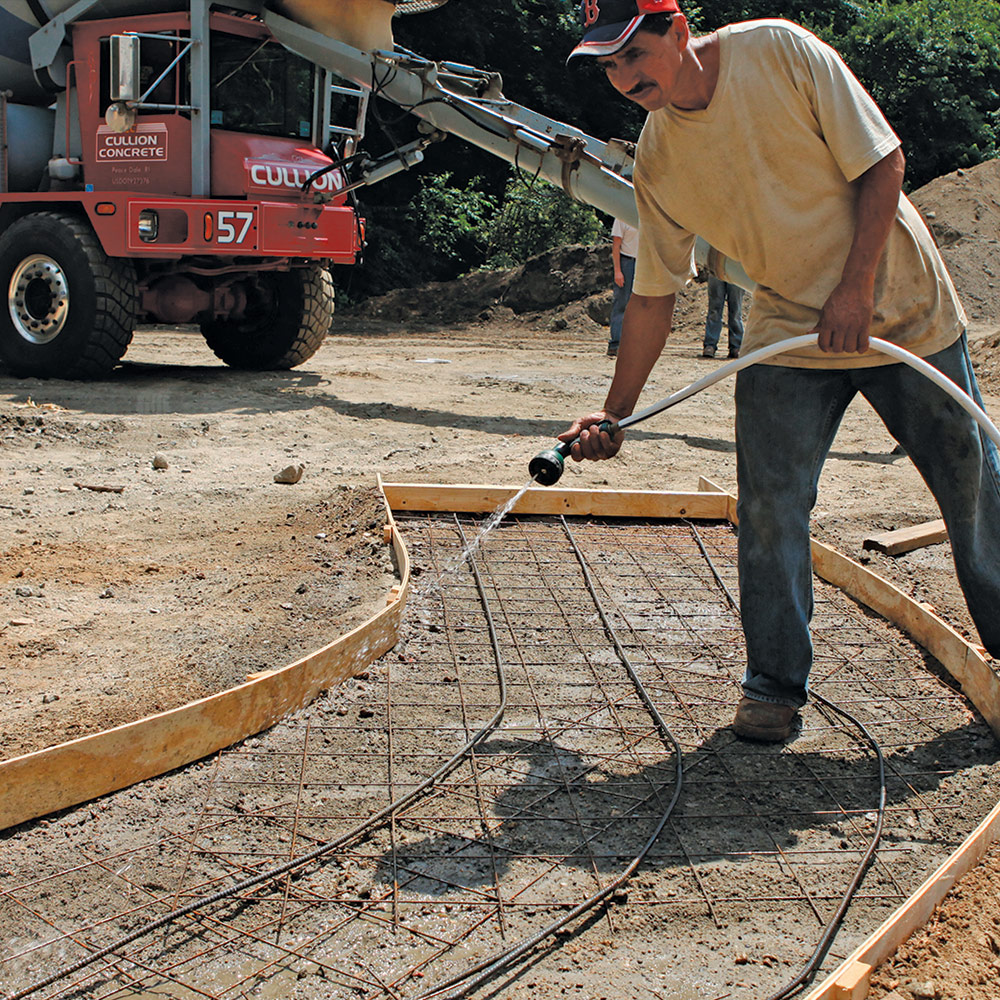
Get extra help for the pour
When it’s time to place the concrete, it helps to have at least three people on hand. The most important job is getting the concrete flat with a screed board. A screed board is a 2×4 long enough to span the formboards on both sides of the walkway. It scrapes away excess concrete and highlights low spots so that the forms are filled to the perfect level. You also need one or two people with rakes to move the concrete around. Their job is to place just the right amount of concrete in front of the screed and to lift the wire and rebar into the middle of the concrete as the pour progresses.
Contributing editor Rick Arnold is the author of Working With Concrete (The Taunton Press, 2003). Photos by John Ross.
To read the entire article, please click the View PDF button below.
From Fine Homebuilding #233

