Footing Retrofit in a Day
Using helical piers to add footings to an old house is faster, less disruptive, and comparable in cost to excavating and pouring concrete.
Synopsis: Builder Dan Kolbert details the process of using helical piers to add footings to a structure whose foundation couldn’t support additional loads.
Maine has some of the oldest housing stock in the country, so dealing with hidden conditions before we can start with the contracted work is par for the course. At best, this means some wiring needs to be updated during a kitchen remodel, a header needs to be beefed up, or we run into some rot when replacing windows or doors. It’s not uncommon, however, for us to find that more costly structural issues need to be addressed. Worst-case scenarios often involve the foundation.
When the problem is all the way down at the footing, the work is usually riskier, dirtier, and more expensive than a lot of other repairs. This helical-pier solution to a footing retrofit solved for two of those challenges—we didn’t have to shore up the house or worry about trench safety, and we didn’t have much digging to do. The cost was about the same as retrofitting a concrete footing, but the work got done faster and less intrusively.
Support for additional loads
We’d been hired for an “add-a-level,” turning a 1951 Cape with an unfinished attic into a two-story home with a big mono-pitch roof. Most of the structural work was straightforward—we were using clear-span I-joists to frame the new second-story floors and the same for the new roof rafters. This means that all the additional loads were on the existing bearing walls. Joe Leasure, our structural engineer, gave us specs for the headers we needed for the increased load, which we met by adding jacks to the existing headers and hiding new LVLs in the rim of the second floor. Leasure also told us to inspect the footings before starting the project.
We were planning to rent an excavator to help with the roof demo, so we waited until we had it on-site to check out the footings. I haven’t dug out very many existing foundations, so I didn’t have any idea of the likelihood of our foundation meeting what we typically assume to be required in our area—concrete footings at least 16 in. wide by 8 in. deep, set on clay with a bearing capacity of 2000 psf (lb. per sq. ft.).
Unfortunately, we discovered that not only were our footings not up to spec, they were nonexistent. The house showed no signs of movement or cracks, so it seems the foundation had worked for the existing structure. But we couldn’t add more load onto it safely.
Note: The print version of this article includes an overview of common foundation footing types, which can be found online here: Three Types of Footings to Support Foundation Walls
We could have retrofitted conventional concrete footings to meet the required load, but the one time I did that—on a 19th-century brick warehouse—we had to work around the building in a pretty labor-intensive process. To avoid undermining the foundation, we dug out and exposed 2-ft. sections of the bottom of the wall, left 2 ft. of undisturbed earth, dug out another 2 ft., left 2 ft., and so on, all around the perimeter. Once we had poured the new concrete footings in the excavated sections, we started again on the areas we had left to support the building as we worked.
I didn’t want to go through all of that work again on this project, and even if we could have maneuvered an excavator into the small backyard, the owner did not want us to disturb their gardens. That’s when I remembered my experiences with helical piers: We built a small guest house in a flood zone on helical piers to avoid having a basement in a risky location. We also used them for project involving a bathroom addition on an urban house with mature plantings. And I knew, from a friend who installs helical piers in Alaska, that they are often used to repair foundations damaged by earthquakes and melting permafrost.
So I called Michael Brochu, who installed the piers on my other projects. He owns the Maine franchise of Quebec-based Techno Metal Post (TMP). They have franchises in nine countries in Europe and North America, with in-house engineering to help with projects.
Piers and brackets do the trick
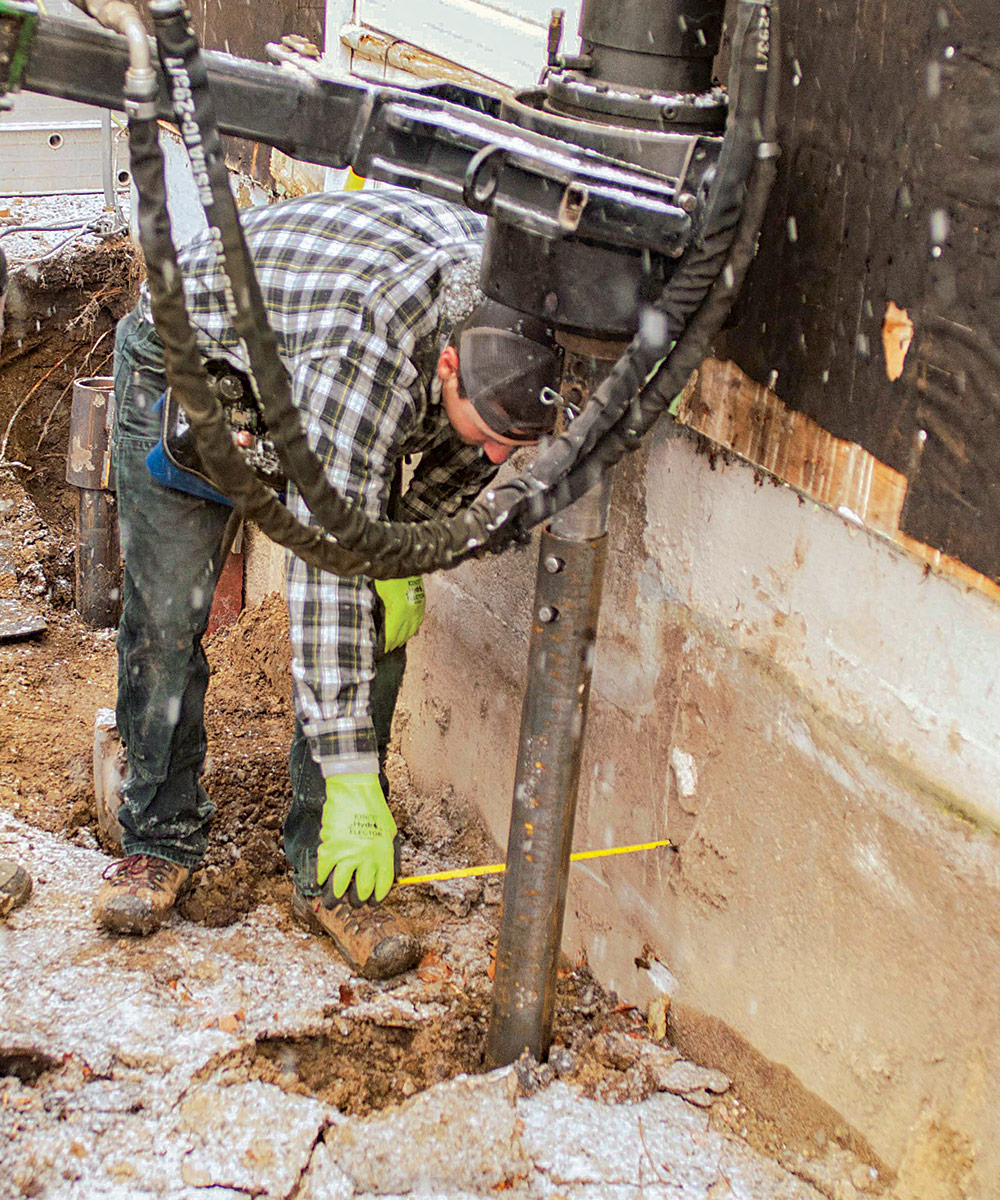
Brochu started by driving a sample pier. The bearing capacity of a helical pier is determined by the diameter of the helix and the measured torque required to drive the pier. With Leasure’s specs and the info from the test pier, the TMP engineer was able to design a system and tell Brochu the torque he needed to achieve during installation. Our site, like much of Portland, Maine, is marine clay, so we hit the torque relatively quickly. In sandier or unstable soil, you might have to add extensions to the pier to drive deep enough to achieve the required torque.
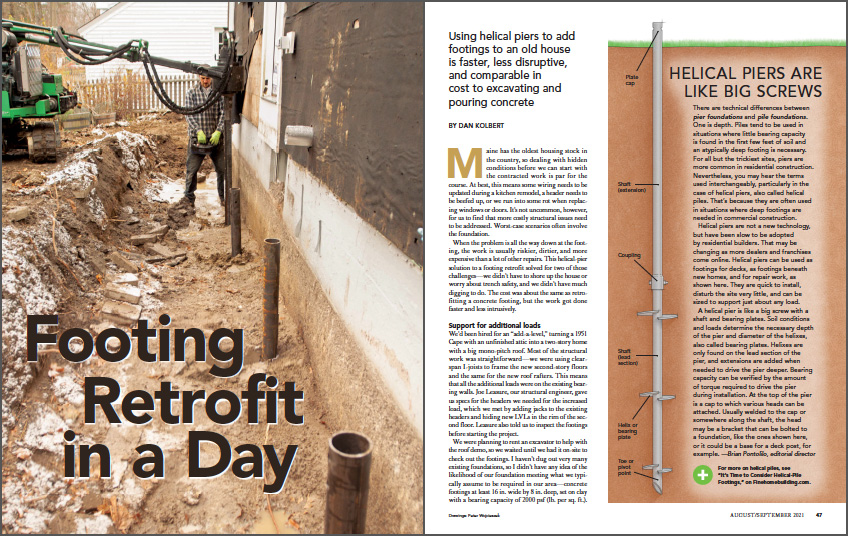
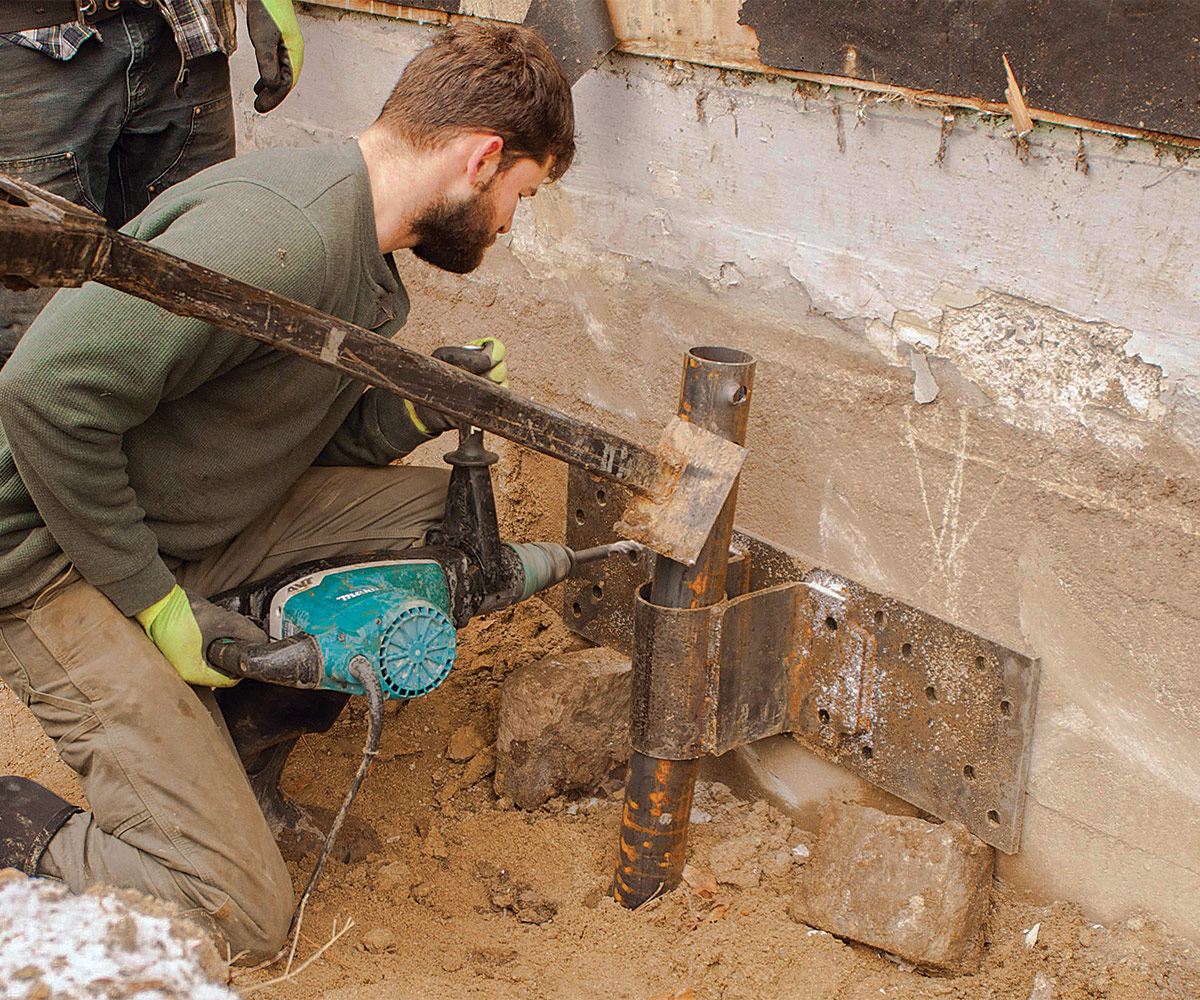
Based on the results of the test pier, the TMP engineer determined that we would need 12 piers with 12-in. helixes driven about 10 ft. deep. To prepare for the work, we rented a small excavator and dug a 2-ft.-deep trench along the two bearing walls, the front and back of the house. This allowed us to keep the piers and brackets hidden below grade when we backfilled.
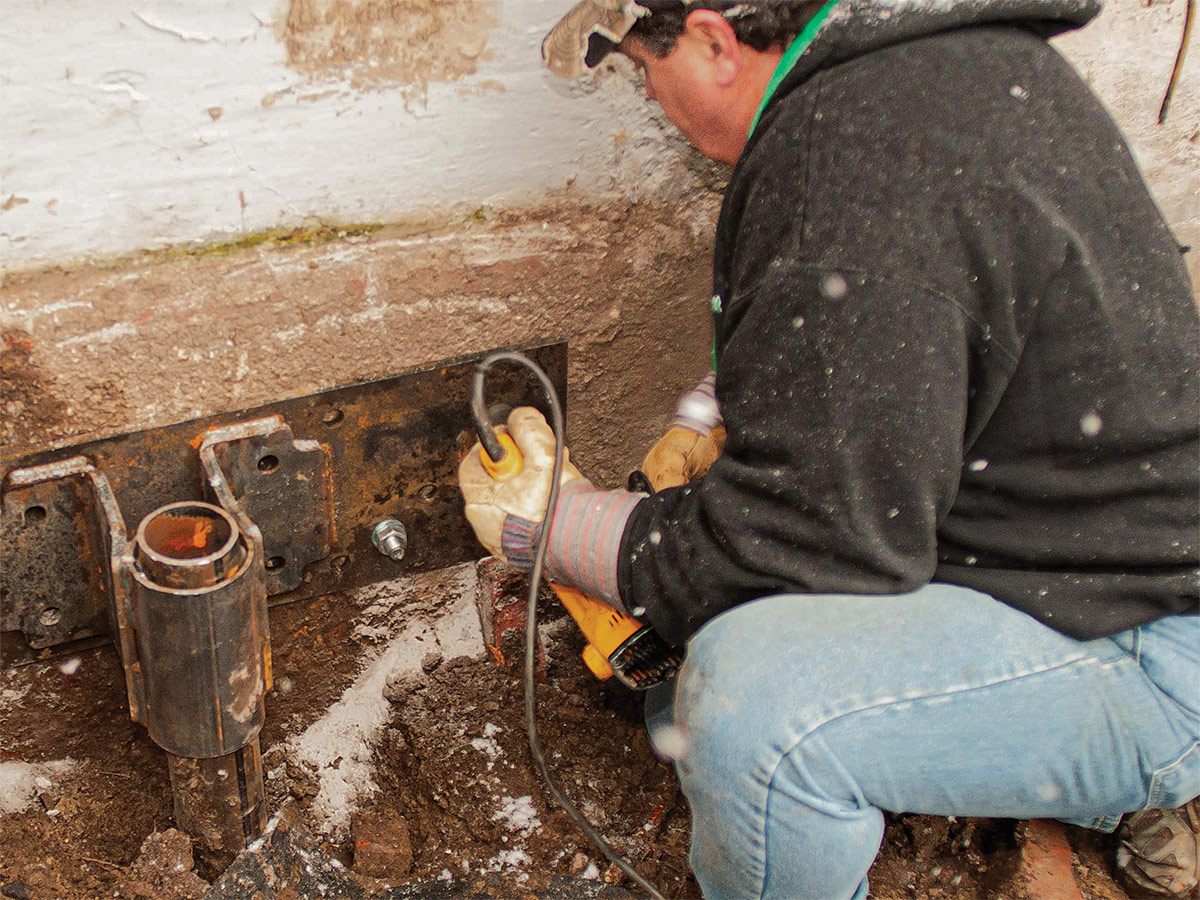
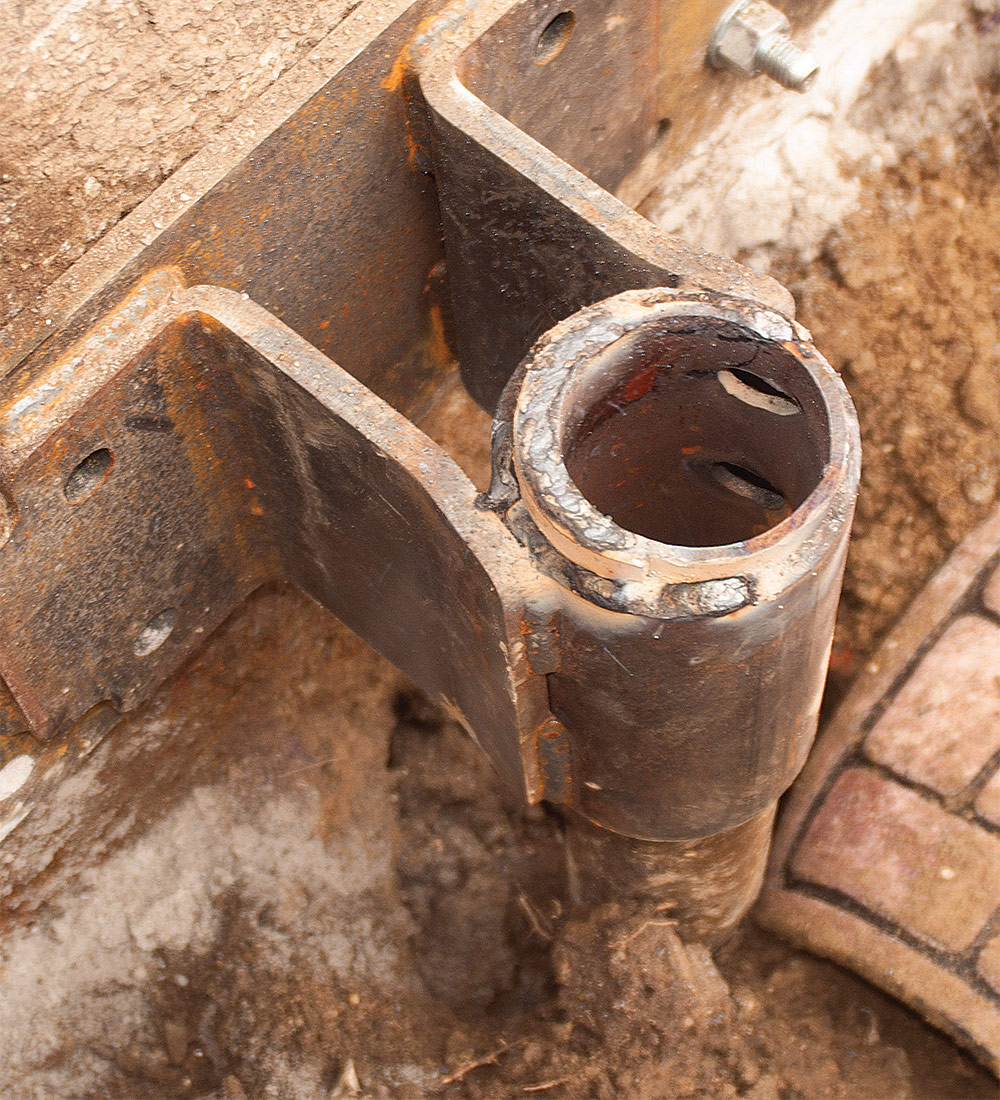
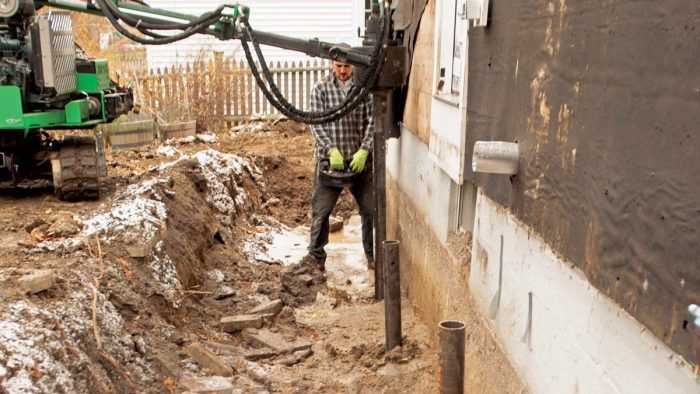
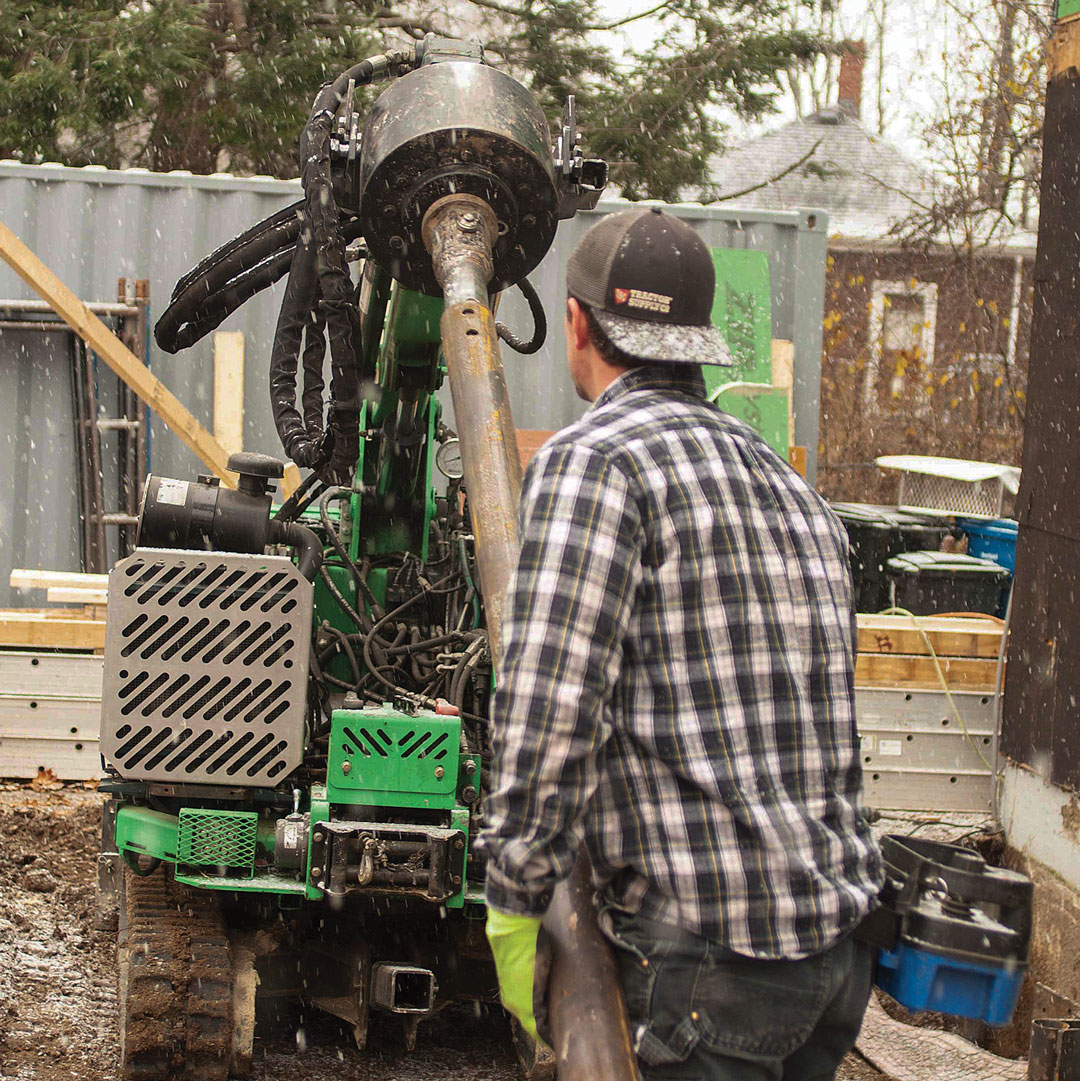
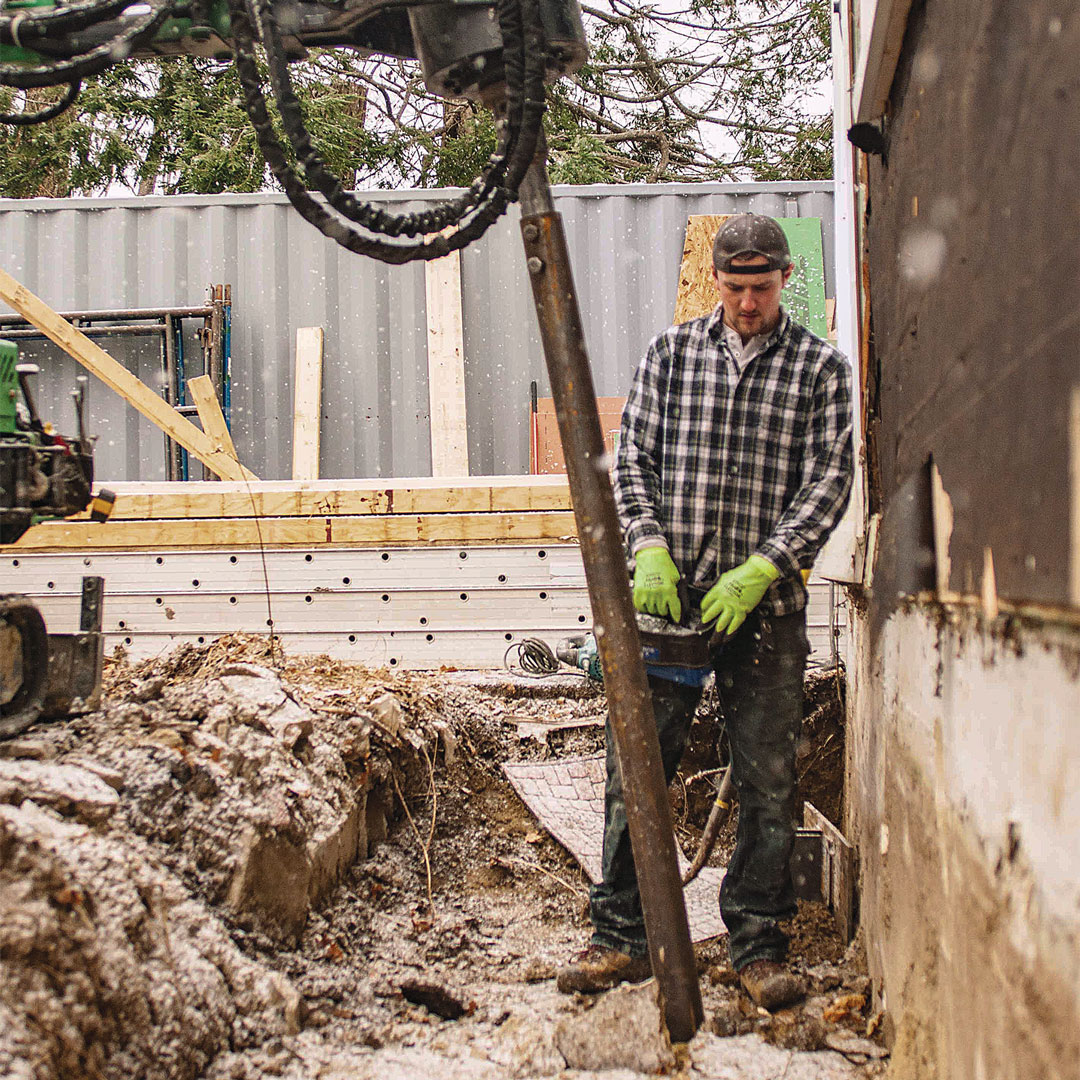
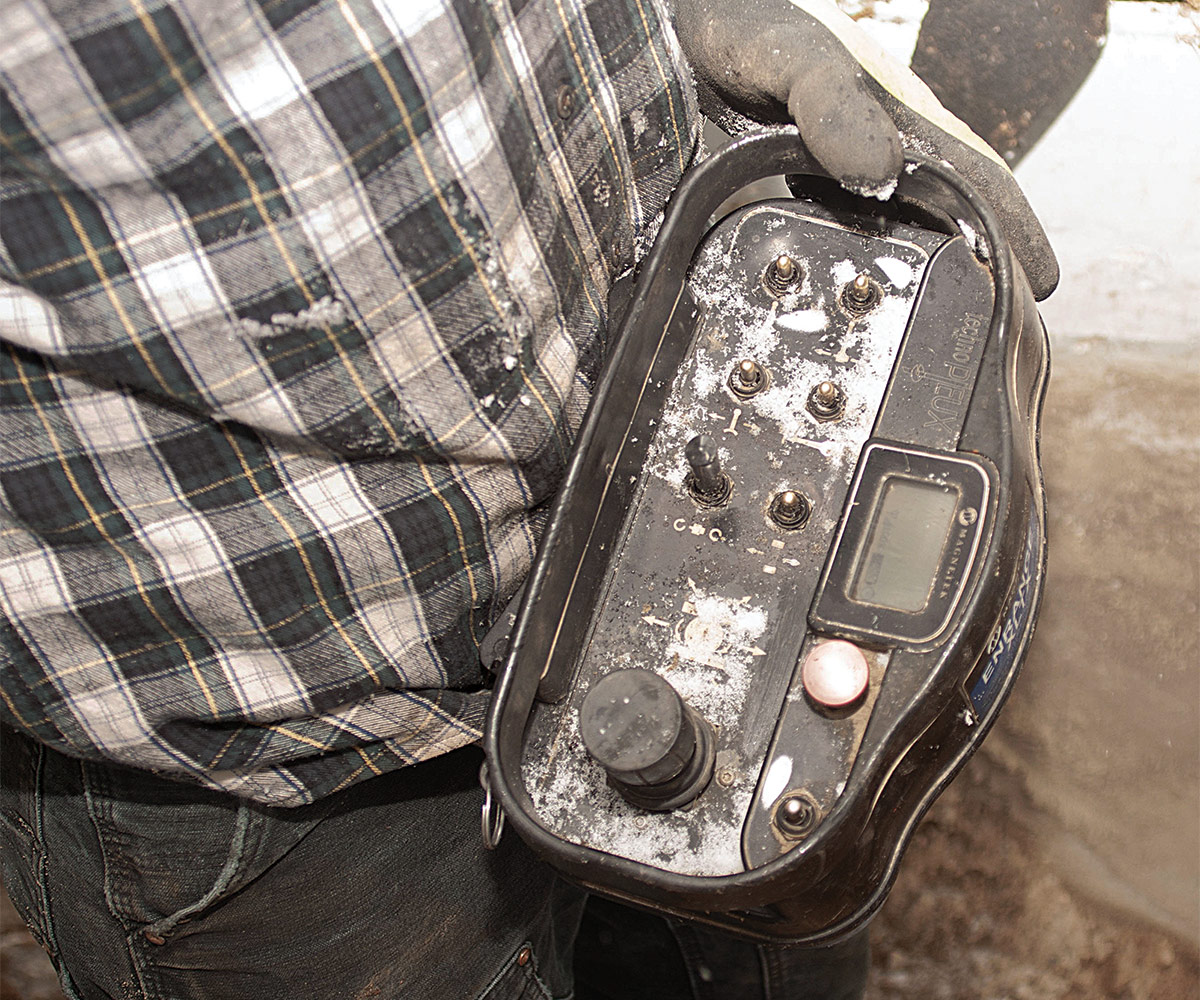
Next Brochu and crew showed up with their hydraulic driver and the piers. To stay tight to the foundation, they drove the piers at a slight angle, and then pushed the tops toward the foundation when they’d reached the depth they needed. They slid brackets over the tops of the piers and, maintaining pressure on the piers with the driver, bolted the brackets to the foundation walls. Brochu recorded all the torque readings on each pier in case anyone needs documentation in the future.
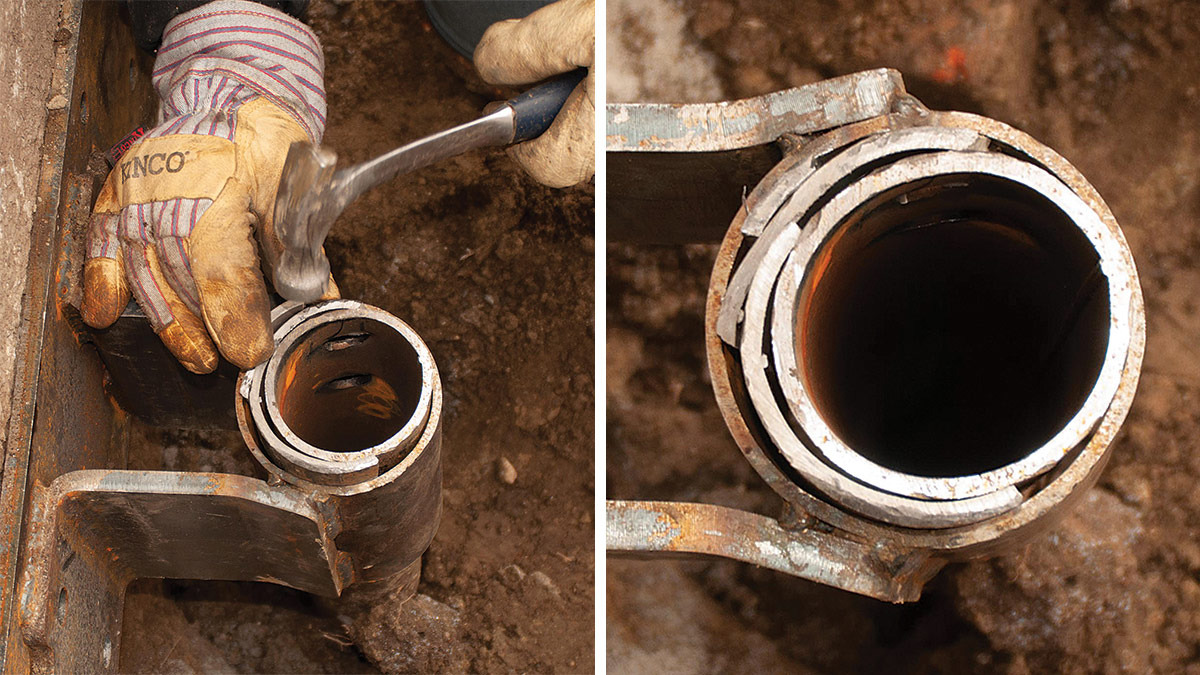
If we’d had to lift any sections of the foundation, at this point they would have bolted temporary plates above the piers and used regular hydraulic bottle jacks set on top of the piers to push the house up. But because there were no signs of movement, we were just shoring up in preparation for the increased load of the second-floor addition.
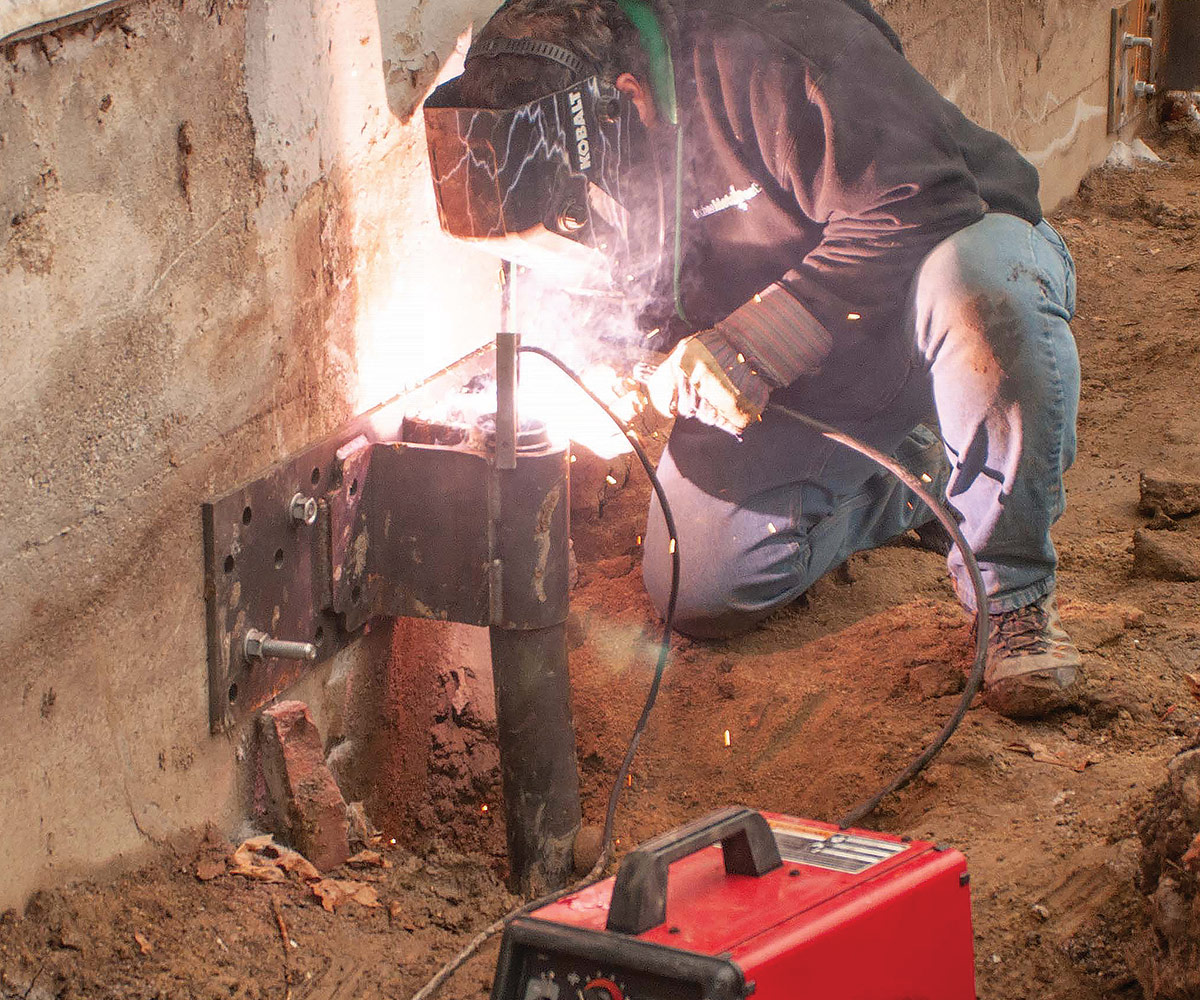
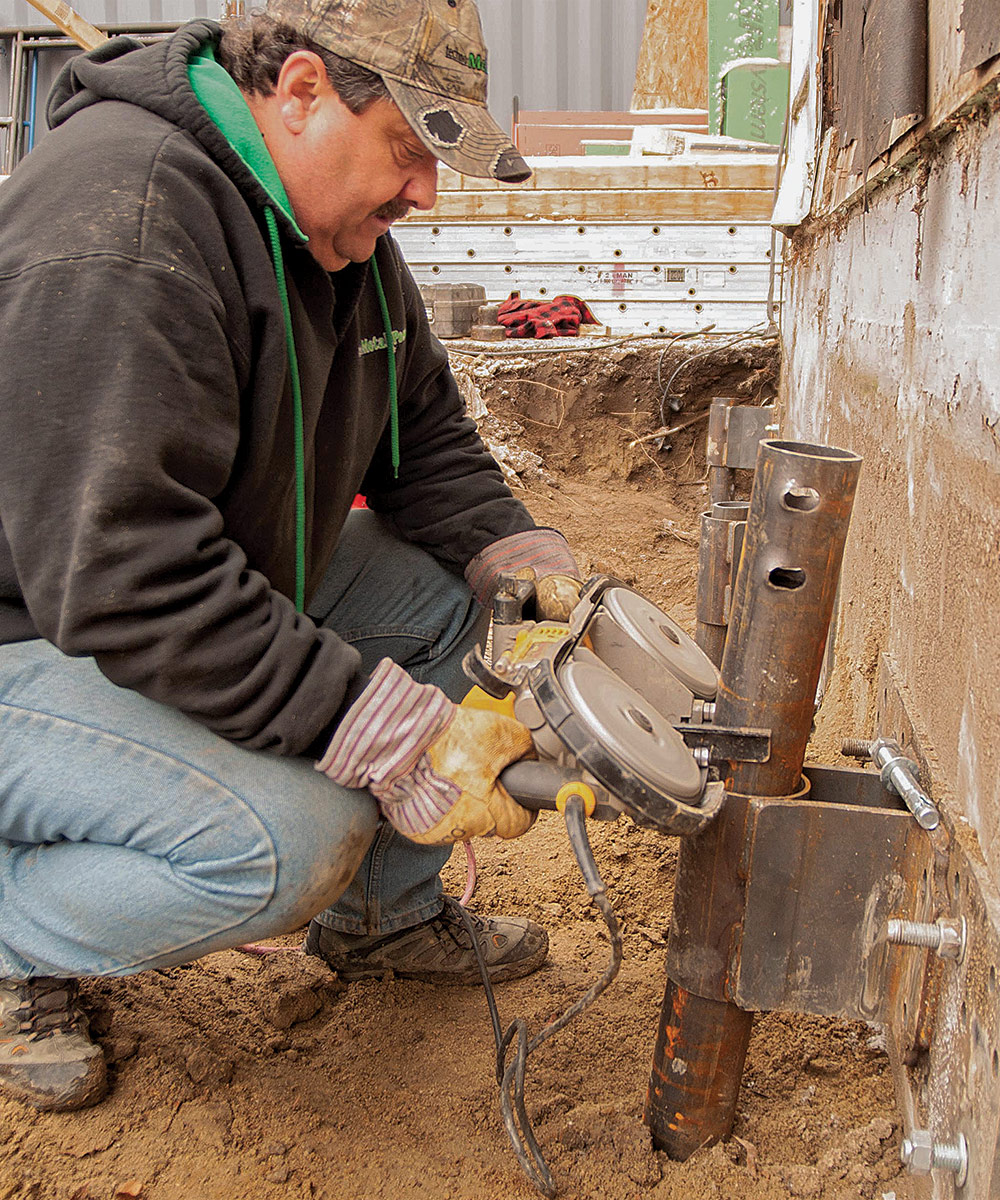
Once all the brackets were bolted on, the crew cut off the pier flush with the top of the bracket and welded the piers to the brackets. We then backfilled and were able to proceed with the job. Other than the fresh excavation, no hints of the work done remained.
Versatile and cost effective
This house had a specific problem for us to solve, but you can use this helical-pier technique to repair other foundation systems as well. Slabs on grade are relatively easy. Block walls are harder because you need to attach to the footings, since the block itself will separate if you lift from them. As I mentioned, you can also use helical piers to lift and level foundations.
On the project shown here, the cost of the work was about $14,000. That included renting an excavator, setting the piers, and digging and backfilling the trenches. We saved time and didn’t have to pour any concrete, and perhaps the most helpful thing was that we didn’t disturb the interior at all.
Dan Kolbert is a builder and remodeler in Portland, Maine. Photos by Scott Gibson.
