Mat Slabs: An Inventive Foundation for Difficult Sites
For building sites with tricky soil conditions, mat slabs provide an effective solution.
When it comes to cutting-edge technology, a mat slab fits the bill in several respects. Though little known 10 years ago, today mat slabs (AKA raft slabs) are standard solutions for building sites with difficult soil conditions. Typically reinforced with a double layer of rebar throughout its pad, a mat slab is capable of bearing loads at virtually any point and distributing heavy loads across an expanse of weak subsoil.
Mat slabs are particularly well suited to sites on moderate slopes, or where you will be cutting the building pad into a hillside. In the project shown here, mat slabs poured on several levels were a much quicker and more affordable alternative to drilled pier and grade beams because the slab did not require footing excavation and expensive pier drilling. The mat slab only required forms on the outside perimeter, cutting forming costs in half. The engineer determined that a tee footing was not a viable option given the soil conditions and hillside location.
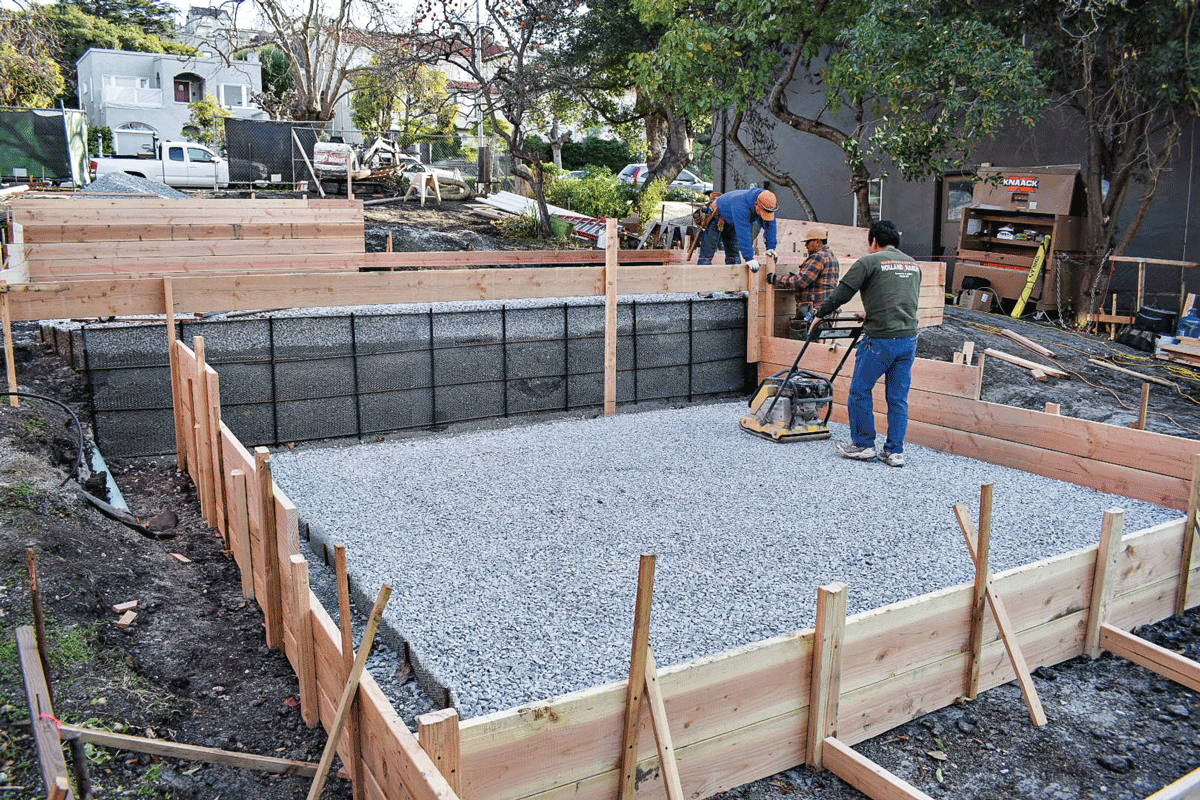
1. After the building pad was excavated, leveled, and compacted, perimeter forms were set and crushed drain rock was spread. The worker is using a tamper to compact 4 in. of crushed drain rock on undisturbed earth. The stone was held back along the perimeter so that the concrete at the edge of the slab would contain the gravel. Above the compacted stone, there will be 12 in. of concrete; around the perimeter, the concrete will be 16 in. thick.
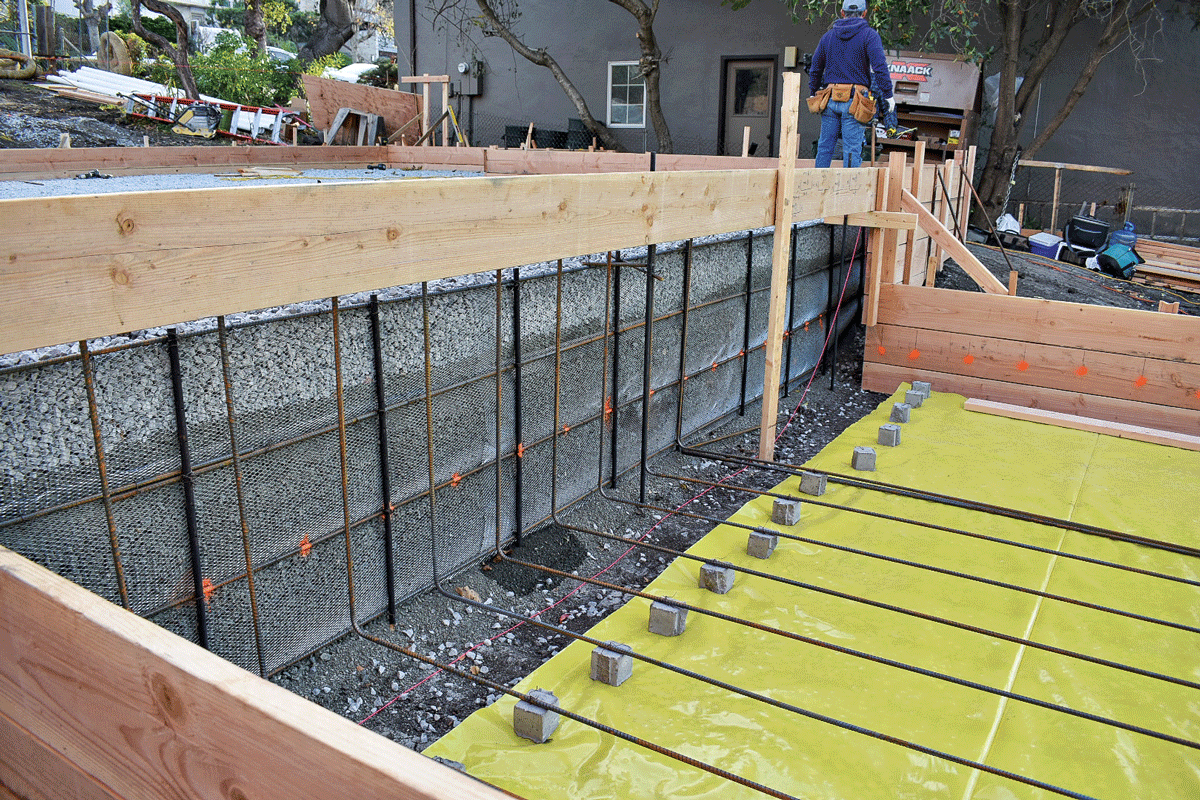
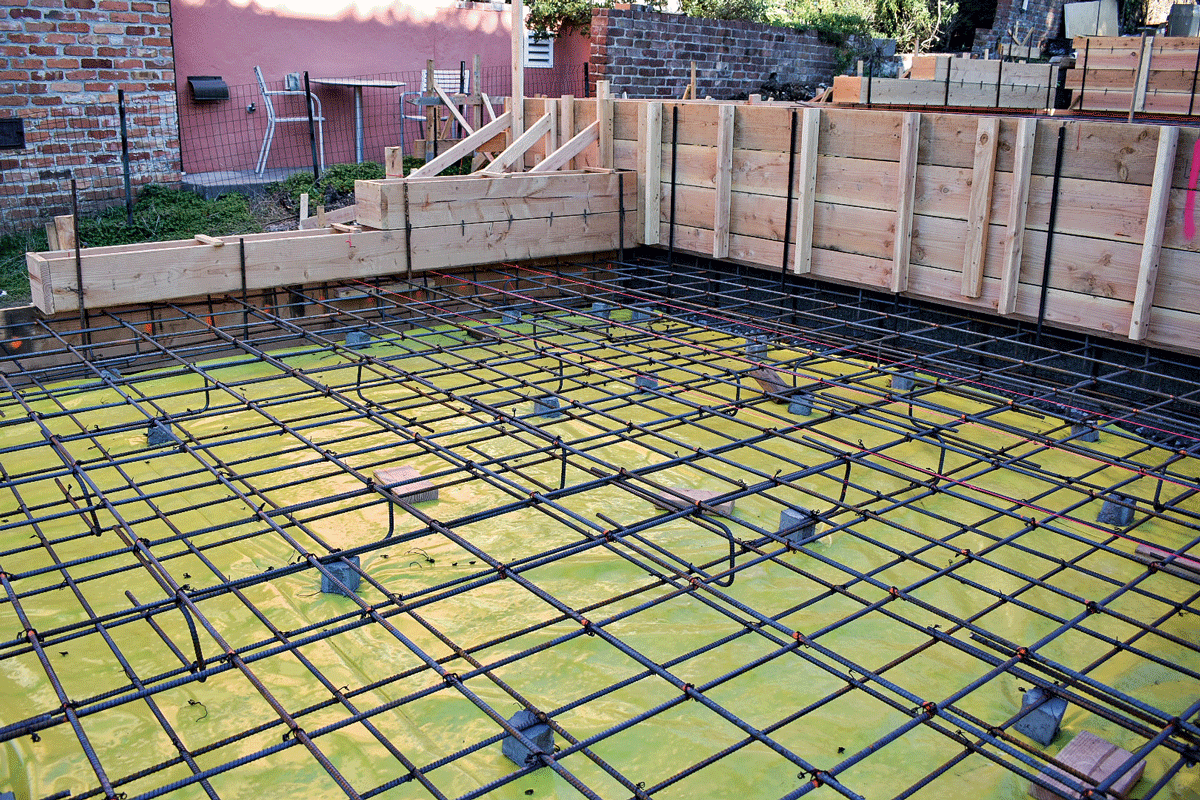
2. To create a clean step (a retaining wall) in the foundation, the crew drove in steel stakes, ran horizontal pieces of rebar behind the stakes, put in expanded metal lath behind the rebar, and then backfilled with stone. The yellow 16-mil plastic sheeting is a vapor barrier to prevent moisture from migrating up from the soil to the slab. Dobie blocks atop the sheeting will support the lower level of rebar. To facilitate installing rebar in the retaining wall, formboards are not yet in place.
3. After rebar was installed in the retaining wall, formboards were set and a double layer of rebar was placed in the slab in the foreground. C-shaped rebar spacers connect upper and lower rebar grids, keep the upper layer from sagging, and stabilize the grid during the pour.
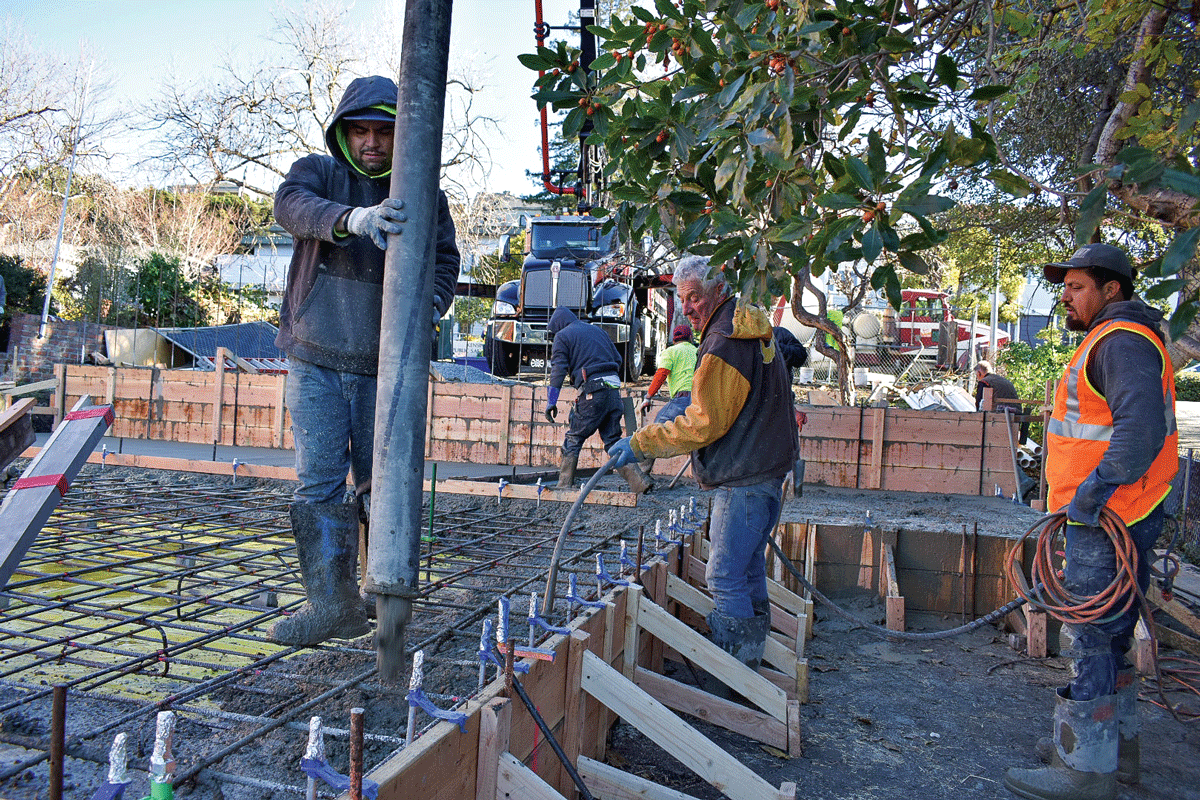
4. Because the concrete contains 3/4-in. gravel, the mix must be vibrated to be sure there are no air pockets. A boom truck was able to deliver concrete to distant parts of the forms on this 56-yd. monolithic pour.
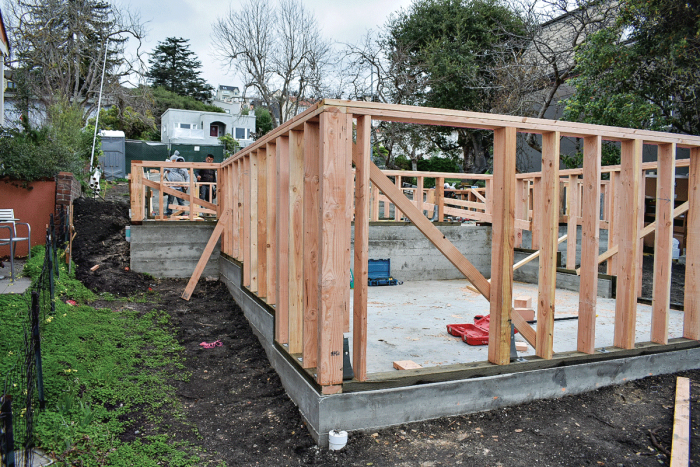
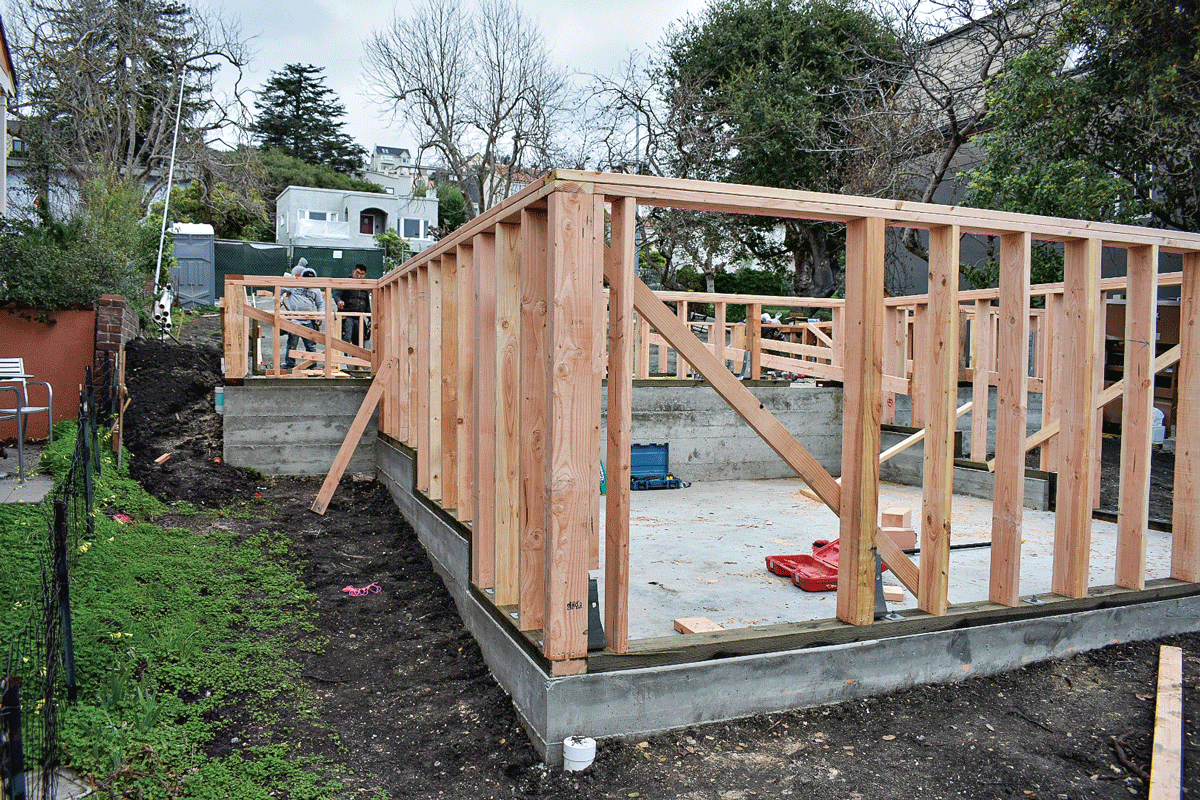
5. Framing commences on the finished mat slab. The concrete wall along the back edge is a step-down retaining wall between foundation levels.
This article was adapted from Renovation 5th Edition (Taunton, 2019). A hefty 656 pages, R5 is a trove of pro tips and techniques that builders shared with me over four decades, plus roughly 1000 photos taken on job sites across North America. I hope you find it useful. – Mike



View Comments
fantastic
Really Great work