Basic Saw Techniques
Follow these essential tips from builder Roe Osborn to make crosscuts and rip cuts and cut sheet goods and trim.

A circular saw might seem intimidating the first time you pick one up. That’s understandable, but with continued use you’ll come to see it as an essential framing tool. Don’t ever treat it casually or use it carelessly, because a circular saw injury is rarely insignificant.
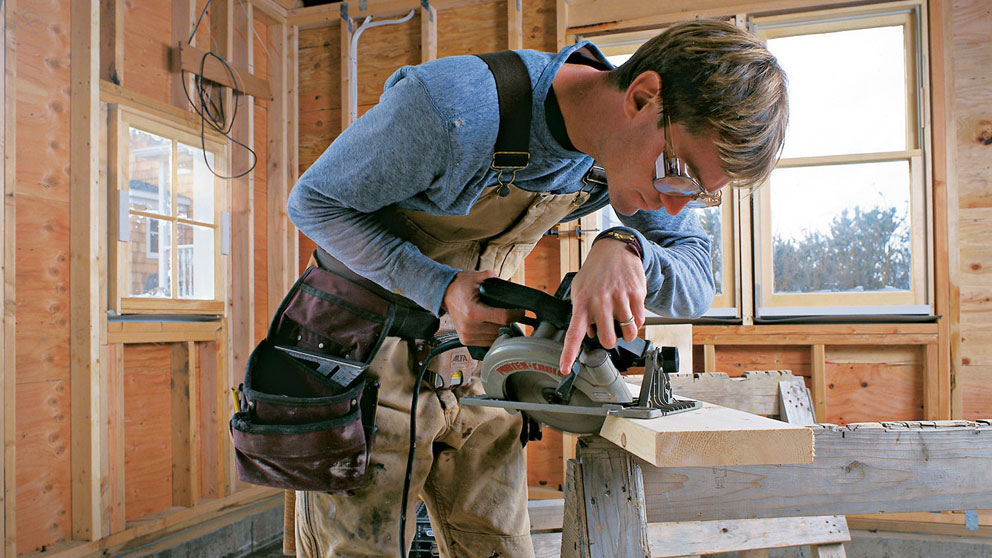
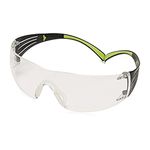
If you wear prescription glasses, you can have safety glasses made for your prescription or find models that fit comfortably over your regular glasses. These days, you’ll find safety glasses in many styles to fit any face comfortably. I count them as cheap insurance considering the alternative—losing my sight. By the way, standard sunglasses aren’t safety glasses. You need the real deal, a National Institute of Occupational Safety and Health (NIOSH) approved pair that offers serious protection.
Making a Crosscut
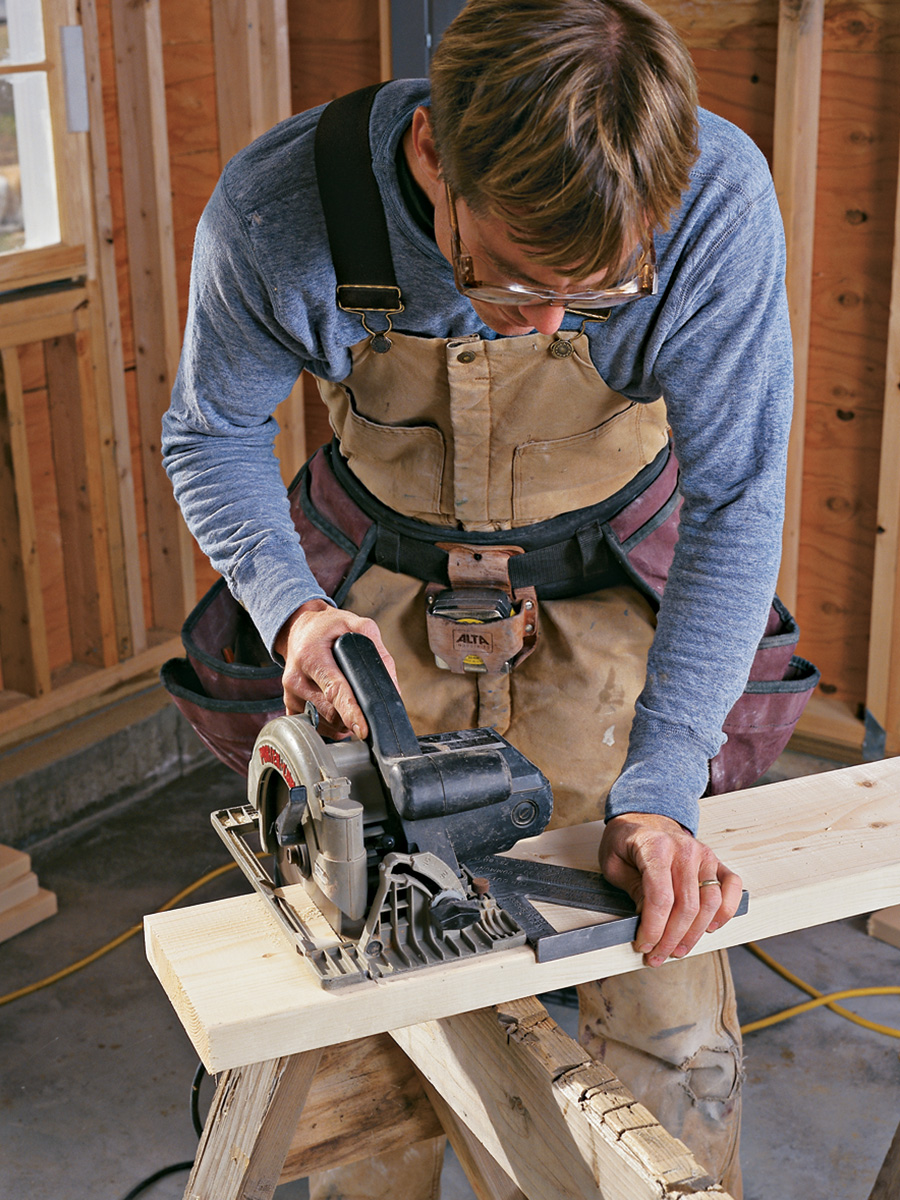
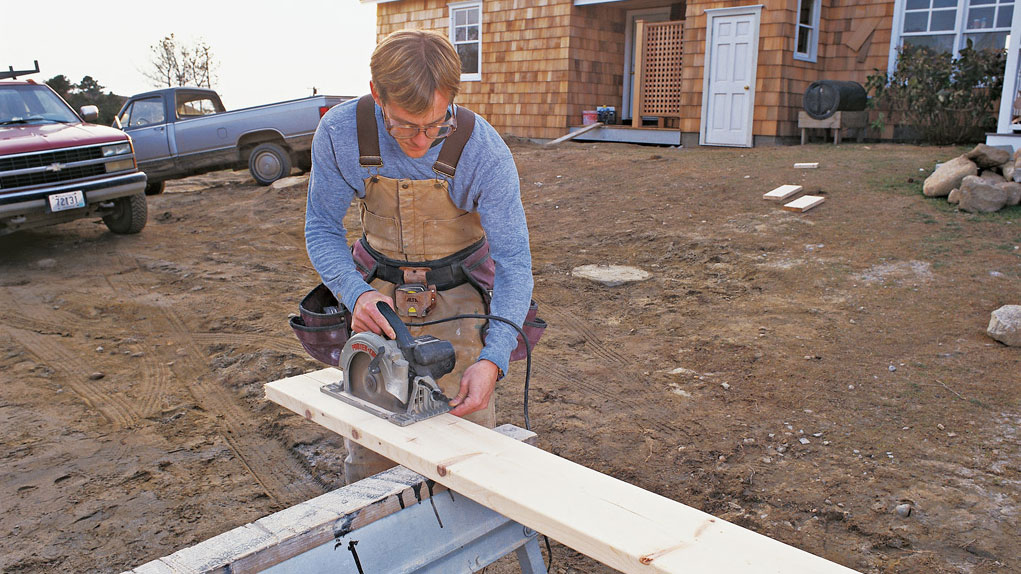
Most of the cuts you’ll make in the course of framing a house are crosscuts. These are cuts made across the grain of the wood. A cut made perpendicular to the edge of a board is a 90-degree crosscut, and, believe me, you’ll make a lot of these when cutting boards to length. If you think of the grain as a tightly compacted collection of string, a crosscut chops through the string like a knife or scissors.
Quite often in framing you can crosscut stock directly off the pile or “clip” (the factory-bundled package) of stock. Measure and mark the cut, then slide the board so that the waste end is hanging off the pile. By doing so, the weight of the waste pulls it naturally away from the blade. To make the cut, put the blade on the proper side of your layout line with the blade 1 in. or so away from the wood. Then pull the trigger, let the saw come up to speed, and cut straight through the wood using firm, steady pressure. Push the saw through the board until the waste drops free. Release the trigger and set up for the next cut.
Most framers use only one hand to push the saw and use the other to secure the stock, keeping it from slipping out of position. If the stock slides on the pile, you may find yourself cutting into other boards, or even worse, the saw may kick back and hurt you.
The Importance of Protecting Your EyesOne of the most important pieces of advice I can give you is this: Always wear eye protection while working with power tools (particularly circular saws). Safety glasses or goggles protect your eyes against flying splinters and clouds of sawdust. You might not see every pro wearing a pair on job sites, but that’s no excuse for not wearing them yourself. |
When you make a standard crosscut, the blade guard lifts automatically as the cut begins and then closes over the blade when the cut is complete. However, the guard doesn’t easily retract if the saw enters the wood at a steep angle. That’s also the case with a bevel cut, a type of crosscut made with the sawblade not at 90 degrees to the baseplate. (You’ll get plenty of practice with bevel cuts when it comes time for roof framing.) To prevent the saw from getting jammed as a bevel cut starts, you have to manually retract the guard until the blade is well engaged. Before starting the cut, rotate the guard lever up with your left hand, then pull the trigger and push the saw into the wood with your right hand (see the photo at right). Once the saw gets a good bite on the wood, you can release the guard lever. With both hands working the saw it’s often hard to hold the board steady, so pin it down with a knee or a clamp, or have a helper hold it steady as you make your cut.
Sooner or later a saw will get hung up in a cut for any number of reasons. The saw will suddenly feel sluggish and you’ll hear a difference in its sound. Your first reaction will be to pull the saw backward slightly to take another run at the cut. Don’t do it! Instead, release the trigger immediately and hold the saw in place until the blade stops. Pulling the saw backward while the blade is spinning is just asking for
Making a Rip Cut
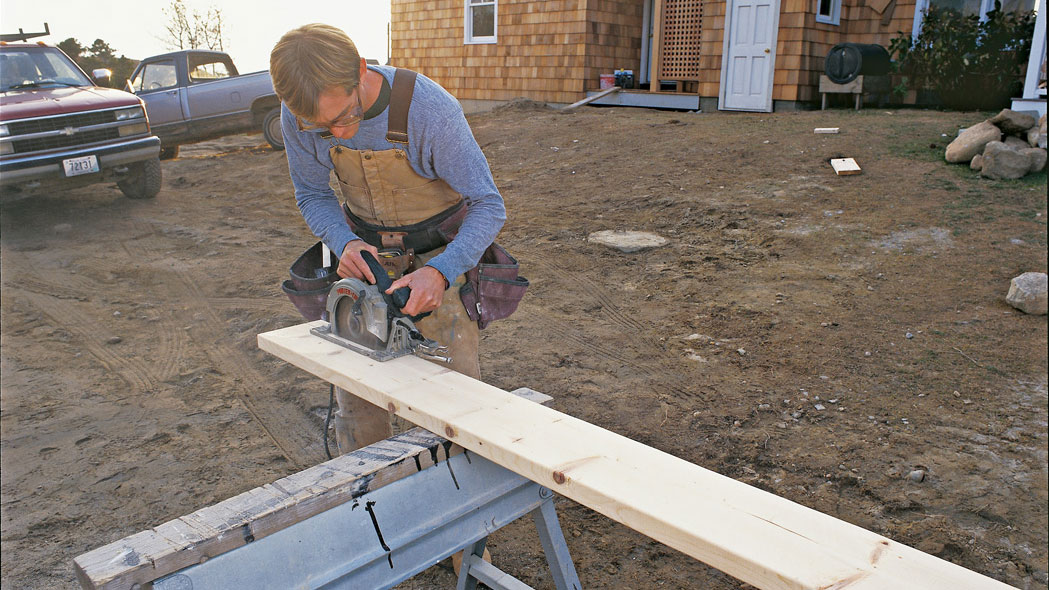
A cut made parallel to the grain or edge of a board is called a rip cut. One example would be ripping a 1×6 into a 1×4. Rips are made along the length of a board so they are typically longer than crosscuts. There are several ways to guide the saw while making a rip cut.
 |
 |
If a guide isn’t available, you can use locking pliers (left) or your finger (right) as a rip guide.
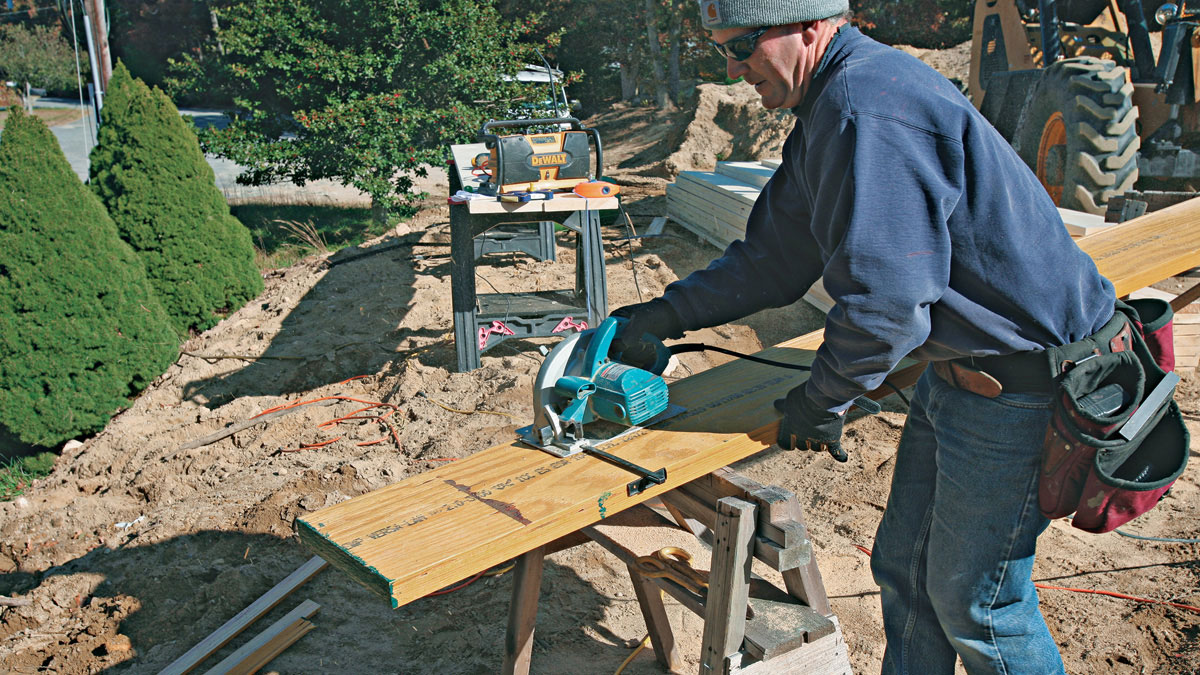
The first method is to use the rip guide (sometimes called a rip fence) that comes with the saw. Line the saw up with the cut line, then slide the guide to the edge of the board and secure it to the saw by tightening the thumbscrew. Let the guide ride along the edge of the board as you make your cut. Be careful not to let the saw pivot on the guide, especially at the end of the cut, which would likely result in kickback.
Another way to guide the saw for thin rips is attaching locking pliers to the saw table. Likewise, your finger can make a decent rip guide in a pinch.
Cutting Sheet Goods and Trim
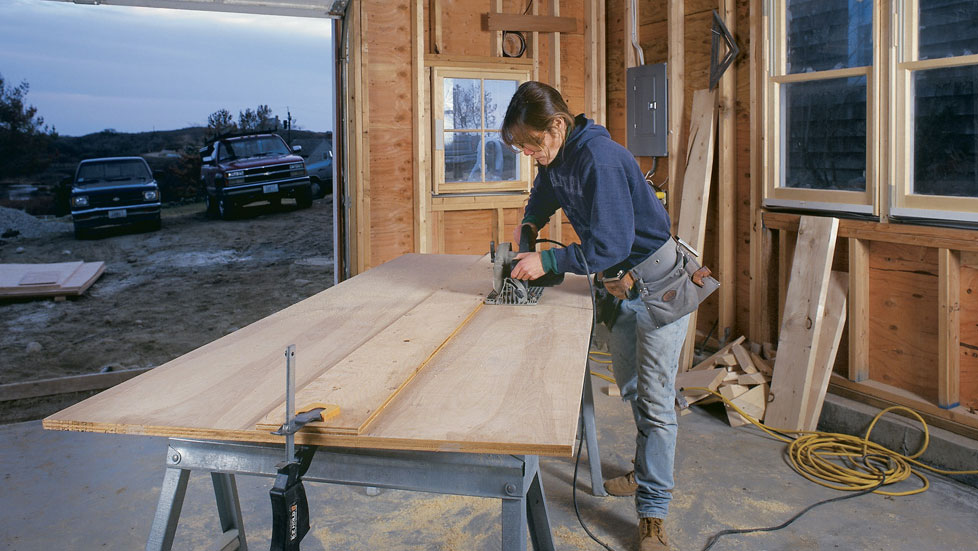
To build a house you’ll cut a lot of sheathing. When cutting sheet goods, it’s often easiest to work off the pile. First be sure the blade is at the proper depth for the sheathing that you’re cutting. Place a 2× between the sheet you’re cutting and the sheet below to separate them. For long, narrow cuts you may need a rip guide, or you can clamp a guide board to the sheet. For most sheathing cuts, however, you probably won’t need a guide if you can follow the line reasonably well.
Minimizing tearout on trim A circular saw actually cuts from the bottom of the board to the top, so the cleanest cut is usually on the bottom side. The top edges where the blade is exiting are more likely to be rough or tear out. For most framing, tearout is not something to worry about. However, if you use a circular saw to cut trim boards such as rakes and fascias, where the cut will forever be visible, tearout can render a joint unacceptable.
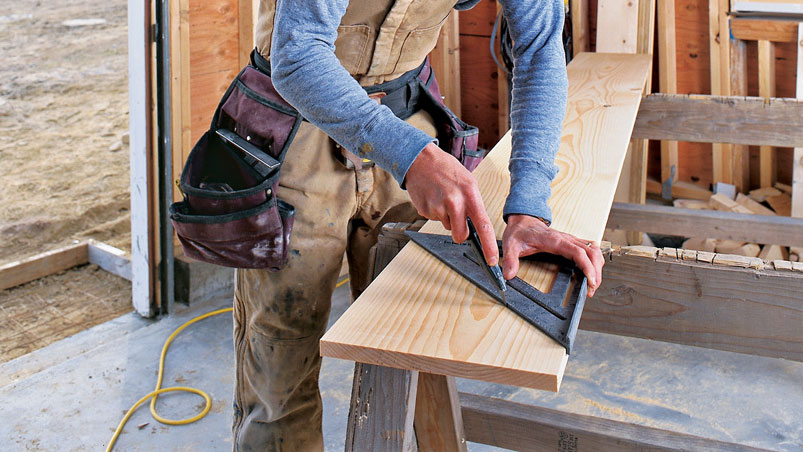
There are two ways to minimize tearout. The first is to cut from the back side of the board. In this case, the cut line needs to be transferred to the back so you can cut with that side facing up. Another method is to score the cut with a utility knife before making the cut, as shown in the photo above. Scoring actually precuts the top of the board so the blade doesn’t lift the grain as it exits.
Fine Homebuilding Recommended Products
Fine Homebuilding receives a commission for items purchased through links on this site, including Amazon Associates and other affiliate advertising programs.
Guardian Fall Protection Pee Vee
Protective Eyewear
Leather Tool Rig

