Fast, Accurate Floor Sheathing
Working together, a four-person crew finishes a subfloor in an hour.

Synopsis: North Carolina builder Danny Kelly has figured out a way to install a subfloor on an average-size house in about an hour. With a four-person crew, two carpenters move and cut panels, and two place and nail the sheets to the joists. This article provides step-by-step instructions for both teams, as well as a list of dos and don’ts to follow. A key time-saving technique that Kelly’s crews follow is letting panels overhang the band joist until all of them are in place. They can then be cut flush with the band joist. Likewise, Kelly recommends cutting in place odd-sized panels such as the ones around a crawlspace opening. A sidebar by Massachusetts builder Brian McCarthy explains how to install a new subfloor in an old house that’s out of square.
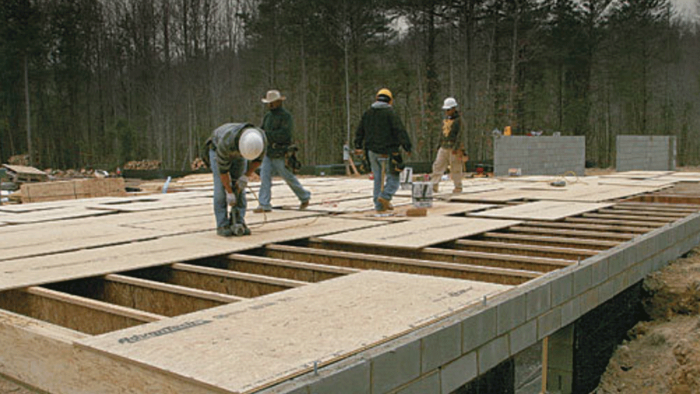
As a carpenter turned general contractor, I’m always happy when we start installing the subfloor on the first level of a new house. Floor sheathing means that we can finally stop slogging around in the mud and will soon have a nice level surface for setting up tools and ladders. Sheathing a floor like the 1800-sq.-ft. one shown here can take all day with an inexperienced crew, but the guys I work with were able to bang out this floor in a little under an hour.
On most houses, the longest exterior wall perpendicular to the floor joists is the place to start sheathing a floor. With a four person crew, two carpenters move and cut panels, and two place and nail the sheets to the joists.
We cut the sheets to length after they’ve been nailed in place; this is faster and eliminates layout and measuring mistakes. We’re careful to cut floor sheathing flush with the band joist. Otherwise, overhanging pieces will prevent the wall sheathing from fitting tight to the band joist. To get the sheets to fall on the center of the floor joists, subtract 3 ⁄4 in. from the first joist cavity. Then the first sheet can start flush with the band joist without any waste.
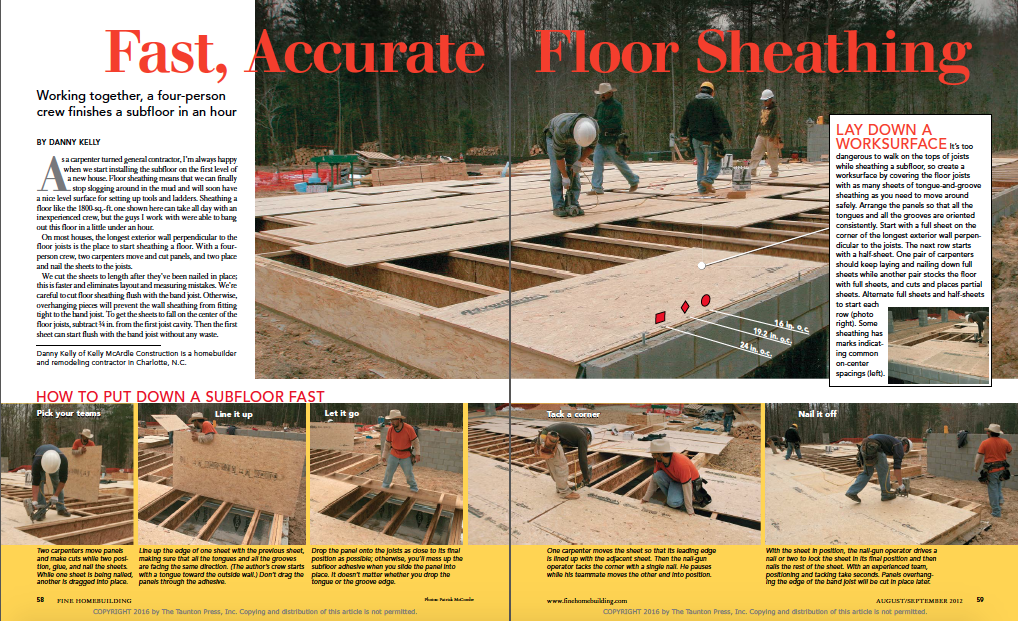
 How to put down a subfloor fast

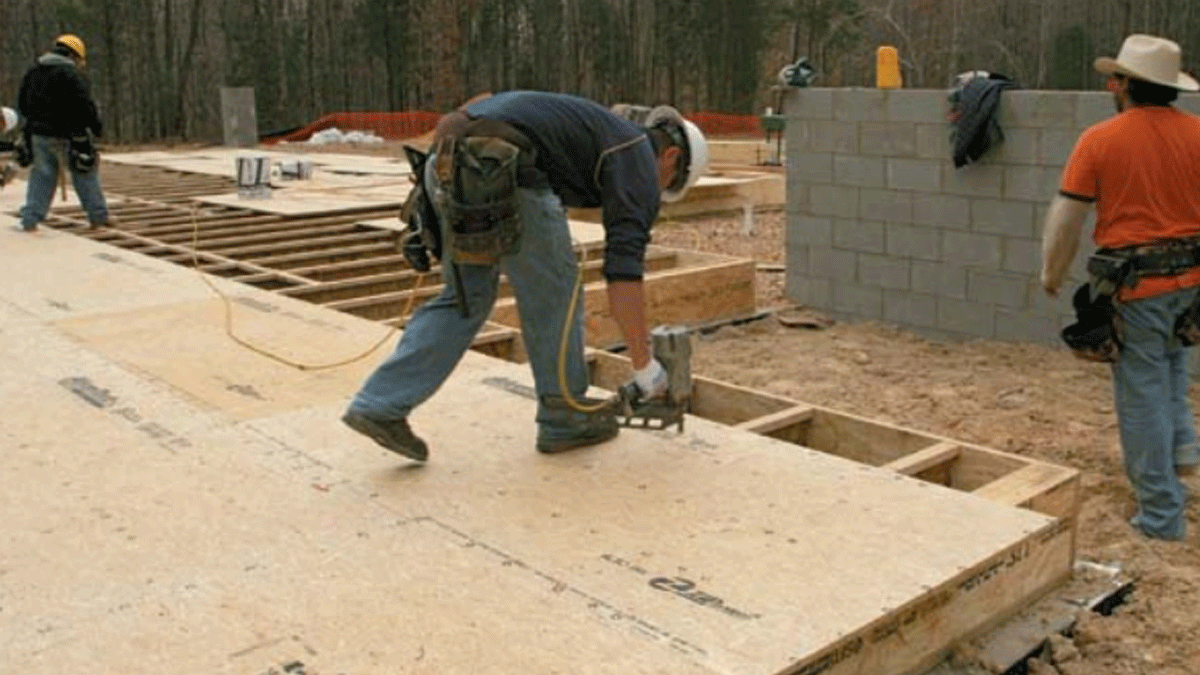
Pick your teams- Two carpenters move panels and make cuts while two position, glue, and nail the sheets. While one sheet is being nailed, another is dragged into place.
Line it up- Line up the edge of one sheet with the previous sheet, making sure that all the tongues and all the grooves are facing the same direction. Don’t drag the panels through the adhesive.
Let it go- Drop the panel onto the joists as close to its final position as possible; otherwise, you’ll mess up the subfloor adhesive when you slide the panel into place. It doesn’t matter whether you drop the tongue or the groove edge.
Lay down a work surface
It’s too dangerous to walk on the tops of joists while sheathing a subfloor, so create a work surface by covering the floor joists with as many sheets of tongue-and-groove sheathing as you need to move around safely. Arrange the panels so that all the tongues and all the grooves are oriented consistently. Start with a full sheet on the corner of the longest exterior wall perpendicular to the joists. The next row starts with a half-sheet. One pair of carpenters should keep laying and nailing down full sheets while another pair stocks the floor with full sheets, and cuts and places partial sheets. Alternate full sheets and half-sheets to start each row. Some sheathing has marks indicating common on-center spacings.
For photos, the dos and don’ts of floor sheathing, and what to do when the floor isn’t square, click the View PDF button below.


