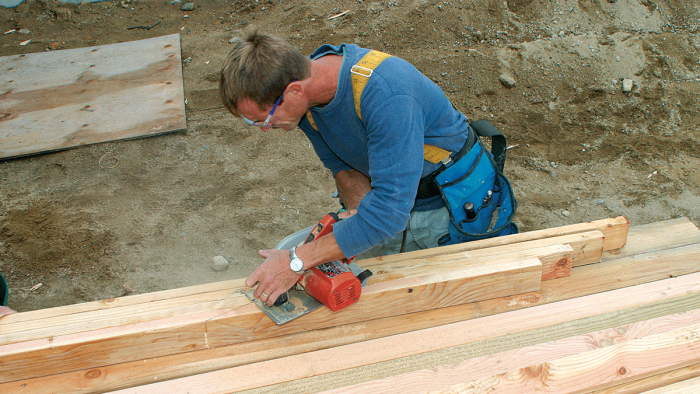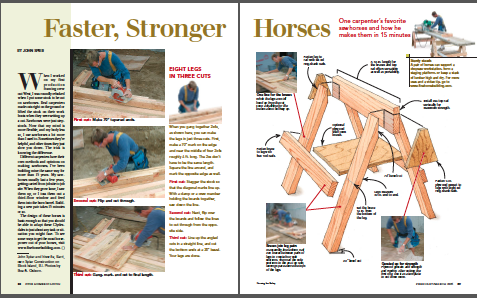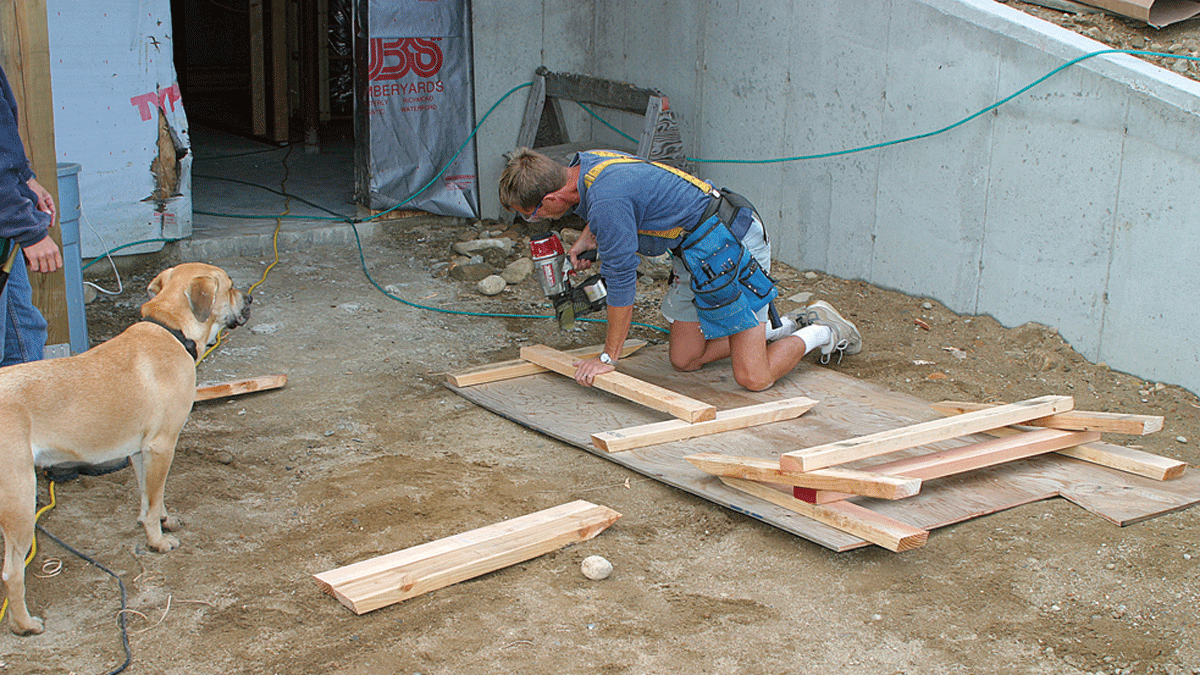
Synopsis: Step-by-step photos and an exploded drawing illustrate a quick way to make very sturdy sawhorses. Cutting multiple pieces at once is a key to working efficiently here.
When I worked on my first production framing crew out West, I was roundly rebuked when I put some stock to be cut on sawhorses. Real carpenters made cuts right on the ground or lifted the stock on their work boots when they were setting up a cut. Sawhorses were just step-stools. Now that my mind is more flexible, and my body less so, I use sawhorses a lot more than I used to. Sometimes they’re helpful, and other times they just slow you down. The trick is knowing the difference.
Different carpenters have their own methods and opinions on making sawhorses; I’ve been building mine the same way for more than 15 years. My saw-horses usually last a few years, getting carted from job site to job site. When they grow lame, I saw them up, or I toss them out a third-floor window and feed them into the burn barrel. Building a new pair takes 15 minutes or so.
The design of these horses is basic enough so that you should be able to adapt these Clydesdales to just about any task or situation you might face.

From Fine Homebuilding #169
Fine Homebuilding Recommended Products
Fine Homebuilding receives a commission for items purchased through links on this site, including Amazon Associates and other affiliate advertising programs.

Handy Heat Gun

Reliable Crimp Connectors

8067 All-Weather Flashing Tape


