Frame a Door Rough Opening
A pro carpenter teaches you his 3 simple rules for framing door rough openings efficiently.
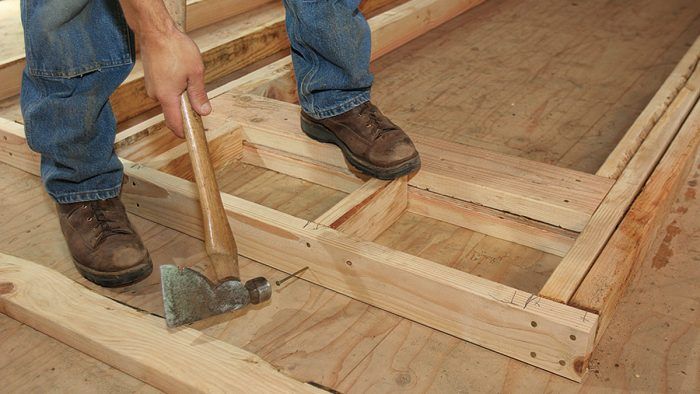
If you can cut a 2×4 and drive a nail, then you have all the skills you need to frame door rough openings. As with most home-building tasks, however, there’s a fine line between getting it done and doing it efficiently, without causing headaches down the line.
This process works for any project
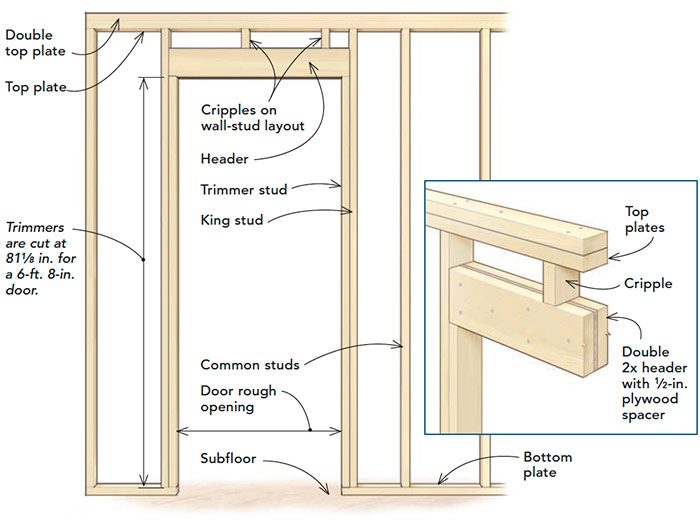
Whether framing for a door in a new home or on a remodeling project, I follow the same sequence. I always frame rough openings before I install the surrounding studs. This gives me plenty of room to nail the trimmers to the king studs and the king studs to the header. If the wall is load-bearing, I refer to the plans for the proper header size. If not, a 2×4 on the flat replaces the header. In this case, the plans called for a double 2×8 header. I added a 1/2-in. piece of plywood between the 2x8s so that the header width matches the 2×4 stud thickness.
Most new doors are 6 ft. 8 in. tall. Add 3/4 in. for the jamb, 3/4 in. for finish flooring, 3/8 in. for underlayment, and 3/4 in. for wiggle room at the top of the door, and the top of the trimmer (the bottom of the header) needs to be 82 5/8 in. above the subfloor. This height can vary slightly in a remodeling project depending on what’s happening with the existing floors. Door widths vary, but an easy way to size the rough opening is to use the door width plus 5 in. as the distance between the king studs.
There are three simple rules to framing rough openings efficiently: Minimize layout marks; maintain a simple, consistent nailing pattern; and avoid toenailing when possible.
1. Mark all the plates at once
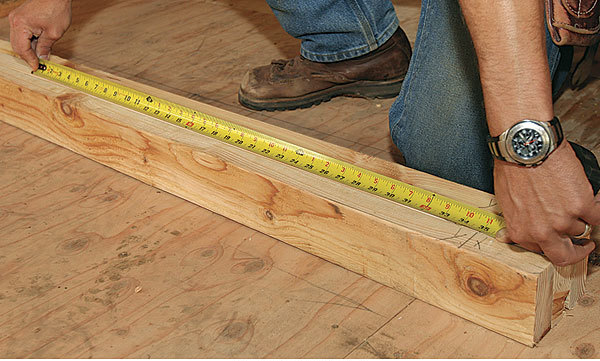
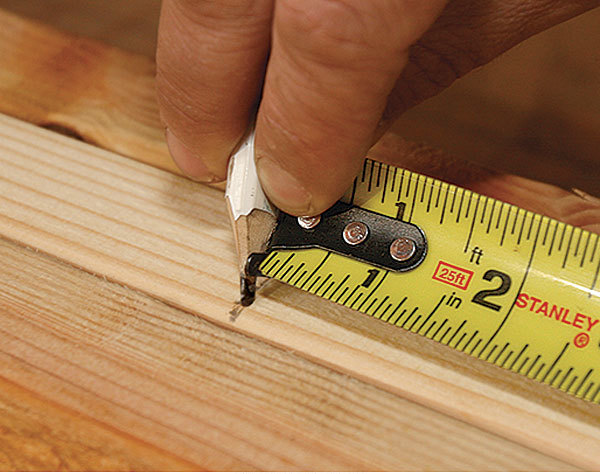
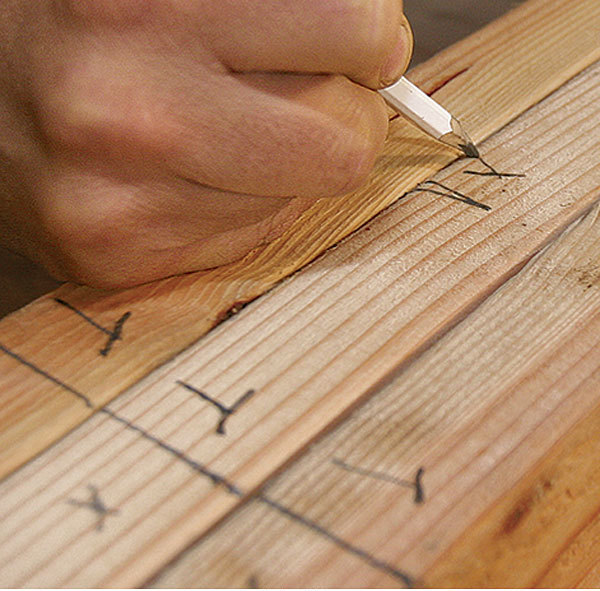
2. Assemble the parts, then transfer the layout
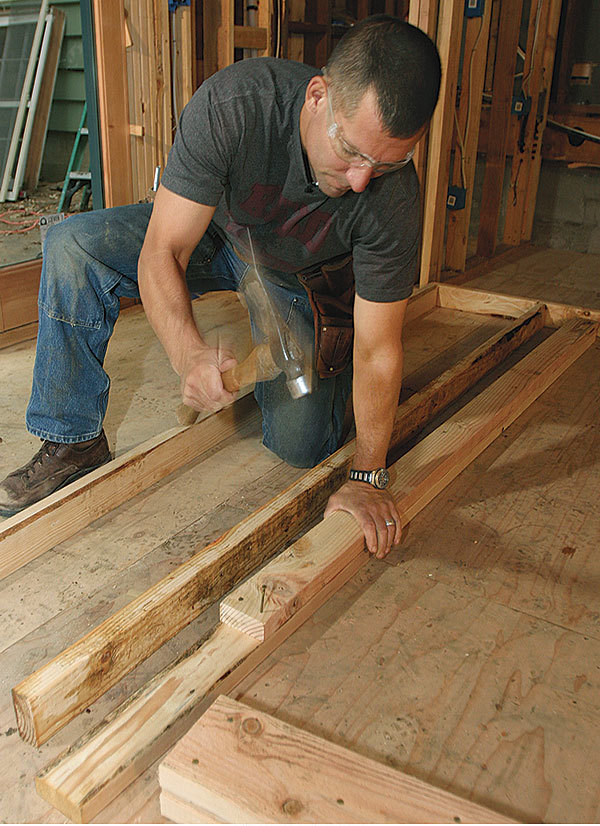
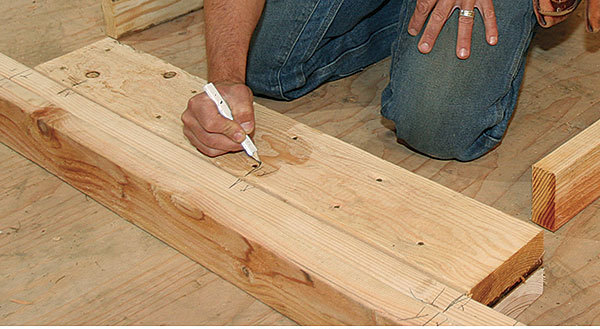
3. Sequence assembly to avoid toenailing
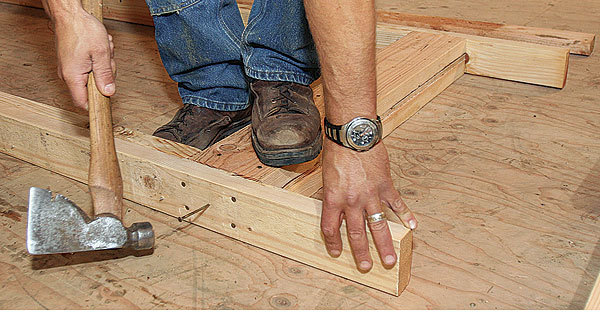
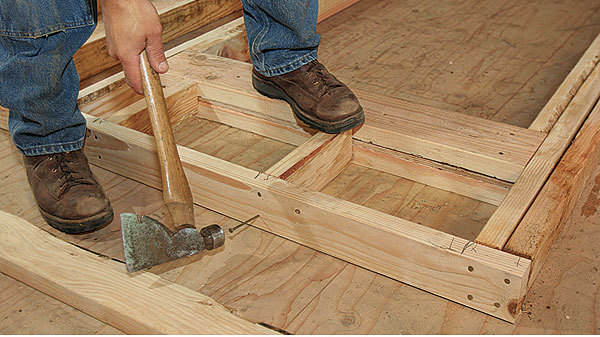
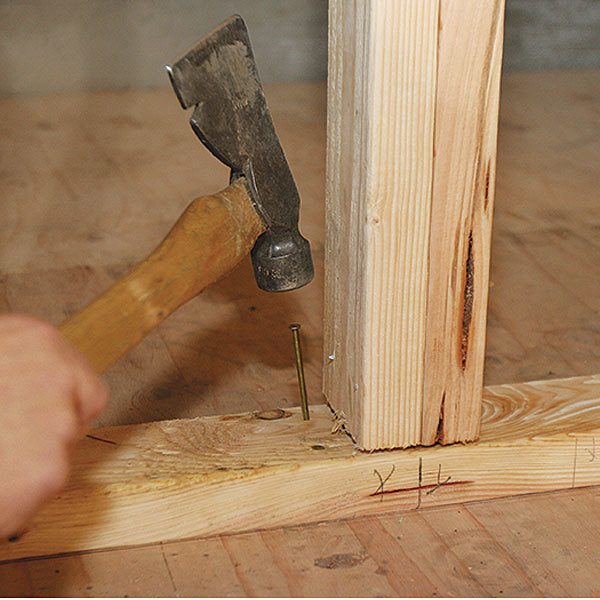
Bonus feature:
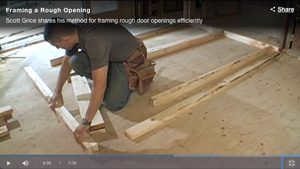
Watch a video of Scott framing this rough opening where he:
- Explains why he uses a rigger’s hatchet instead of a regular hammer
- Gives an overview of the anatomy of a wall so that you are familiar with all of the framing parts
- Demonstrated the entire rough-opening framing process detailed in this article
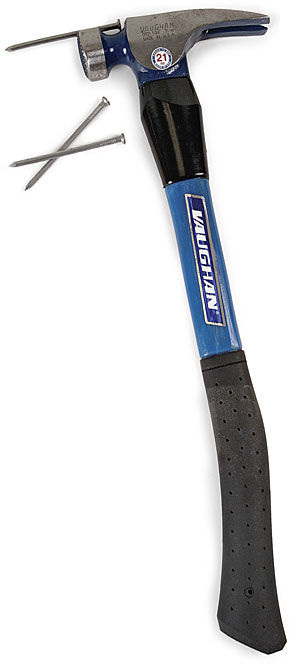
Just a hammer, pleaseIs framing with a hatchet not for you? There are hundreds of hammers on the market with everything from skulls and crossbones on the side to $180 price tags. If you’re looking for a straight-up framing hammer with good features and no frills, the Vaughan Bluemax (www.vaughanmfg.com) should fit the bill. The 21-oz. hammer has a strong fiberglass shank with a curved handle designed to resist arm fatigue. If your aim isn’t perfect, there is a high-impact overstrike guard under the head to protect the shank. The head itself has straight claws for prying and striking framing lumber. The oversize striking face comes smooth or milled with a nail-gripping waffle pattern. A magnetic nail holder is incorporated into the head to help you start nails with one hand when you’re stretched out on a ladder. The hammer costs about $35, which should leave a little money left over to buy some nails. |
—John Ross is an associate Web editor.
Photos by: John Ross, except where noted; drawing by: Dan Thornton
More on Door Framing:
Not-So-Rough Openings – Framing exterior openings precisely will make installing the windows and doors a breeze.
11 Golden Rules of Framing – Test yourself: How many do you know? How many do you use?
10 Golden Rules of Framing – Editors distill their favorite nuggets of framing wisdom from 36 years of Fine Homebuilding.
10 Rules for Framing – Veteran framer Larry Haun has been building house for over 50 years. And having started out in the housing tracts of Southern California, he has learned to be as efficient as possible about the process. Here he distills his experience down to 10 fundamental rules.
Troubleshooting a Prehung Door Installation – If you know where things go wrong, you can install a door that will swing the way it’s meant to for years to come.
Plumb Perfect Prehung Doors – Believe it or not, you need the level only once, and that’s before you ever touch the door.
Fine Homebuilding Recommended Products
Fine Homebuilding receives a commission for items purchased through links on this site, including Amazon Associates and other affiliate advertising programs.
Short Blade Chisel

Sledge Hammer
100-ft. Tape Measure



View Comments
I am sure you'll learn how to make it if you'll read Wood Prix HANDBOOKS from cover to cover :)