
Laying Out Stud Walls
From load path to jack studs, keep these four considerations in mind.
How you lay out the stud locations in a wall affects everything that comes after, from sheathing, to hanging drywall, to plumbing and HVAC rough-in, to trimming the interior. The stud layout is marked on the plates—the horizontal members at the top and bottom of a wall. It’s worth taking the time to find straight, long stock for the plates, and to cut them accurately to length. The blueprints will rarely, if ever, specify the location of every stud, so the carpenter is expected to understand framing principles well enough to get the layout right regardless of the level of detail on the plans.
There are four things to consider when laying out a wall.
The first is load path. Loads are the weight of rafters, floor joists, and beams that bear on the wall from above. Each of these needs at least one stud below it; often more than one in the case of beams and headers, which transfer loads around openings. The locations of these point loads—below beams, for example—as well as the number of studs required below each, should be called out on the plans. These studs are usually nailed together into a post before installation. The studs of any wall above the first floor of a house should stack on the joists and studs below to form a load path all the way to the foundation. This isn’t just a load-path consideration; stacked framing makes the job of the mechanical trades—running ducts, pipes, and wire—much easier.
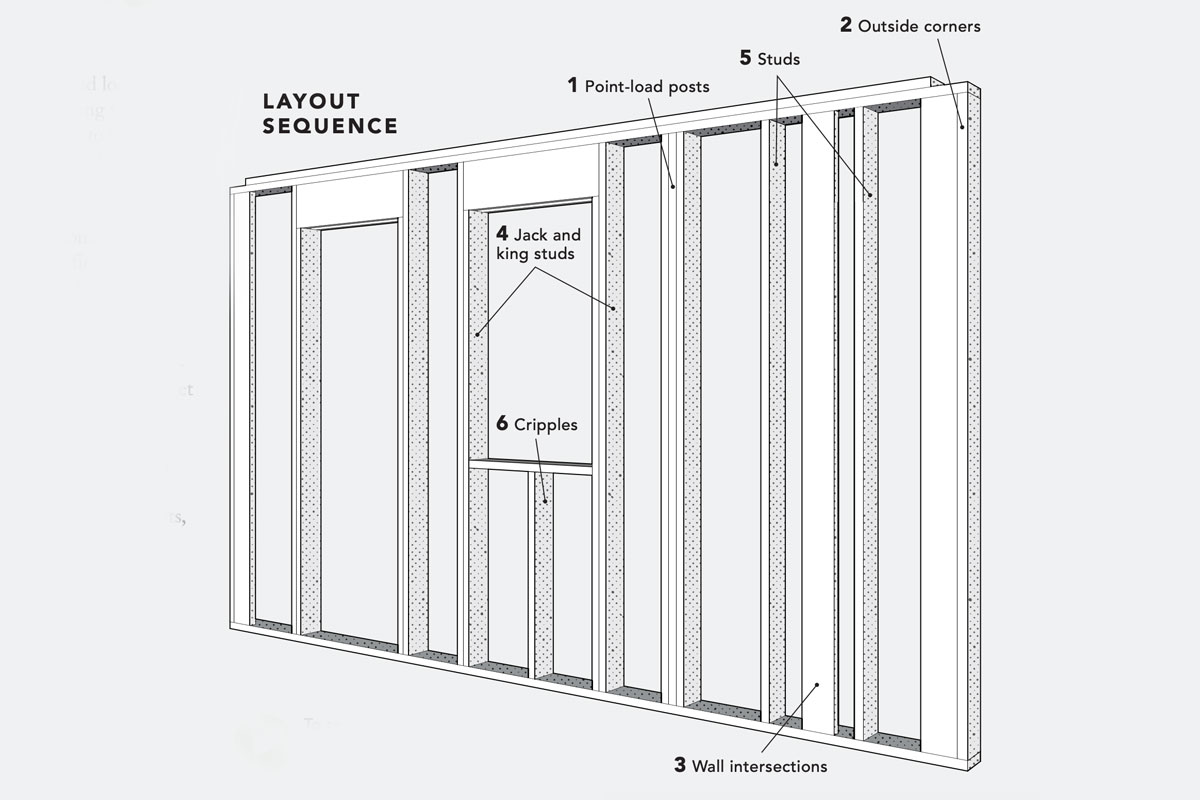
The next consideration is the location of intersecting walls. When laying these out, be careful that you’re measuring their position from the location indicated on the plans—it’s very easy to mark the wrong side of an intersecting wall on a plate and inadvertently change a room dimension. Pay particular attention to places such as alcoves for tubs, whose dimensions have no flexibility.
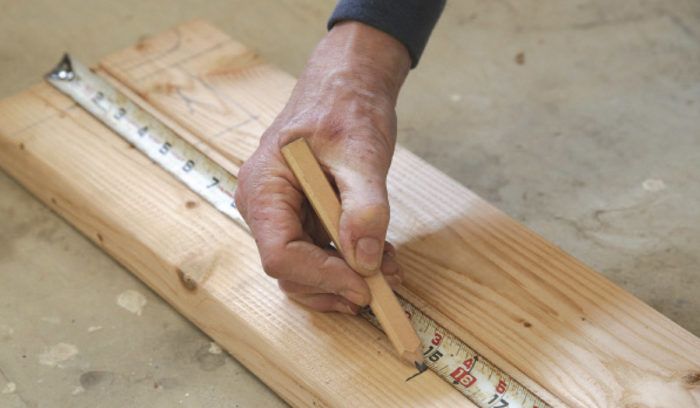
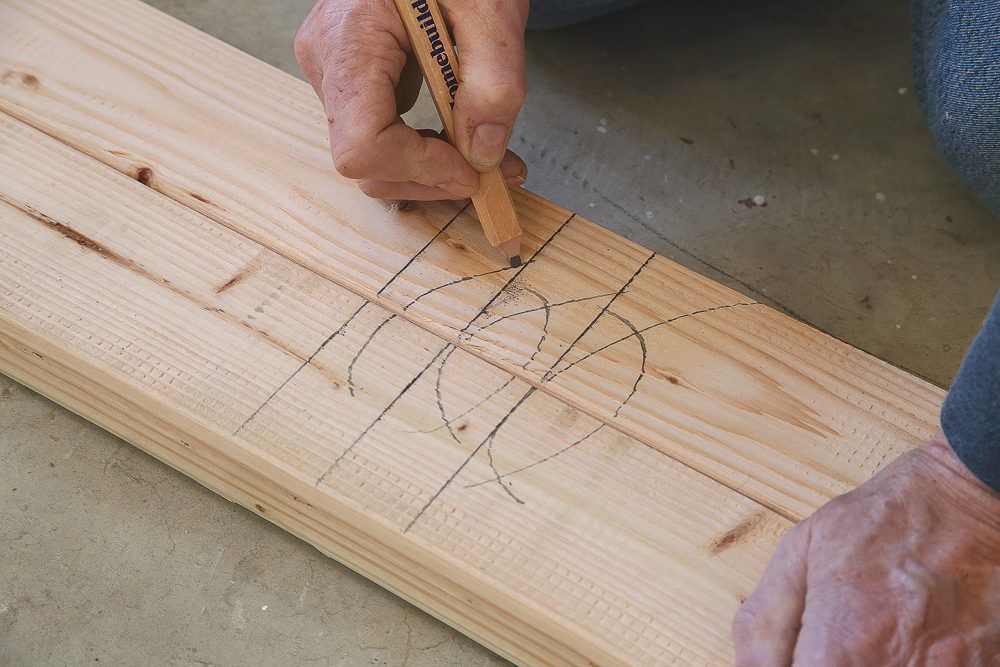
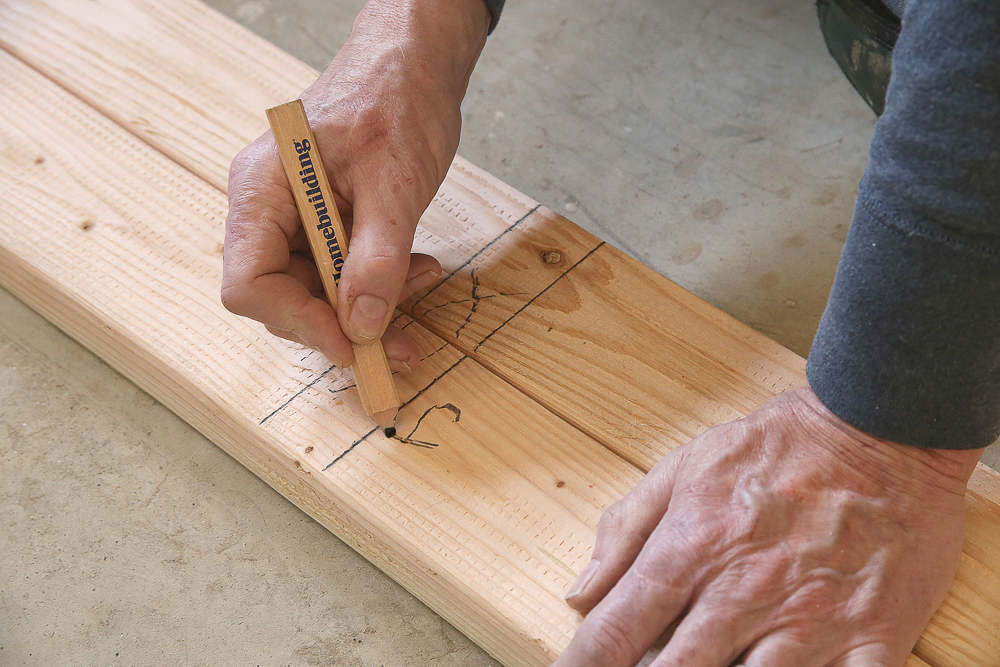
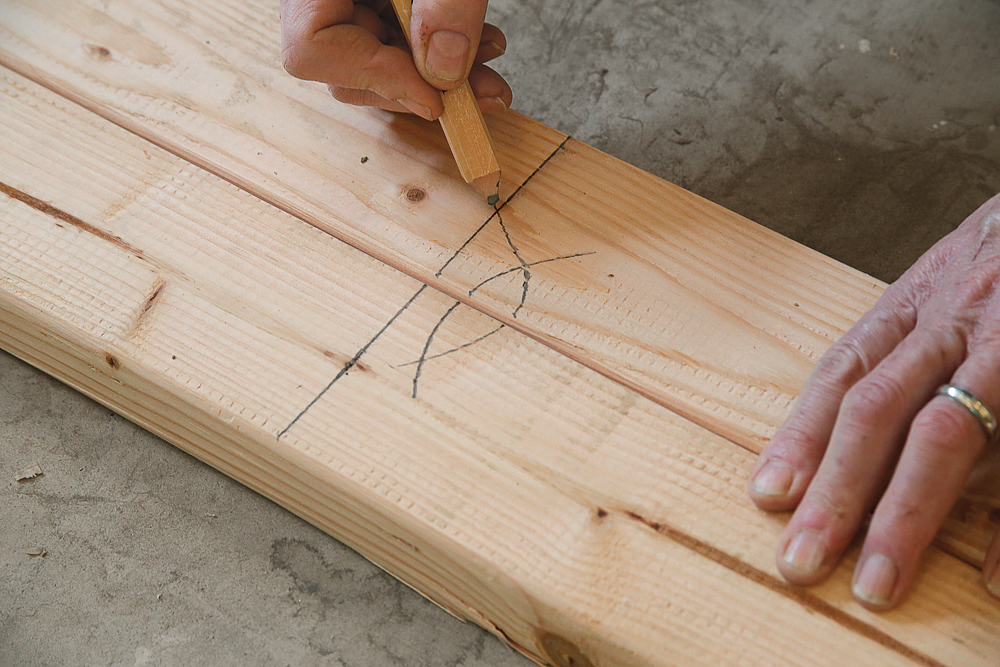
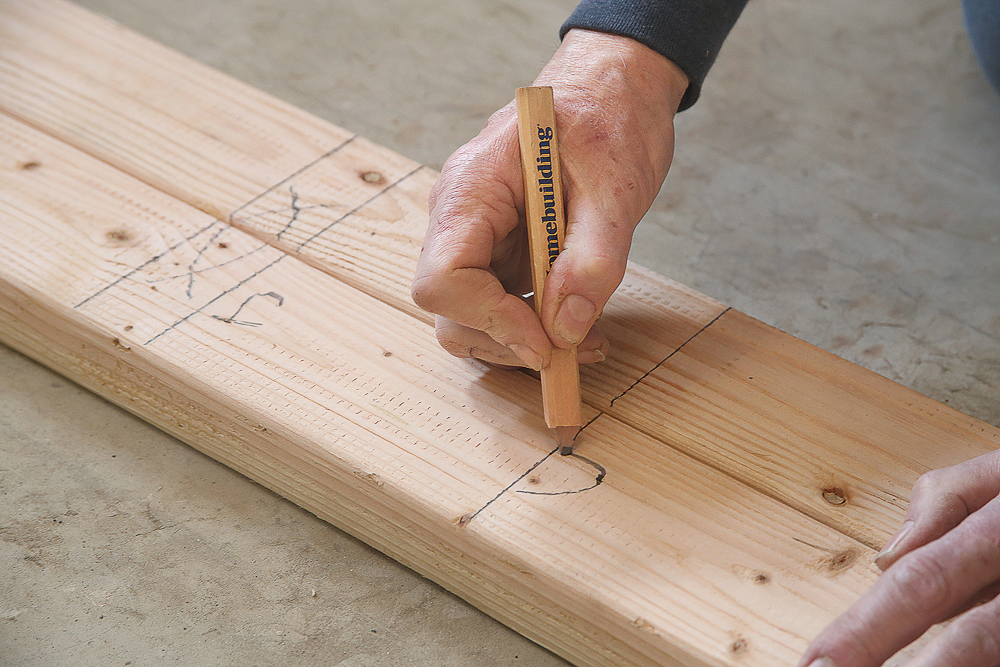
Next are window and door openings and the king and jack (or trimmer) studs that outline their rough openings. These should also be called out on the plans. Finally we have the common studs, which are spaced primarily to accomodate the wall sheathing edges, but also those of the drywall. This is where the layout marks on the tape measure come into play. Whether the framing is on 24-in. centers, 16-in. centers (usually highlighted in red on the tape), or 19.2-in. centers (highlighted with small black diamonds), these numbers represent the stud centers, whereas you’ll be marking a stud edge, which is 3⁄4 in. to one side or the other of the stud center. For a 16-in.-on-center stud layout, for example, it doesn’t matter whether you make a mark at 15-1⁄4 in. or 16-3⁄4 in., as long as you indicate to which side of your mark the stud should be located so that the center of the stud ends up 16 in. from the stud to either side.
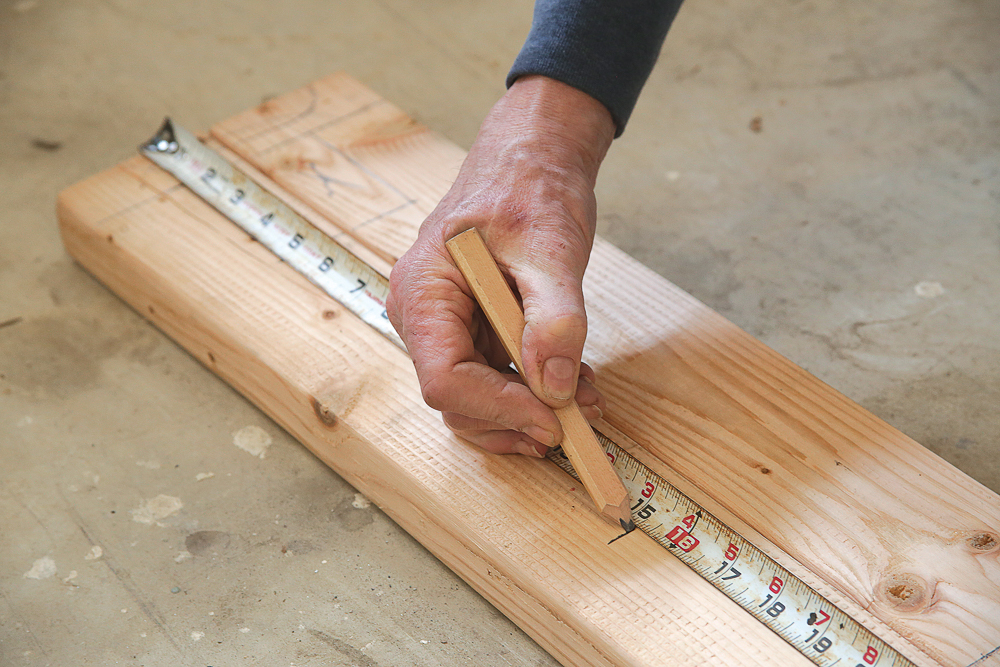
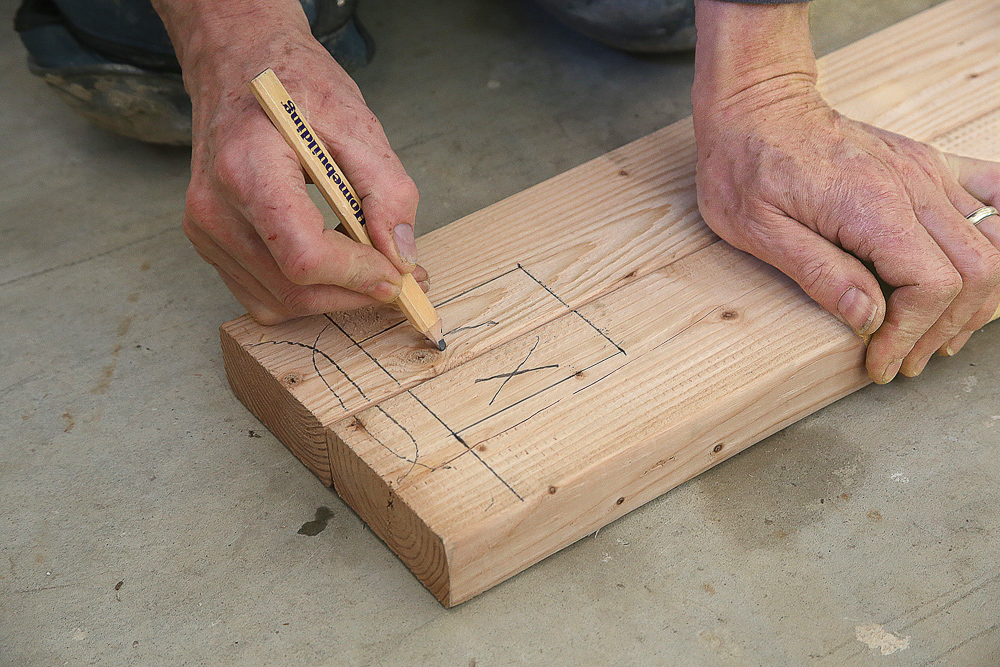
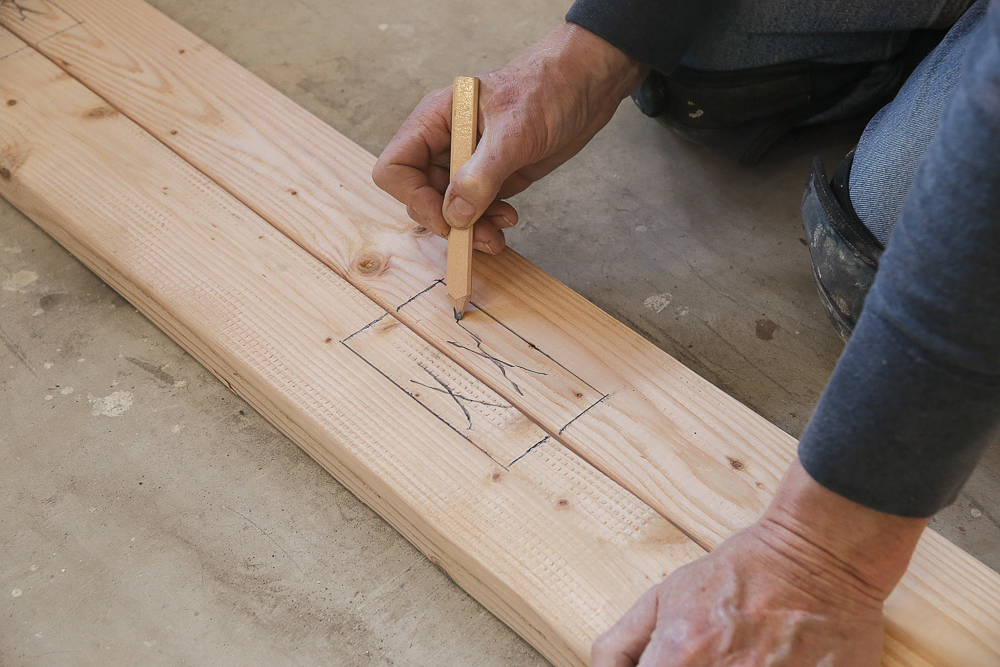
3⁄4 in., and mark an X to the right.
Watch author Andy Engel demonstrate the techniques described in this article in a companion video: Wall-Framing Layout, Step by Step.
Photos and drawing by Rodney Diaz
Related stories:
From Fine Homebuilding #274
For more information and photos of Andy’s process, click the View PDF button below.
Fine Homebuilding Recommended Products
Fine Homebuilding receives a commission for items purchased through links on this site, including Amazon Associates and other affiliate advertising programs.

Bluetooth Earmuffs
Stabila Extendable Plate to Plate Level

11" Nail Puller
