Timber-Frame Transformation
To satisfy a client’s desire for lots of exposed structure, a builder removes conventional roof framing to make way for custom trusses.
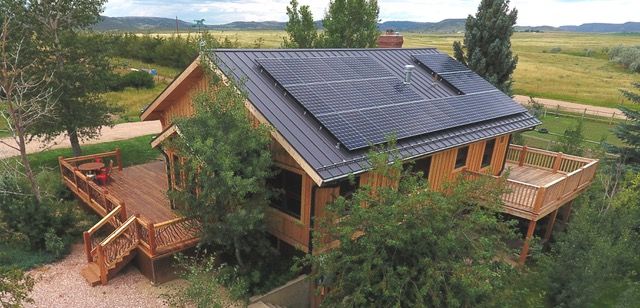
“Recently I heard someone say, ‘The best way to honor a tree is to make something with it that is more miraculous than the tree itself.’ We tried our best with this project.”—Steven Rundquist, timber framer
Brewster Timber Frame Company–owner Steven Rundquist grew up playing in old barns in his home state of Kansas. “I love the look and feel of them,” says the expert timber framer. It was a shared adoration of truss-centric builds that made this project special for Rundquist. In fact, he considers it to be his all-time favorite, partly because the client was so enamored with the notion of timber featuring prominently in her home. She also had myriad ideas for how to personalize the spaces with uniquely inspired built-ins.
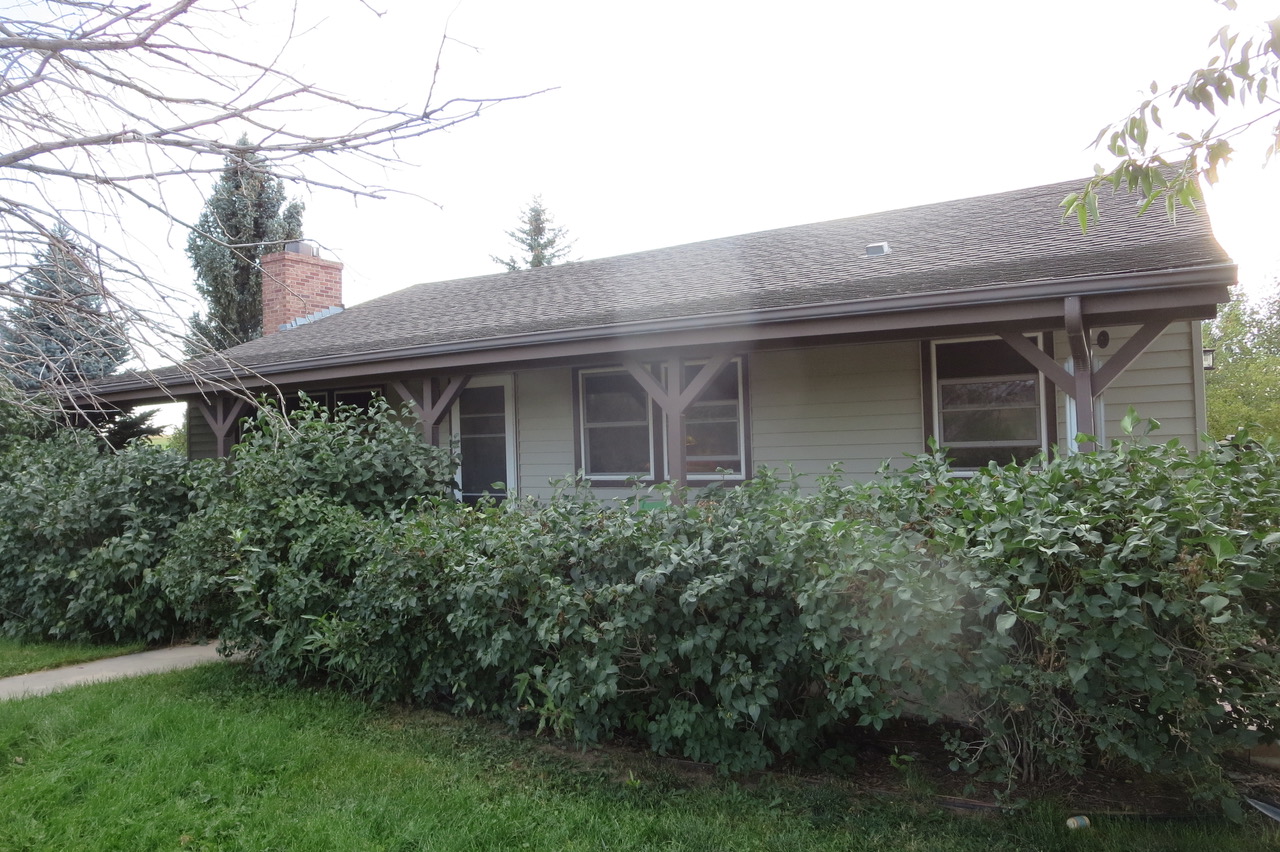
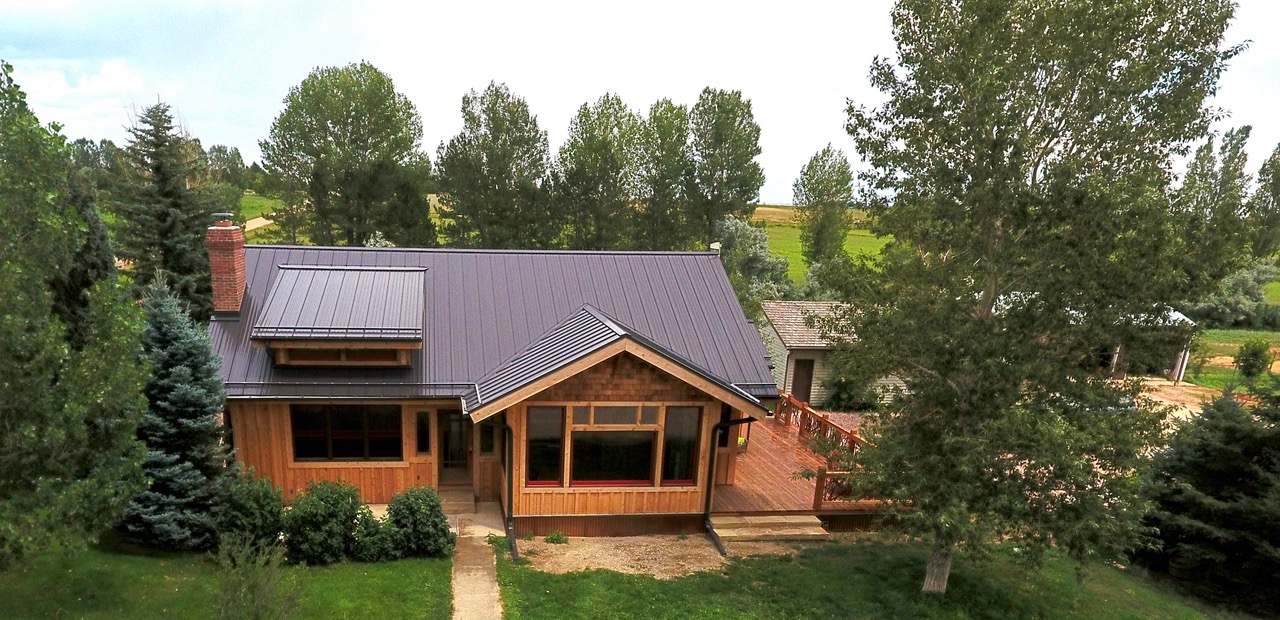
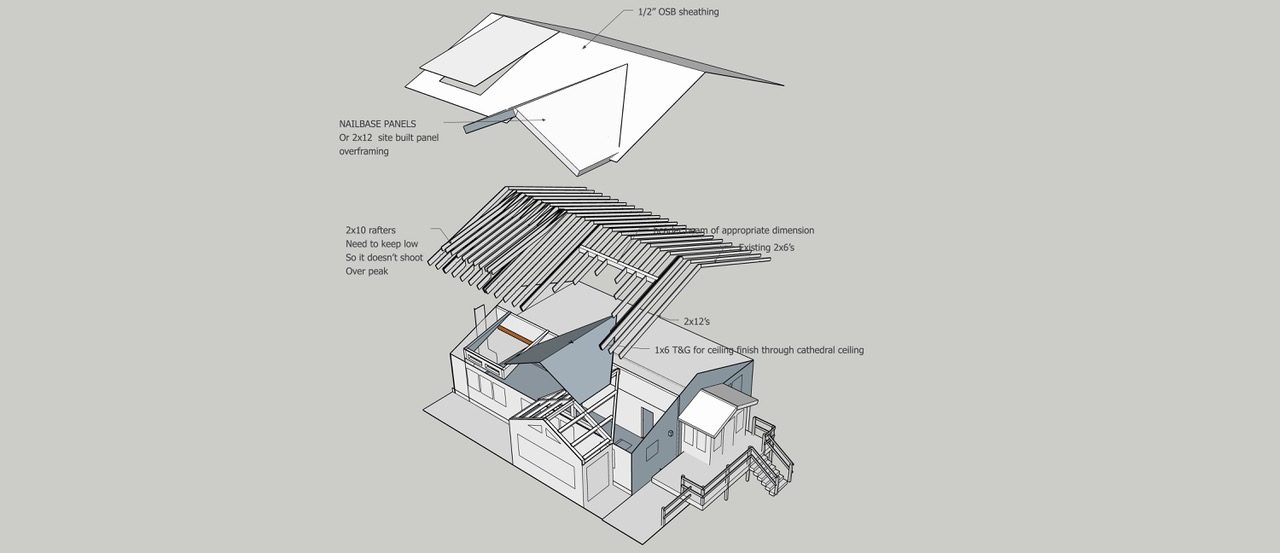
Located in northern Colorado, this ranch-style home was in sore need of an update when Rundquist was called in. The goal of the remodel was to incorporate large framing members to create a cabinlike feel. That meant removing and rebuilding the entire roof assembly—neither an inexpensive nor a simple job. “We told her it would likely be less costly to knock the house down and start new,” says Rundquist, “but she was very attached to what she had there and wanted to keep as much of it as possible.”
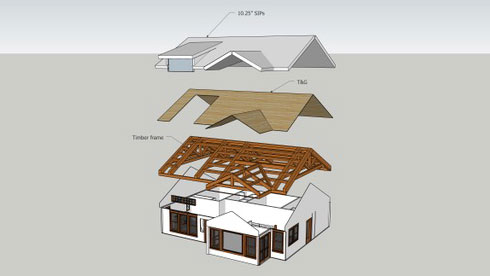
He came back with a proposal to remove the existing roof, reset it with a series of hefty timber-frame trusses, add a 16-ft.-wide timber-frame bump-out to the front elevation, and enclose the roof with structural insulated panels (SIPs), which would not only beef up the building envelope but also dampen the sound of the region’s infamously strong winds. The plan would involve keeping the exterior walls, reconfiguring the interior walls, replacing the windows, and adding new siding. Unfortunately, the associated costs were beyond the client’s means.
In response to her concerns, Rundquist revised the proposal, keeping the new bump-out as well as most of the conventionally framed structure and integrating the two. “This caused me some disappointment,” the builder recalls. “I knew the full timber frame would have been spectacular once done, and I hated the thought of losing it. But I understand a budget is a budget.”
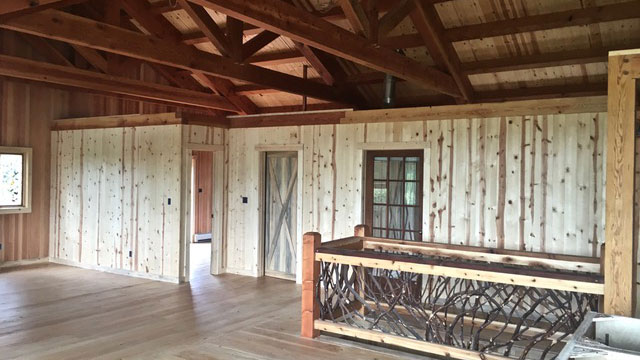
They settled on a smaller timber-frame structure and a partial cathedral ceiling with a few timber-beam elements over the kitchen, dining, and living space. “Even though it was a compromise, it would make a big difference and would give a more expansive feel to the place, which, along with new windows, would add an airiness,” Rundquist explains.
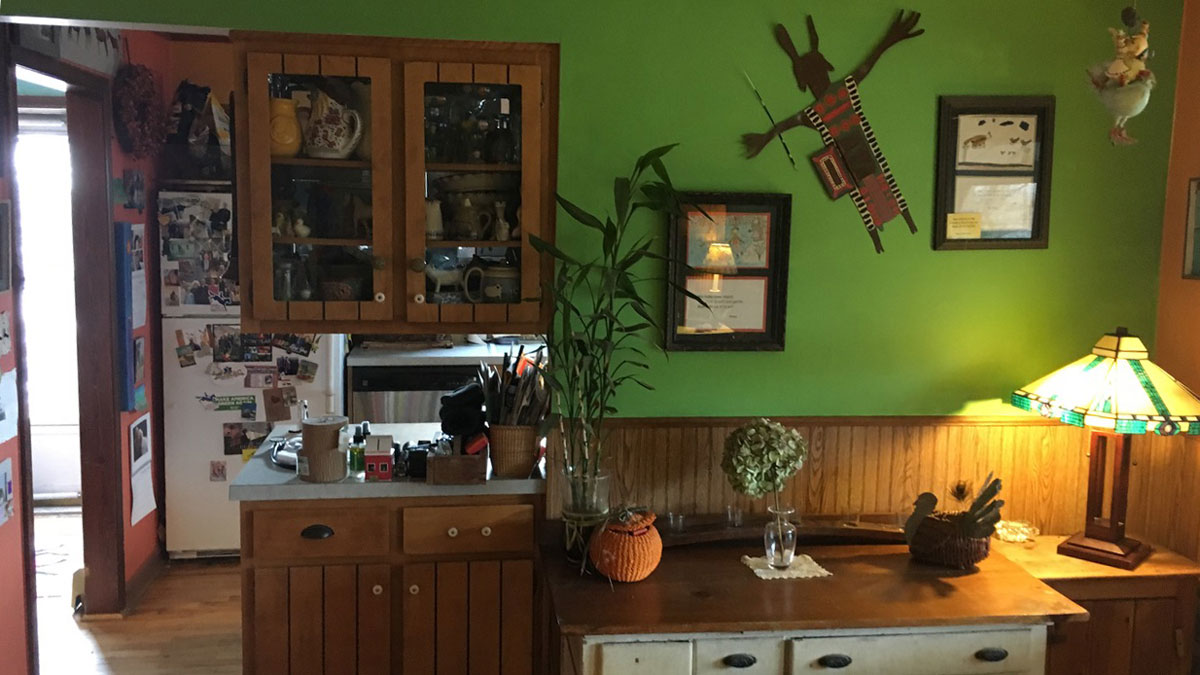
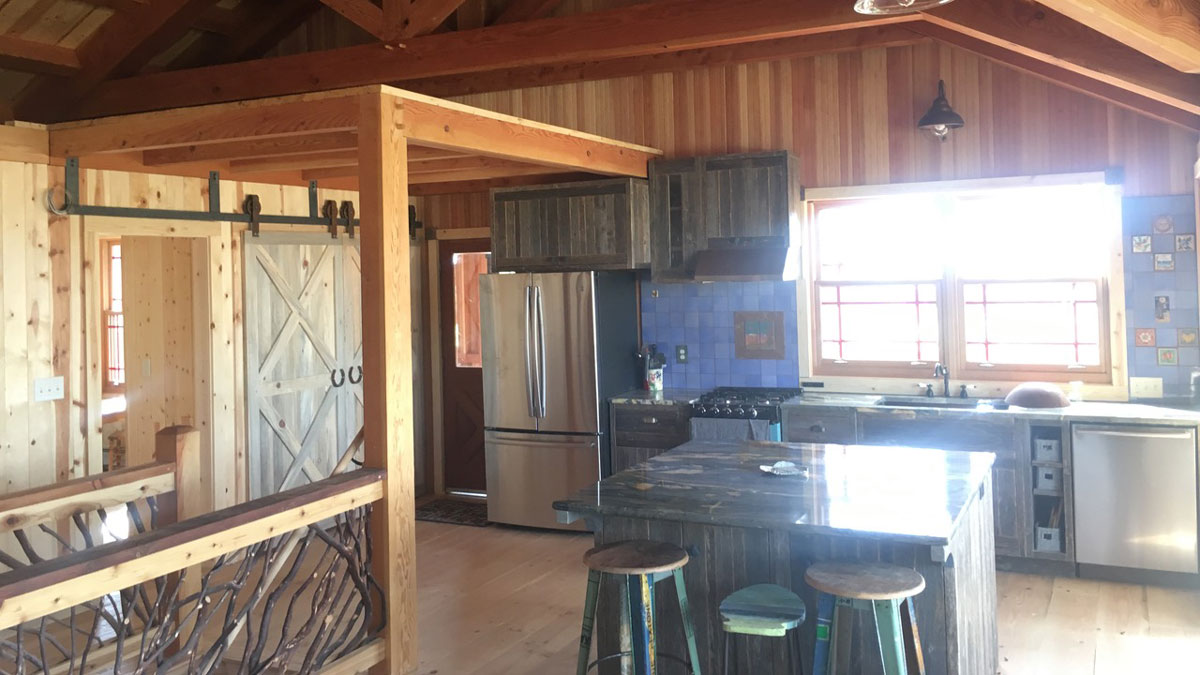
Faced with cramped spaces and 8-ft. ceilings, Rundquist took walls out from the kitchen and dining room to open up the house from one end to the other, and he demoed all ceilings. “It was kind of a dark cave when we started,” he recalls. “She was interested in big windows throughout to bring in light and the incredible snow-capped mountain views.” The new cathedral ceiling was a major move toward that end. Additionally, as planned, Rundquist incorporated an 8-ft. by 16-ft. bump-out to the west, which expanded the dining-room area, and he added a shed dormer over the living room to bring in more light.
In the kitchen, the client saw potential for added storage space, which Rundquist accommodated in the form of a loft whose support post ties into the stair, where it serves as a newel post, while also carrying the weight of a beam reaching back into the south wall. Not only does the structure provide storage space, it also distinguishes the entryway.
With the demo came an epiphany on the client’s part. Rundquist explains: “When we started tearing the ceiling apart and she saw how open the house could be, she decided that she really wanted the look of the full timber frame; so we revised the plan again and went with the full timber frame after all.”
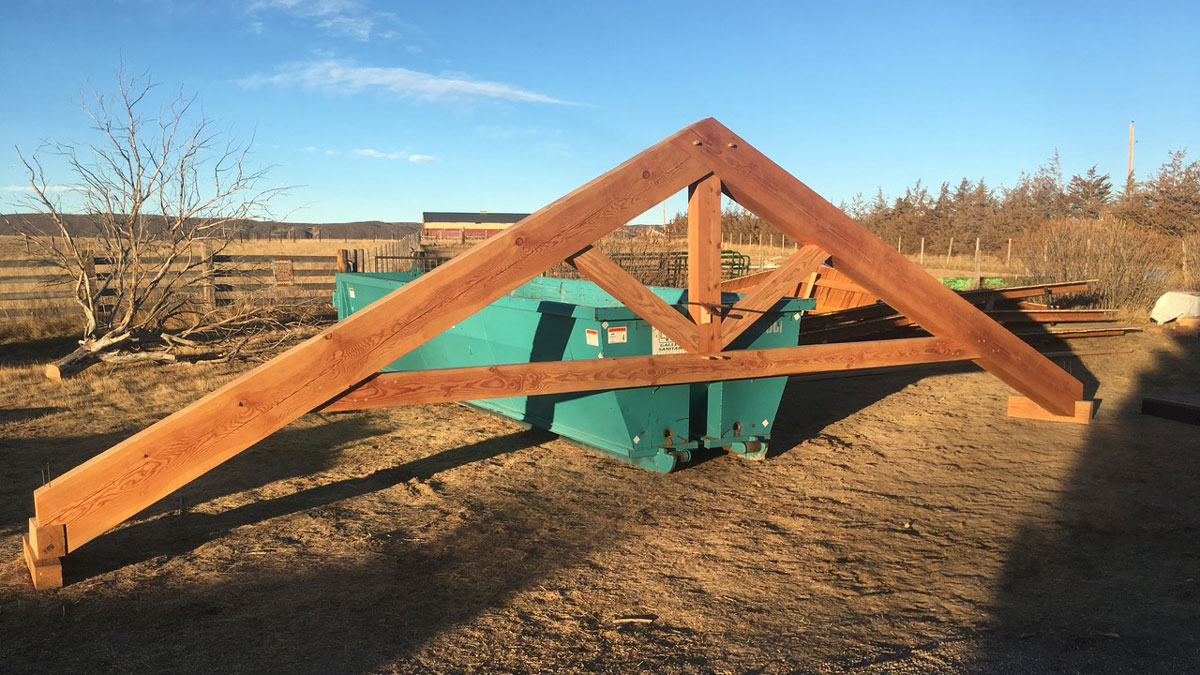
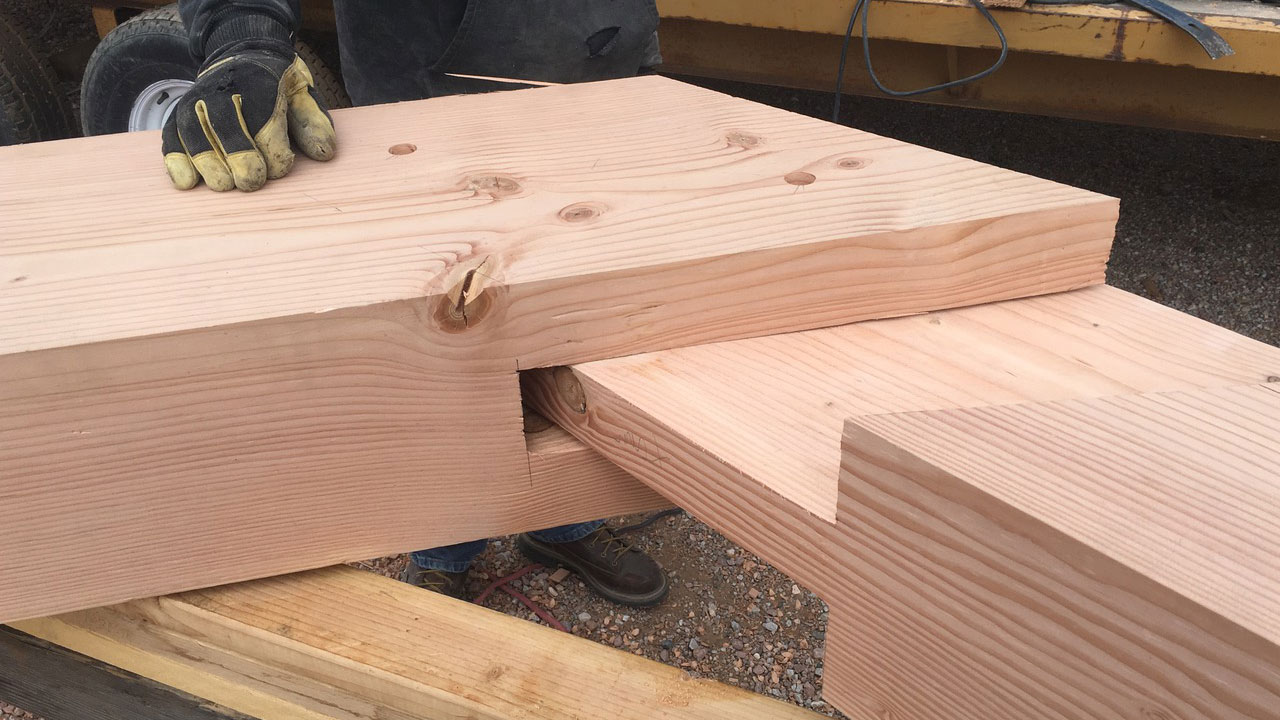
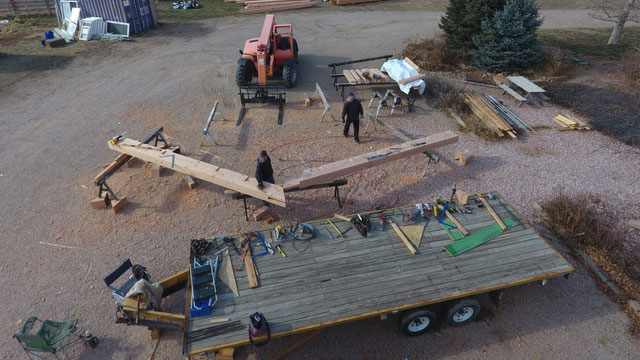
Luckily, the house was surprisingly straight and square as well as dimensionally consistent—that helped with the timber framing, which had to be precut and set on top of the existing wall framing. To integrate the two assemblies, Rundquist fastened heavy-timber beams on the top plates, where he tied in the Douglas-fir trusses with traditional pegged mortise-and-tenon joinery.
 |
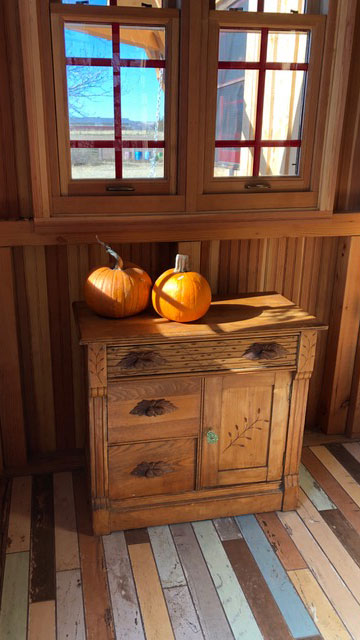 |
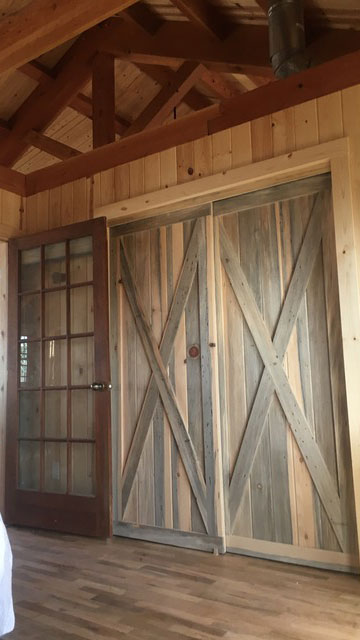
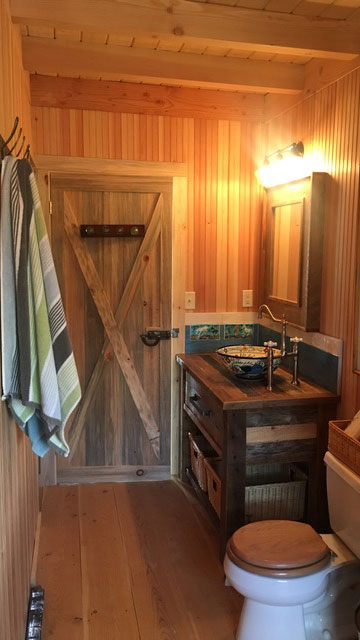
Among the more notable custom details are the wormy-maple stairwell surround, beetle kill−pine doors, Douglas-fir beadboard ceilings and walls, 1×6 V-edge tongue-and-groove pine ceilings and walls, reclaimed wood floors, and barn-board cabinetry.
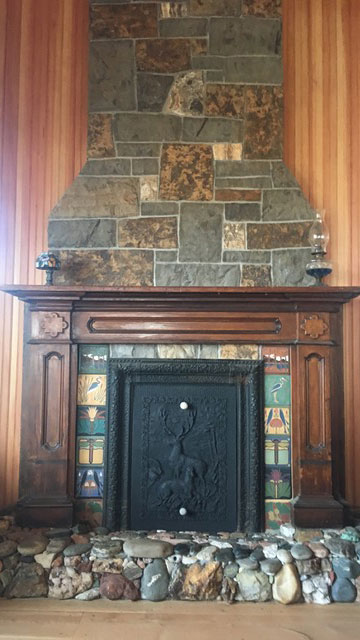
Arguably, the pièce de résistance is the fireplace, which features a threshold made of stones the client and her daughters had been collecting during their travels for years. She also had an impressive amount of stained glass on hand, which Rundquist used for the custom, site-built windows that accent the walls and main entry. Similarly, all of the interior doors were built using materials that she had picked up from architectural salvage yards.
The work took a year to complete, which may have felt quite a bit longer to the client, who lived in her basement all the while. For Rundquist, his client’s artsy eye and unfailing grit (not only did she endure the noise and filth of the work, she also served as general contractor overseeing its execution while working full time) that made the project such a pleasure. “It’s very personalized and turned out to be exactly what she wanted,” he reflects. “I’m kind of jealous!”
Photos courtesy of Steven Rundquist
If you have a project that might be of interest to our readers, please send a short description and images to kjacques@taunton.com.
For more timber-frame projects:
Fine Homebuilding Recommended Products
Fine Homebuilding receives a commission for items purchased through links on this site, including Amazon Associates and other affiliate advertising programs.
Not So Big House

All New Kitchen Ideas that Work

Code Check 10th Edition: An Illustrated Guide to Building a Safe House



View Comments
A real pleasure to see projects like this!
A note to the editors of FHB: Is it too difficult for you to present the photos larger? Clicking on the plus sign in the photos in the article just brings them up about the same size. I tried screen grabbing and expanding them in Powerpoint but the resolution is too poor. What a shame!
You can right-click on the photo and select Open image in new tab. This shows the photo in full resolution.
how do you run lighting and electrical in the ceiling in a build like this?