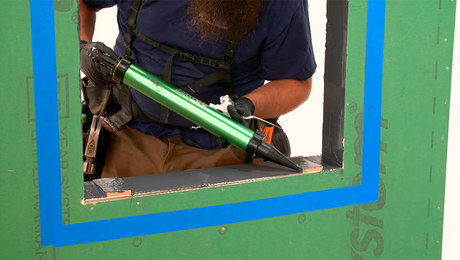
Installing ZIP System Sheathing: Rough Openings With Flashing Tape
See how to use a combination of ZIP System stretch tape and regular flashing tape to make window and door penetrations waterproof and airtight.
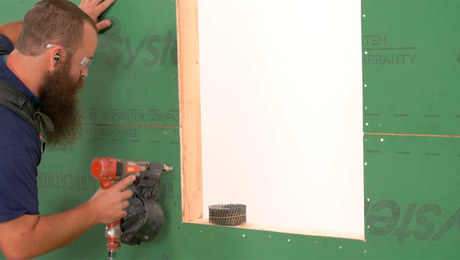
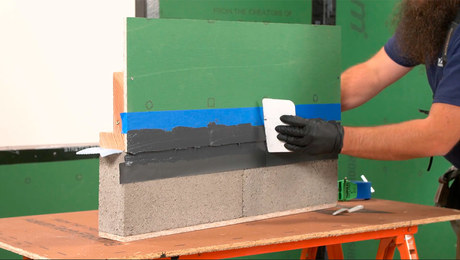
Once your ZIP System sheathing seams are taped and detailed, it’s time to focus on weatherproofing the window and door rough openings. You can either use tapes or fluid-applied flashing to get the job done; in this episode Ben Bogie will show how to wrap the openings with tape.
The best practice is to start by creating a sill pan, which can easily be done with ZIP System stretch tape. You can buy stretch tape in either 6-in. or 10-in. widths, depending on the thickness of the wall you’re working on. Using a flexible tape enables you to stretch the tape to conform to inside and outside corners so there are no seams in the sill pan.
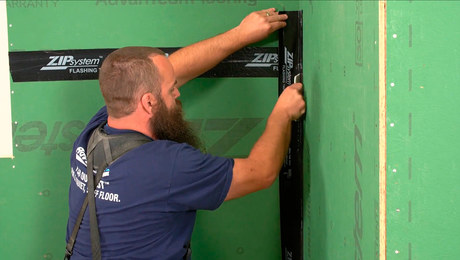
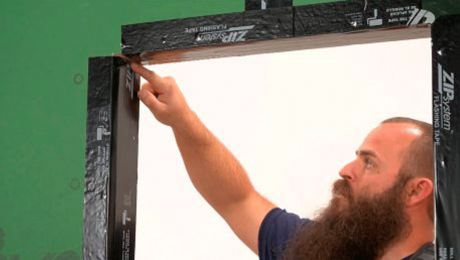
In order to ensure that your wall assembly is completely air-sealed, you can’t just stop at the sill—you will need to wrap the entire rough opening with flashing tape. In this demonstration, Ben uses regular ZIP System flashing tape, wrapping it from the ZIP System sheathing on the outside of the wall to the inside face of the framing on the side and the head of the opening. Watch the video to get tips on how to do a high-quality job.
Videos in the Series
-
Installing ZIP System Sheathing: Fastening
-
Installing ZIP System Sheathing: Taping Seams and Corners
-
Installing ZIP System Sheathing: Sheathing-to-Foundation Connection
-
Installing ZIP System Sheathing: Sealing Penetrations
-
Installing ZIP System Sheathing: Rough Openings With Flashing Tape
-
Installing ZIP System Sheathing: Rough Openings With Liquid-Applied Flashing

