Installing ZIP System Sheathing: Rough Openings With Liquid-Applied Flashing
In this Shop Class video, learn tips for applying ZIP System Liquid Flash to provide a continuous seal around window and door openings.
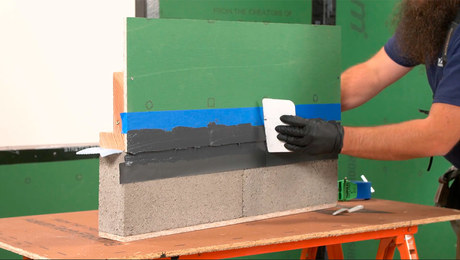
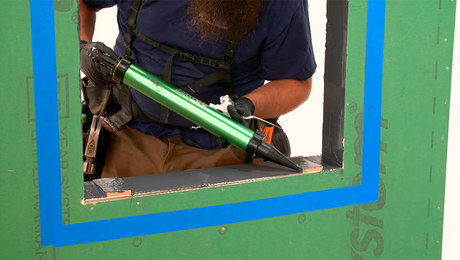
Tapes are not the only way to flash a rough opening; you can also use ZIP System Liquid Flash, which will create a seamless barrier to water and air where your sheathing meets window and door penetrations in your walls. Builder Ben Bogie likes to start any project that involves liquid flashing by masking off an area a few inches back from the edge of a rough opening to keep a straight, clean edge on the fluid-applied flashing. This isn’t absolutely necessary, but it keeps the job looking neat, which sends a signal to the client or homeowner that quality and care are big priorities in your work.
After setting a sloped sill using a piece of bevel siding, Ben starts at the top of the rough opening, applying a zigzag bead of Liquid Flash to get a good amount of material on the surface. Then he uses a plastic spatula to spread the Liquid Flash evenly across the surface. He continues working out and down until the entire rough opening is covered with a consistent layer of flashing material. You can tell that there’s enough product on the surface if you can’t see any of the substrate below the liquid flashing. Watch the video to get a feel for how to reliably apply ZIP System Liquid Flash and to get tips on how to make the job go smoothly.
Videos in the Series
-
Installing ZIP System Sheathing: Fastening
-
Installing ZIP System Sheathing: Taping Seams and Corners
-
Installing ZIP System Sheathing: Sheathing-to-Foundation Connection
-
Installing ZIP System Sheathing: Sealing Penetrations
-
Installing ZIP System Sheathing: Rough Openings With Flashing Tape
-
Installing ZIP System Sheathing: Rough Openings With Liquid-Applied Flashing

