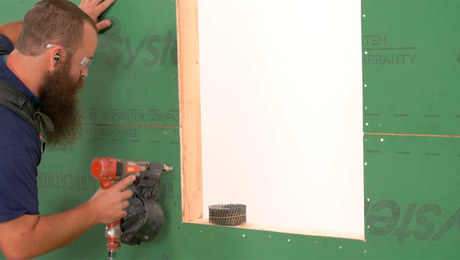
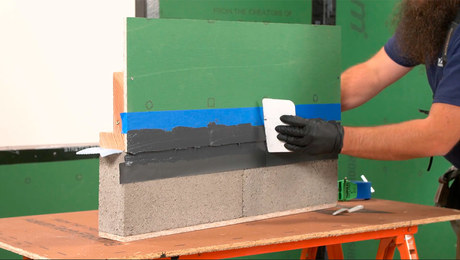
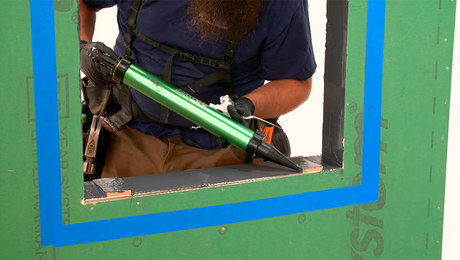
Installing ZIP System Sheathing: Taping Seams and Corners
Learn some best practices for getting a good bond and consistent coverage when sealing seams with ZIP System flashing tape.
In order to complete a wall assembly using ZIP System sheathing, you need to seal all of the seams with ZIP System flashing tape. Because the acrylic adhesive in this tape is pressure sensitive, you have to use a roller to ensure that you get the full weathertight bond when applying the tape. ZIP System flashing tape comes in 3-3/4-in., 6-in., 9-in., and 12-in. widths, which gives you the flexibility to easily wrap everything from narrow panel seams to deep window and door rough openings.
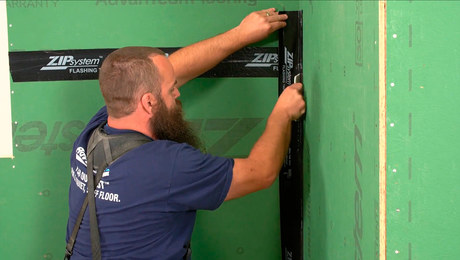
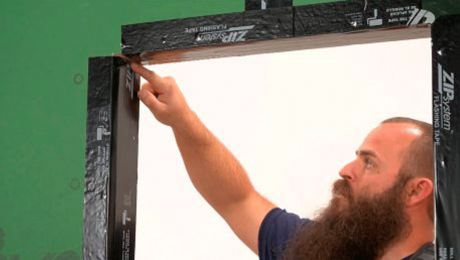
Builder Ben Bogie has a few tricks to make tape installation go smoothly, including working with pieces no more than arm’s length, precreasing the tape for inside corners, using a plastic spatula to press tape tightly into corners, and referencing the markings on the ZIP System sheathing to lay the tape nice and straight. Watch this episode of Shop Class to learn more.
Videos in the Series
-
Installing ZIP System Sheathing: Fastening
-
Installing ZIP System Sheathing: Taping Seams and Corners
-
Installing ZIP System Sheathing: Sheathing-to-Foundation Connection
-
Installing ZIP System Sheathing: Sealing Penetrations
-
Installing ZIP System Sheathing: Rough Openings With Flashing Tape
-
Installing ZIP System Sheathing: Rough Openings With Liquid-Applied Flashing

