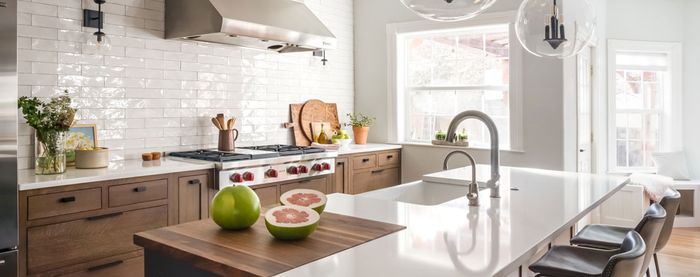
Kitchen Remodel on a Budget
A contractor crafts his own kitchen for $12,000.
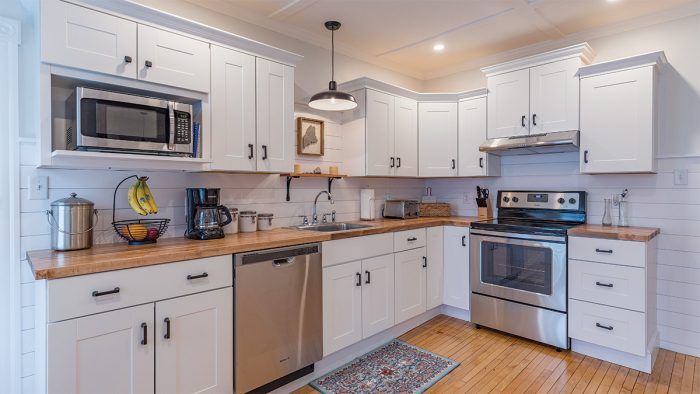
Synopsis: On a limited budget, this contractor made a number of design decisions to remodel and update his kitchen. He describes how he chose affordable materials and stock items to maximize cost savings, and explains how inexpensive cabinets can be made stronger with some additional carpentry work.
I’m a residential contractor in Portland, Maine, focusing on kitchens, baths, and home additions. Although much of my work is kitchen renovations, this project was for my own home that I share with my three sons, ages 8, 9, and 11. The kitchen we were living with, dating back to 1946, lacked a dishwasher, and with three hungry boys I was spending way too much time washing dishes. I gave myself a budget of $10,000— about a quarter or less of my clients’ typical kitchen-remodel budget.
Unfortunately, adding a dishwasher required moving all the other appliances to make a spot next to the sink. Two doors— one to the outside and another leading to the first-floor hallway—and an existing window restricted the renovation to within the kitchen’s existing footprint, because moving them would have blown the budget.
Working with an old house
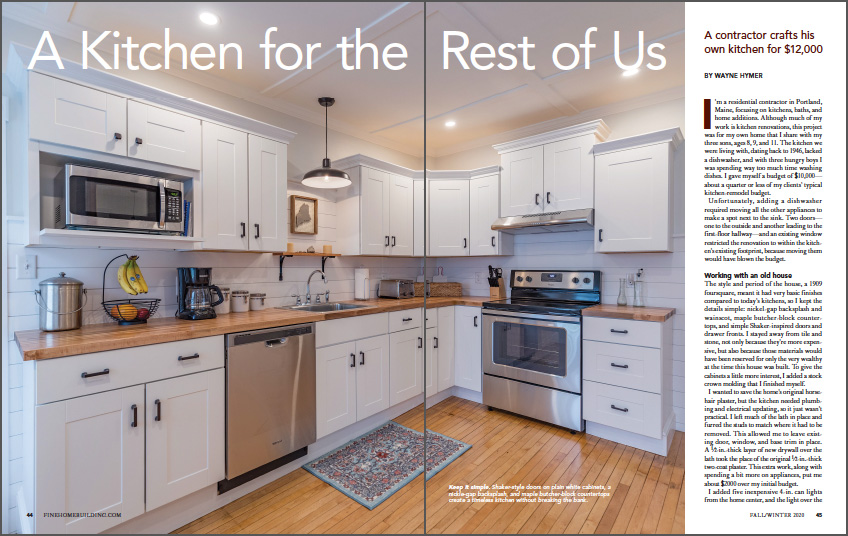
The style and period of the house, a 1909 foursquare, meant it had very basic finishes compared to today’s kitchens, so I kept the details simple: nickel-gap backsplash and wainscot, maple butcher-block countertops, and simple Shaker-inspired doors and drawer fronts. I stayed away from tile and stone, not only because they’re more expensive, but also because those materials would have been reserved for only the very wealthy at the time this house was built. To give the cabinets a little more interest, I added a stock crown molding that I finished myself.
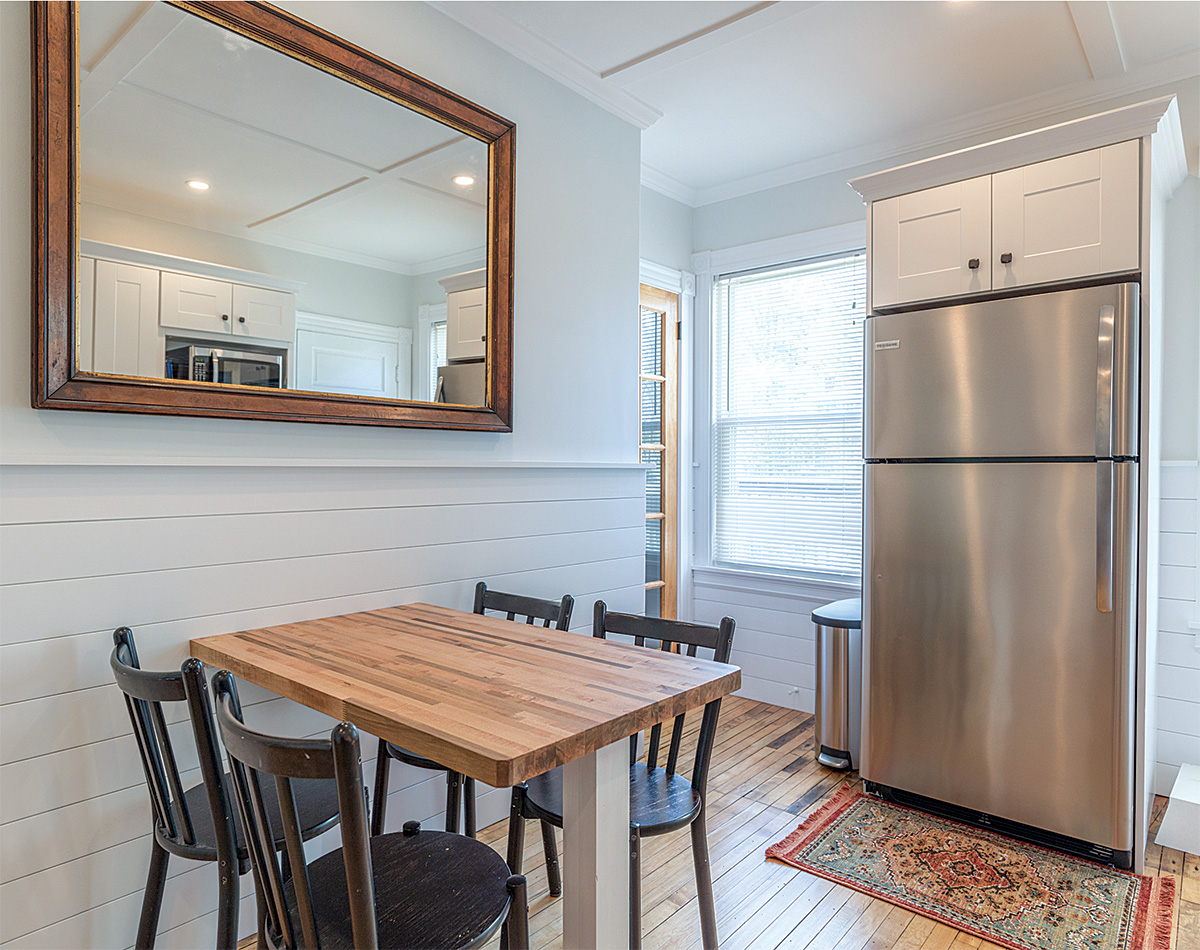
I wanted to save the home’s original horsehair plaster, but the kitchen needed plumbing and electrical updating, so it just wasn’t practical. I left much of the lath in place and furred the studs to match where it had to be removed. This allowed me to leave existing door, window, and base trim in place. A 1/2-in.-thick layer of new drywall over the lath took the place of the original 1/2-in.-thick two-coat plaster. This extra work, along with spending a bit more on appliances, put me about $2000 over my initial budget.
I added five inexpensive 4-in. can lights from the home center, and the light over the sink was a $22 find from Lowes. One thing this exercise in frugality has taught me is that there is some good design in home centers, but you have to patiently look around—in my experience, the odds of finding something functional, good-looking, and reasonably priced are about 1 in 20.
Working with inexpensive cabinets
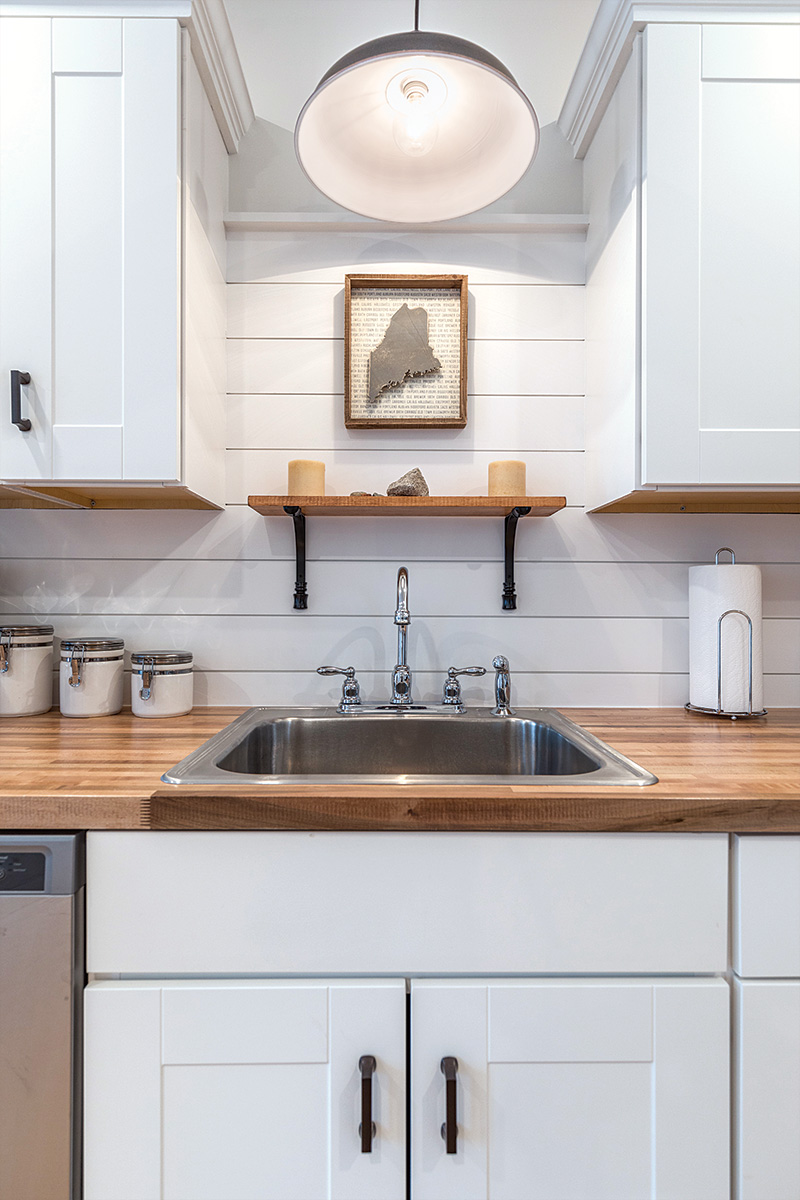
Home Depot’s Hampton Bay line includes some of the least-expensive kitchen cabinets available. I spent a total of $2200 on the boxes and about $50 on knobs and pulls. Admittedly, the appeal of this cabinet line is price, not strength. The secret to working with lesser cabinets is to make sure the bottoms are well shimmed on all sides so the box is fully supported. I also use about twice as many screws to fasten them, both to the wall and each other. They have adjustable hinges and soft-close drawers, and while the hardware is not as good as you’ll find on better cabinets, it’s not too bad. I was willing to make some adjustments, and I ordered and stashed away extra slides and hinges in case I need them in the future.
There are few options for odd-shaped and appliance cabinets, so I used a standard 16-in.-tall cabinet above the fridge and made the panels on the sides that support it. I also made a cubby below a standard cabinet for the microwave. I didn’t want to sacrifice the space for a countertop model, and I don’t like the look of over-the-range versions. Rather than use a shorter cabinet above the range so the cabinet tops align, I used a standard 30-in. cabinet to add visual interest.
Wood elements add warmth
To give a period feel to the kitchen and provide a little contrast to the white walls and cabinets, I opted for 1-1/2-in.-thick maple butcher-block countertops from Lumber Liquidators. At about $16 per sq. ft., they’re a good value and they look and feel great.
The kitchen’s maple floor is original to the house. I found it under seven layers of lauan plywood and sheet flooring. I spent dozens of hours using a 1/2-in. chisel to scrape away the black adhesive that held down the first layer, but the effort was totally worth it.
Given my budget, I think I aced this labor-of-love project.
From Fine Homebuilding #295
To read the entire article, please click the View PDF button below.
