Installing Semicustom Kitchen Cabinets
Learn how to level, scribe, and fasten cabinets without marring the perfect factory finish.

Synopsis: Isaak Mester’s Master Carpenter article, “Installing Semicustom Cabinets,” teaches best practices for everything from unpacking and organization to careful layout tips and how to properly set upper and lower cabinets. Cabinet installation begins with establishing a reference line, which is drawn from the floor’s high spot, unless the gaps at the low points would be too large to mask with trim. Mester shows how to split the difference to get the best possible outcome. Setting begins in a corner and working outward, maintaining plumb and level with each successive cabinet. When it comes to finish pieces, such as crown molding and end panels, Mester demonstrates how to work carefully and efficiently with prefinished stock to prevent time-wasting and costly mistakes.
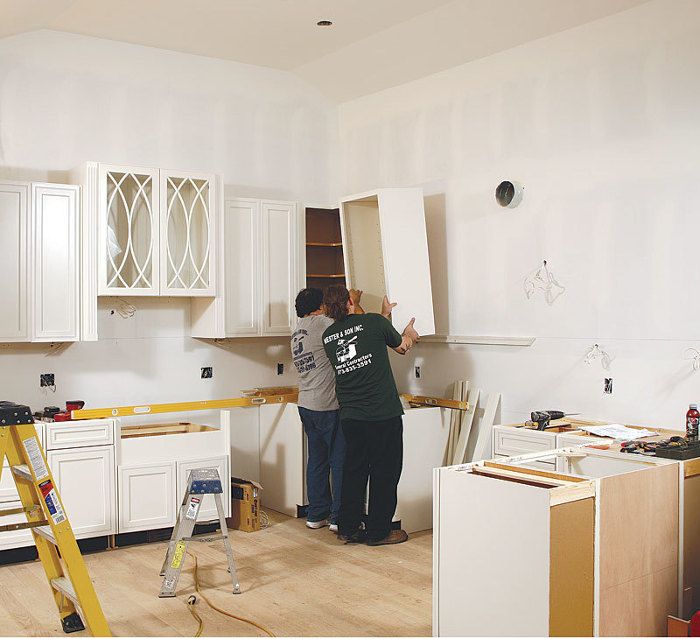
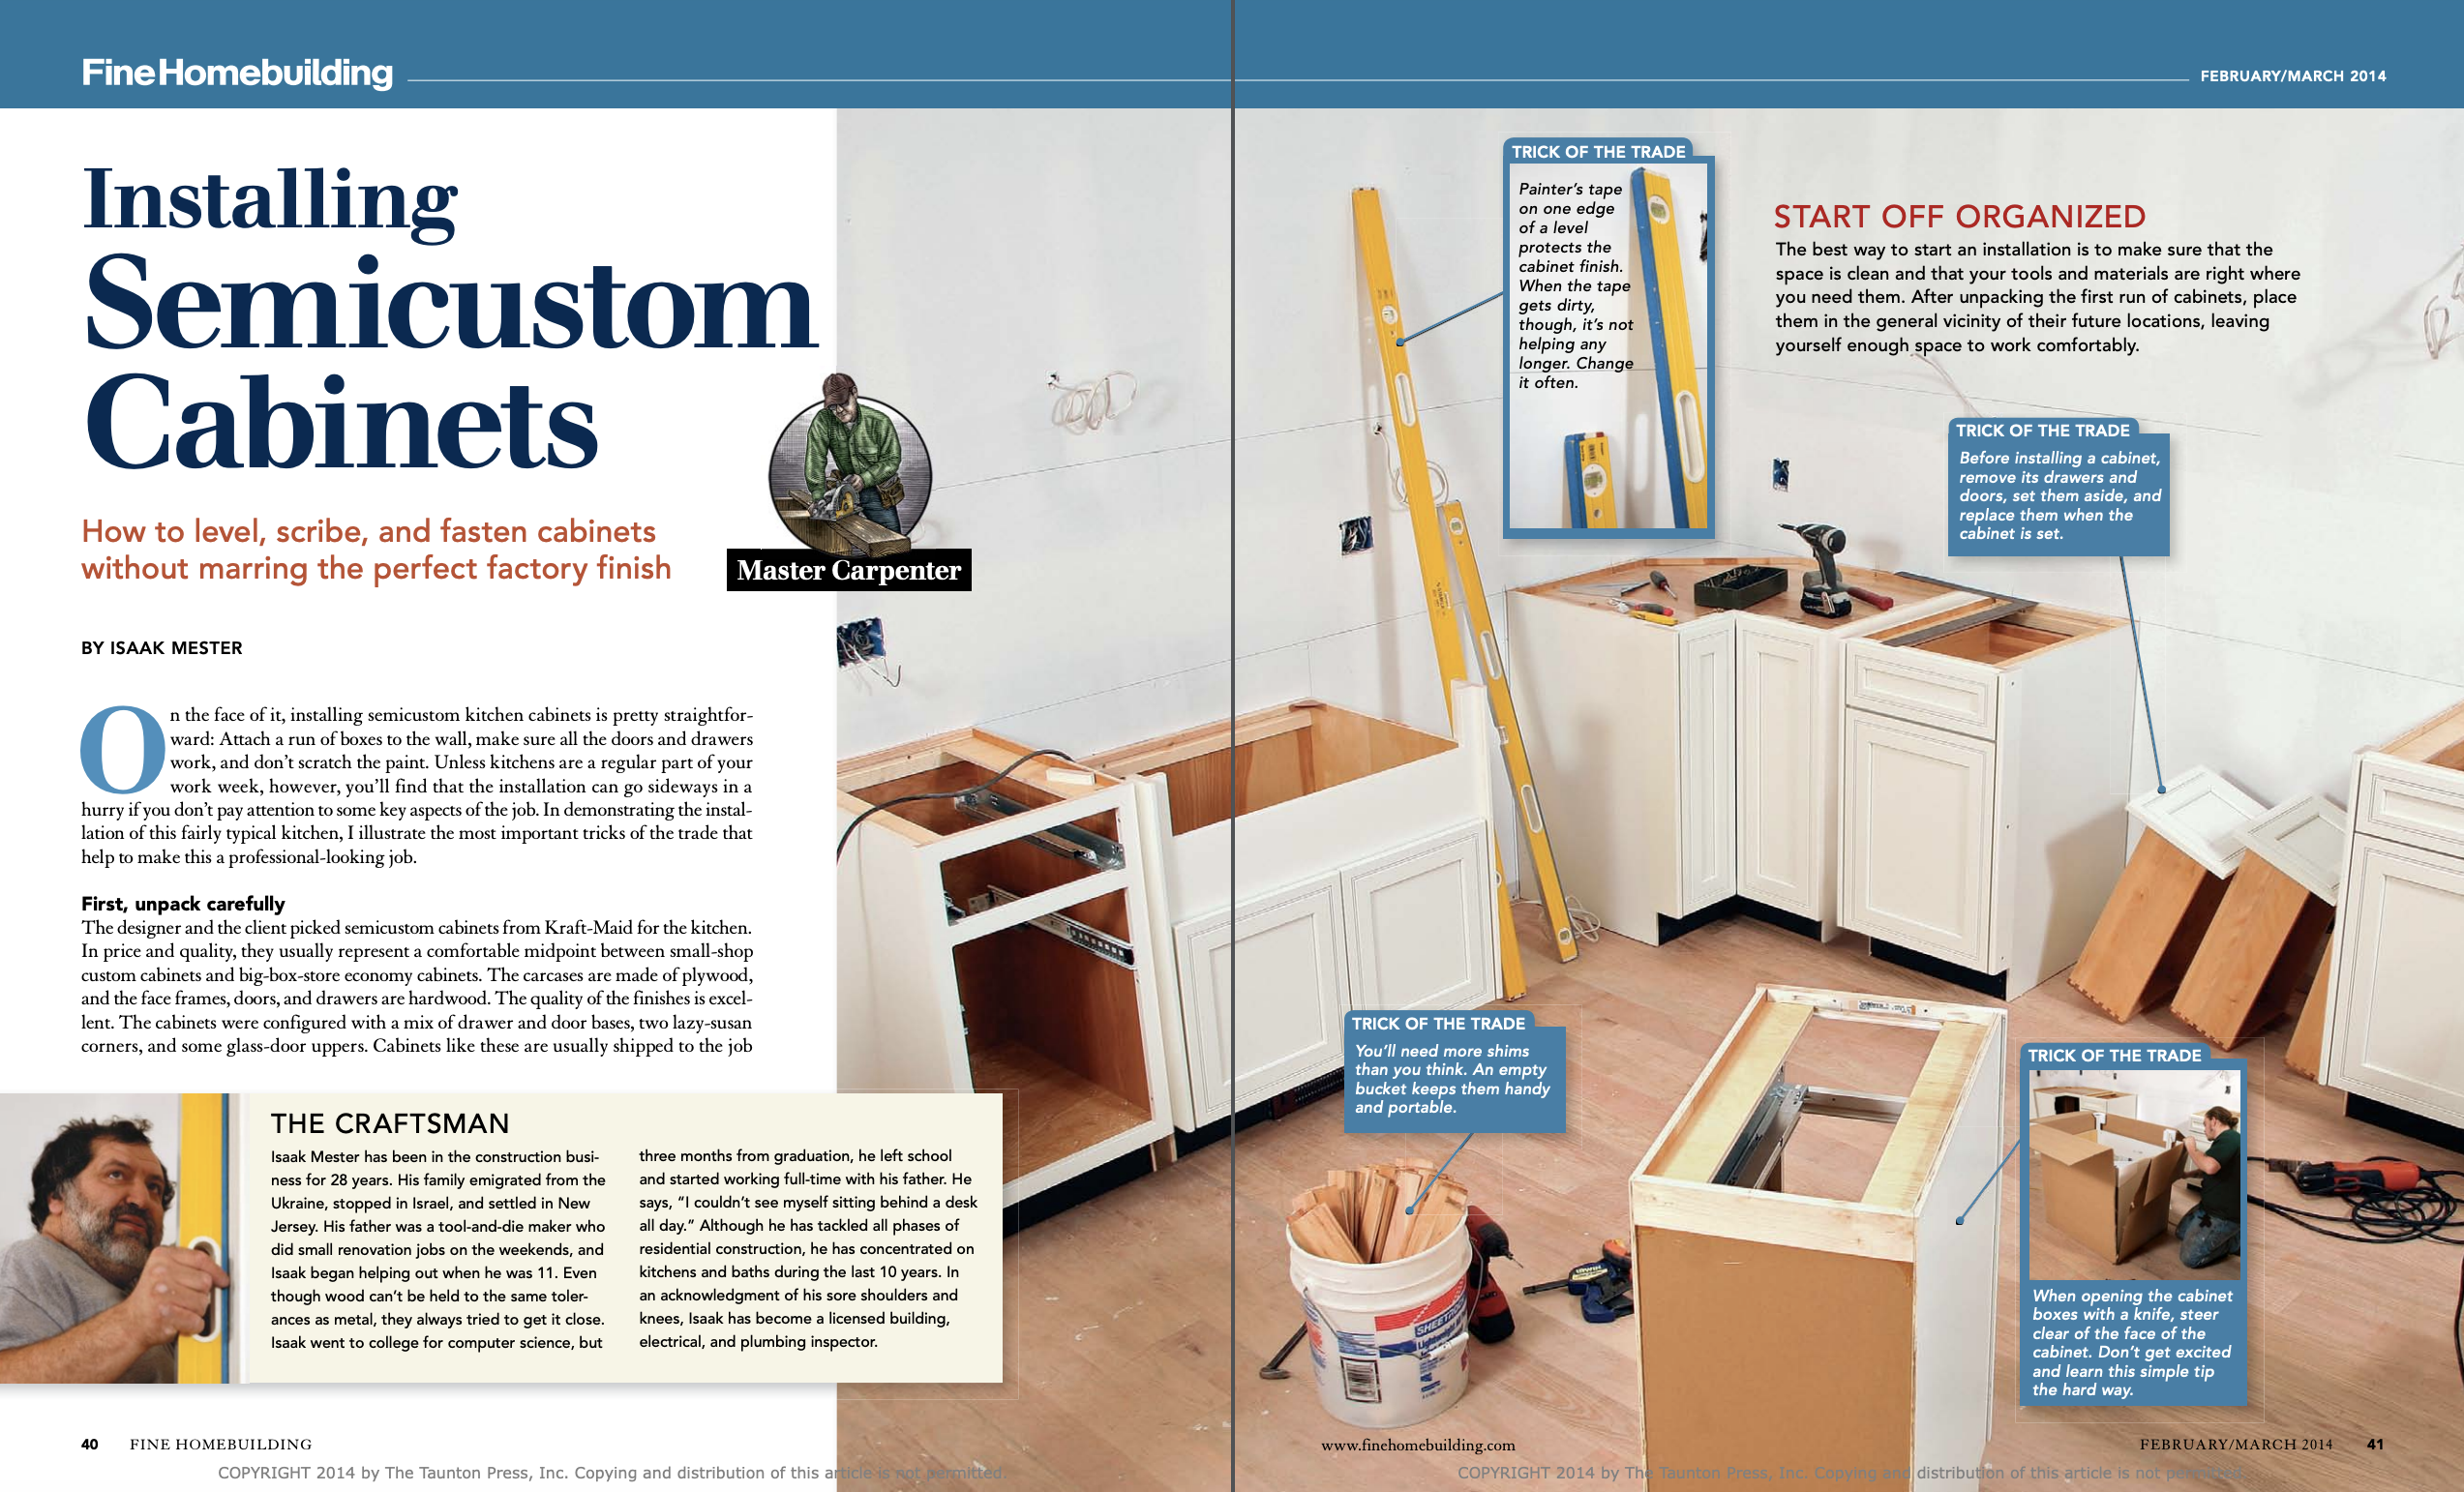
On the face of it, installing semicustom kitchen cabinets is pretty straightforward: Attach a run of boxes to the wall, make sure all the doors and drawers work, and don’t scratch the paint. Unless kitchens are a regular part of your work week, however, you’ll find that the installation can go sideways in a hurry if you don’t pay attention to some key aspects of the job. In demonstrating the installation of this fairly typical kitchen, I illustrate the most important tricks of the trade that help to make this a professional-looking job.
First, unpack carefully
The designer and the client picked semicustom cabinets from Kraft-Maid for the kitchen. In price and quality, they usually represent a comfortable midpoint between small-shop custom cabinets and big-box-store economy cabinets. The carcases are made of plywood, and the face frames, doors, and drawers are hardwood. The quality of the finishes is excellent. The cabinets were configured with a mix of drawer and door bases, two lazy-susan corners, and some glass-door uppers. Cabinets like these are usually shipped to the job site. The first thing I do is check the shipping manifest against the items shipped, and note any damaged or missing boxes. The faster you start the return process, the faster you’ll be able to finish the job.
When taking cabinets out of the boxes, use a knife only when necessary, and don’t cut the box along the cabinet’s face or you may scratch the finish. Inspect each cabinet to make sure there are no dings, and arrange the return of any damaged units.
Factory cabinets are manufactured in part with hot-melt glue, which tends to dry in heavy drips that can get in the way of an installation. Before installing a cabinet, scrape off any of these drips.
Measure and mark for level
A level run of cabinets starts from a reference point taken off the high spot on the floor or, when there are soffits, the low spot on the ceiling. It’s especially important for the base cabinets to be level and flat so that they can adequately support long runs of countertop.
On this job, the kitchen’s cathedral ceiling meant that there were no constraints to the upper cabinets, so we based our measurements on the floor. Using a 6-ft. level, I checked the floor along the base of the wall and found a high spot in the corner. Carried out on a level line, this would translate to a gap of more than an inch at the end of the cabinet run — too high to hide with a kick plate or shoe molding.
To avoid this gap, I moved my reference point to the end of the corner cabinet, where my original level line cleared the floor by about 1⁄2 in. I then marked a new reference point 1⁄4 in. below the original line. From this new point, I measured up 34 1⁄2 in. to establish the height of the base cabinets and drew a level line there. I then made another mark 19 1⁄2 in. above that line to mark the bottom of the upper cabinets, drawing that line out level as well. When installing the cabinets, I scribed and cut the bases where the floor was higher than my reference mark, and shimmed the bases where the floor was lower.
For more photos and details, click the View PDF button below:


