Kitchen Remodel: Managing Demolition Debris
Organizing the mess protects the home and its occupants, and saves time and money.

A lot of thought and preparation goes into replacing an old kitchen. There are cabinets and countertops and flooring to choose and install, wiring to redo, lights to hang. But before that happens, the old kitchen has to go.
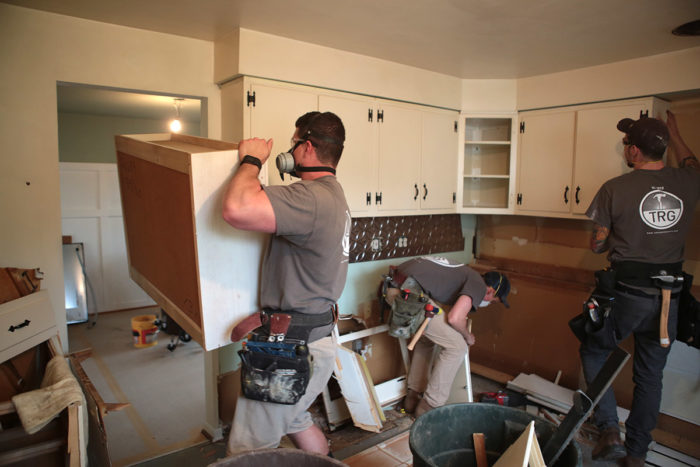
Demoing an old kitchen isn’t the hardest thing, but it takes forethought. As New Jersey remodeler Tyler Grace says in his “DIY Kitchen Demo” article in FHB #271, it’s a critical phase of the remodel. It’s not just about removing the old to make room for the new, but about keeping things neat and organized to make it easier to install the new. Still, there’s no getting around the fact that demolition is inherently messy work. Grace’s mess management is geared toward protecting the house and its occupants from the inevitable dust and debris, and making the most of his dumpster space.
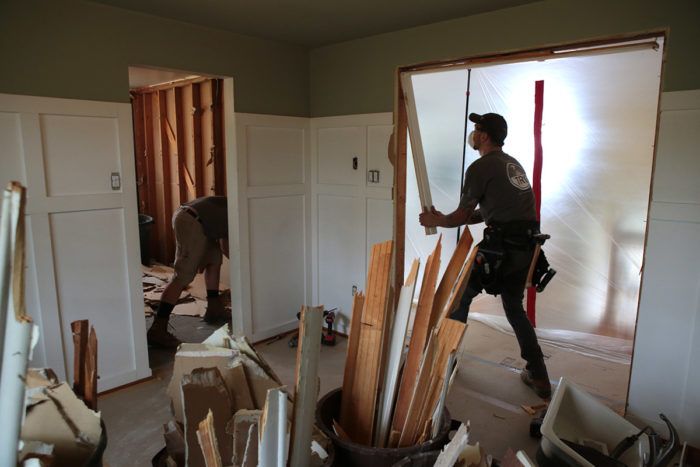
After all of the site protection is up and the demo begins, the debris piles up quickly. It’s tempting to get it all into the dumpster as soon as possible, but that’s not always the best approach. If there’s a dust barrier separating your work site from the rest of the house—like the wall of plastic sheeting and ZipWall poles Grace used in this project—he likes to keep the barrier closed as much as possible so that it can do its job. Keeping it closed, though, means coming up with a plan for storing the debris in the work site while the demo is underway.
Grace’s strategy is to stage a bunch of plastic trash cans inside the work site to hold debris while he demos. Anything that’s too big to fit in the cans gets neatly stacked. When he runs out of room, he moves the debris to the dumpster in as few trips as possible, minimizing the number of times he has to open his dust barrier and the transmission of airborne particles to the rest of the house.
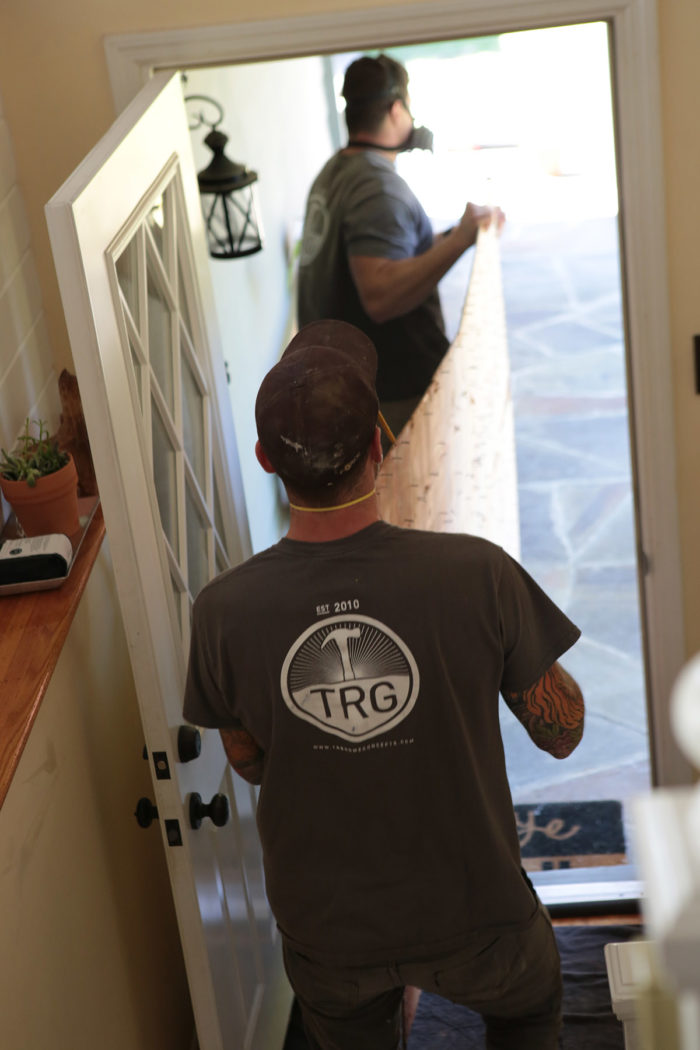
Even if someone is strong enough to safely carry heavy demo debris, such as a nail-filled sheet of underlayment, all by themselves, Grace and his crew sometimes prefer to use two people, because that makes it easier to carefully navigate through doorways, down stairs, and other tricky spaces. Pairing up can also save you from having to make apologies and expensive repairs.
While it’s good practice to salvage materials for reuse, a lot of what gets demoed is bound to end up in the landfill during a remodel. That dumpster in the driveway seems big when it arrives, but it can fill up fast. When it’s to the point of spilling over, your options are to get another dumpster, which is expensive, or climb in and rearrange the trash to make room. It may be possible to avoid either of these scenarios by dumping the waste in an orderly way from the start. Grace breaks down cabinets into slabs and lays them flat in the dumpster to make the most of the space. Anything else with empty space gets the same treatment. If they have to, he and his crew will get in and rearrange the debris as they go. That’s a lot easier than trying to jam bits of old drywall and lumber into crevices in a nearly full dumpster.
Check out the full article, “DIY Kitchen Demolition,” in issue #271. Plus, read more of Tyler Grace’s demolition tips here:
Photos by Brian McAward.


View Comments
Besides having a designated area for the debris, it is also a good idea to think about what can be salvaged and recycled during a demolition.
For small buildings or house kitchen demolition is a very simple process which involves either pulling the structure down or using large machinery to lay waste to the structure. But in reality it needs a detailed process. It is important to hire a demolition baiting NYC (http://www.positivepest.net) expert who can carry out the building implosion and ensure less or no damage to surrounding structures.