How to Achieve a Quality Waterborne Spray Finish
A coat of dewaxed shellac is one way to prevent raised grain from ruining your smooth finish.
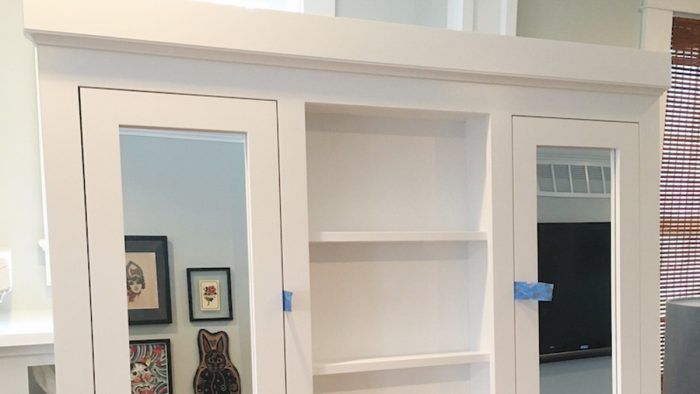
While I am not a painter by trade, I do my best to comprehend many facets of the construction trades. I initially started spray finishing my small cabinet jobs out of necessity. I could not find anyone else to do it, and I wanted to minimize downtime between fabrication and installation. Being that I do not have a designated spray shop, I needed to find a finish that was safe, cured quickly, and was relatively user friendly. All roads led me toward waterborne finishes.
I recently designed, constructed, and sprayed a custom medicine cabinet. I built it on site, as I did not know what I would find in the walls until the job was demoed, and the project’s timeline did not allow for enough time to order something custom once the project was underway. The box was made of shop-grade birch plywood, and the doors, face frames shelves, and trim are made of poplar. See below for photos of the unfinished project.
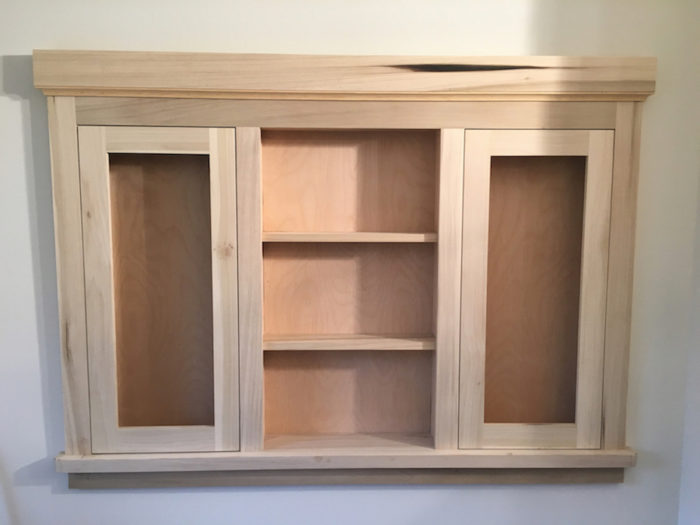
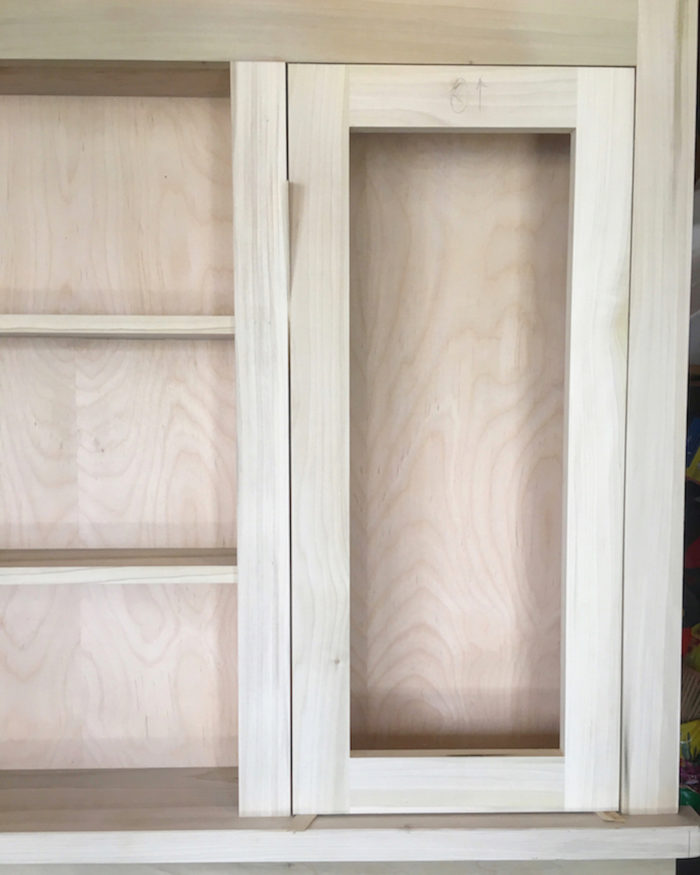
The most critical aspect of applying these finishes is combating grain raise. Water swells the wood fibers, and if you do not prevent that, you will never achieve a quality finish. This is where I cheat a little; prior to applying any water-based coatings, I seal my projects with a quick coat of clear dewaxed shellac. Being that this project was so small, I simply bought a rattle can of the product and gave it a few light coats. If necessary, you can give a quick sand after applying the shellac with some 320-grit sandpaper, but most of the time it is not needed.
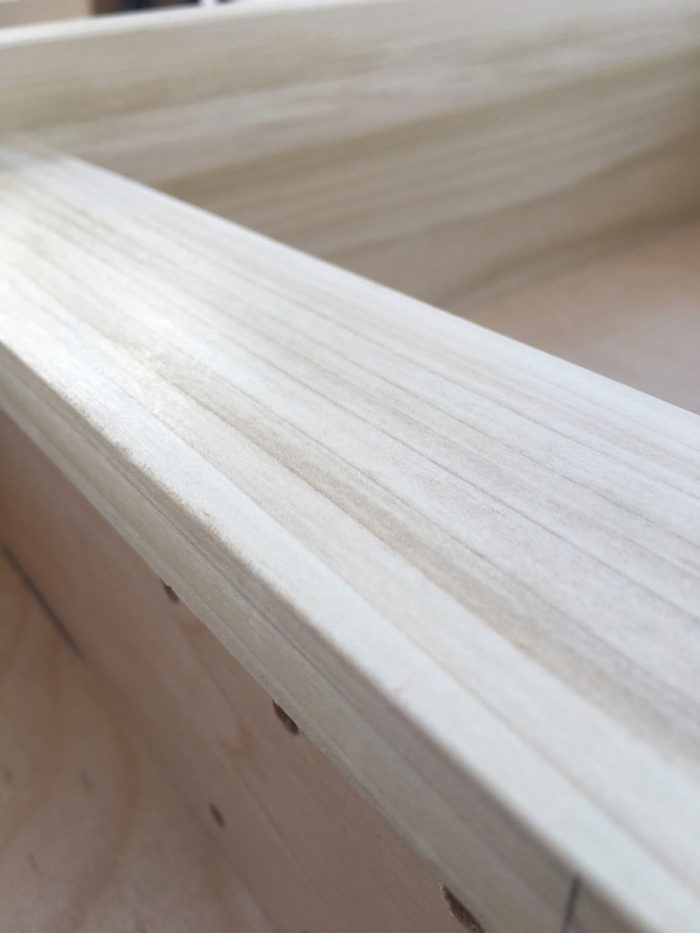
The closeup below features the poplar grain sealed with dewaxed shellac. Notice how little grain raise there is throughout the wood.
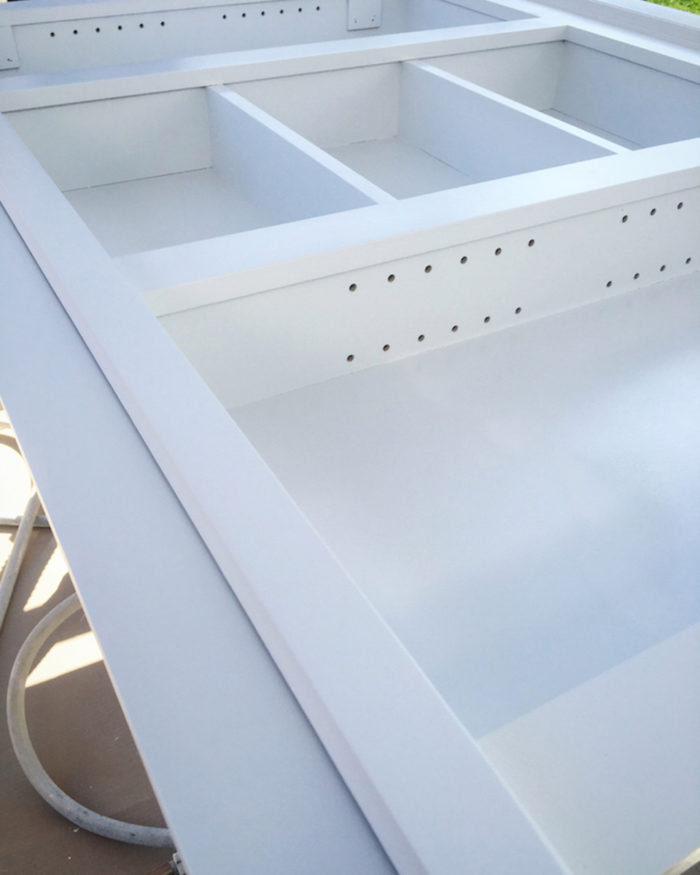
After the wood fibers are sealed, I apply two coats of a quality high-build/sandable waterborne primer. I knock down the primer between each coat with 220 grit sandpaper and vacuum/tack off any excess powder.
This is a picture of the project after primer and sanding.
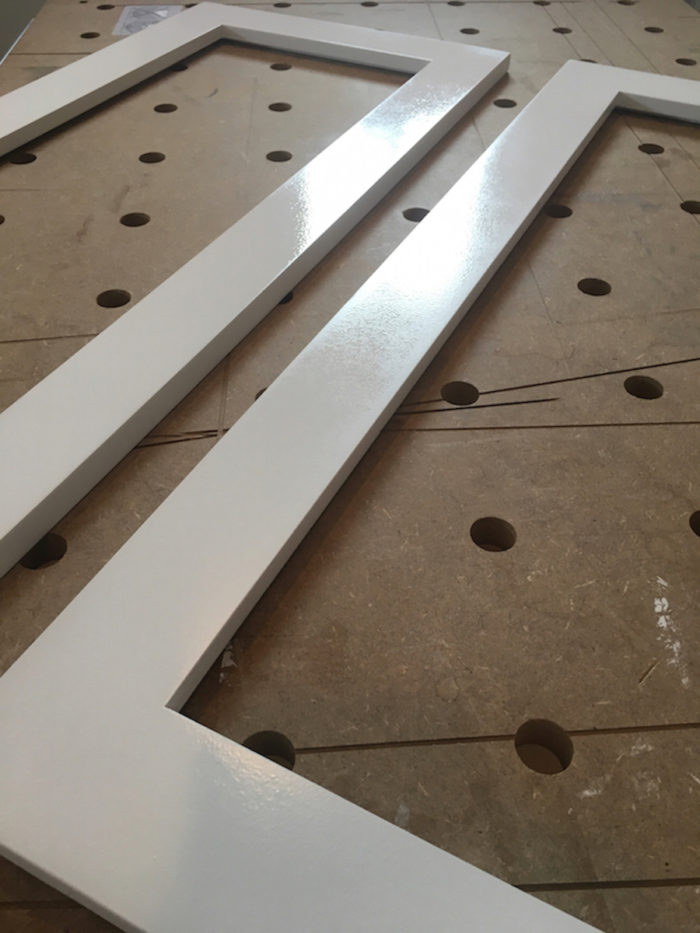
Finally, I apply two coats of waterborne finish. I prefer to use a waterborne lacquer made by Target Coatings because of how quickly it cures and its thinner viscosity straight from the can; but for this project I used Benjamin Moore’s Advance in a satin sheen. I sand between the finish coats with 320 grit sandpaper. This mainly helps with adhesion of the final coat. I typically thin the waterborne finishes between 5% and 10% and shoot with a 1.8 tip on my HVLP sprayer. Thinning much more than 10% begins to affect the sheen and physical properties of the finishes. When spraying waterbornes, I aim to achieve a 2-3 mil wet film thickness on the flat surfaces and throttle back a bit on the verticals.
This photo is of the finish coat flashing off prior to curing.
I setup a mini spray booth in my garage with plastic on the walls and fans to pull the overspray away from the project. These finishes take a little getting used to, but with the proper steps you can achieve a quality finish. As mentioned, the most important step is to seal the wood with a product that prevents grain raising prior to applying anything water-based. If you forego this step, you will be fighting a losing battle until the end. Ask me how I know…
A few flicks of the finished product prior to install.
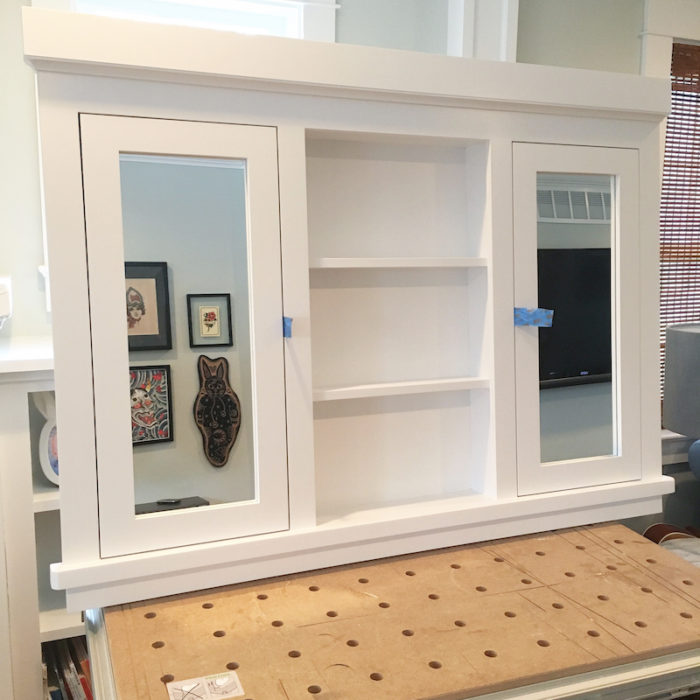
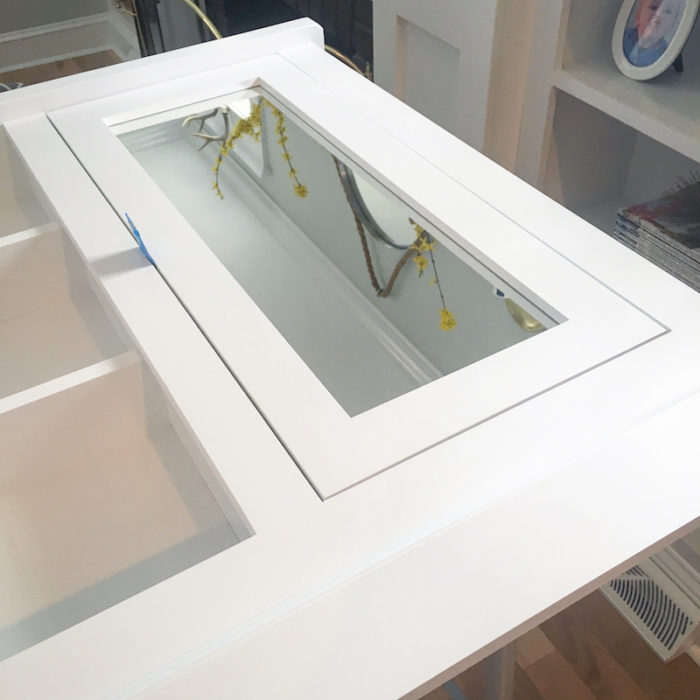
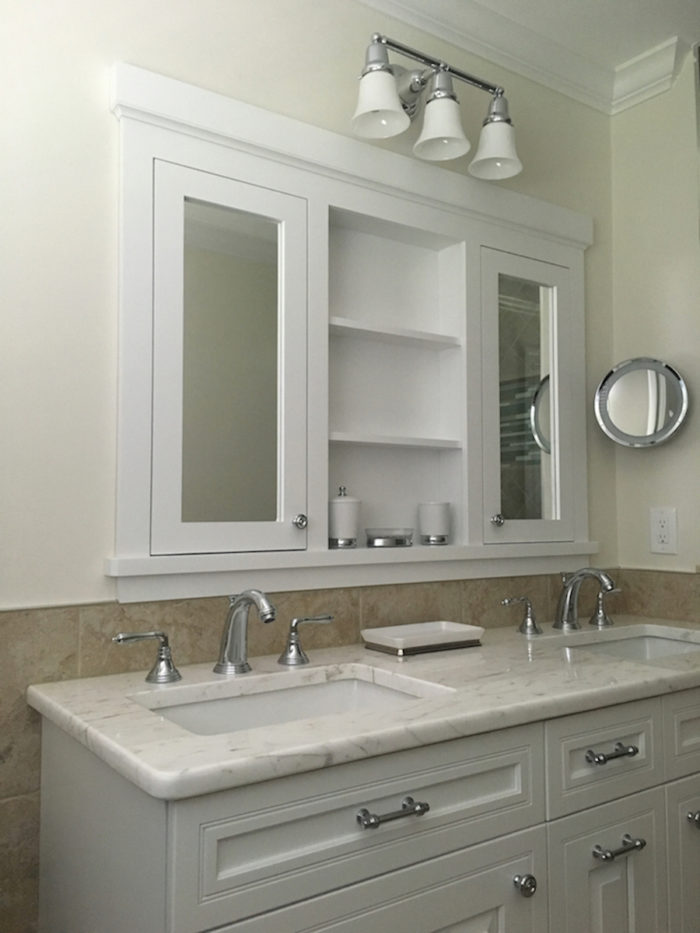
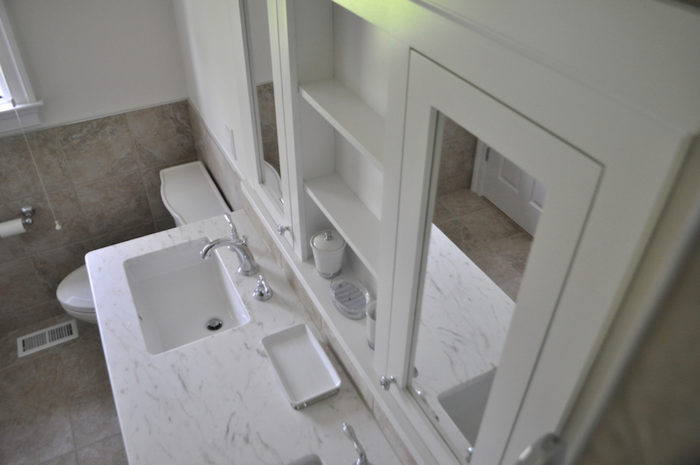
And finally some pictures of it all installed! You’ll notice I made sure to color-match the medicine cabinet with the the lacquer finish on the vanity.


View Comments
Looks like a well-done job. My question (for anyone who might care to respond) is whether the author's technique would work for painting already-finished oak kitchen cabinets (you know the kind; the ones that were used everywhere throughout the 90s) white? Anybody have any thoughts?
Davideg,
A catalyzed lacquer finish will be more durable than paint. Paint can become soft around knobs due to kitchen oils and dirty fingers. I presume a professional could colour the lacquer as one can buy coloured lacquer in a rattle can. A coloured finish will also show the seasonal expansion and contraction where the panels meet the door frames, if you have solid wood, raised panel doors (as opposed to veneered, raised panels.) In either case, lots of prep work. I'm planning to do the same with our kitchen.
When you sand the sealer coat, wouldn't it knock down any of the raised grain anyway?