Brush-Painting a Steel Door
A good paint job can go a long way to making a steel door look as welcoming as a wood one.
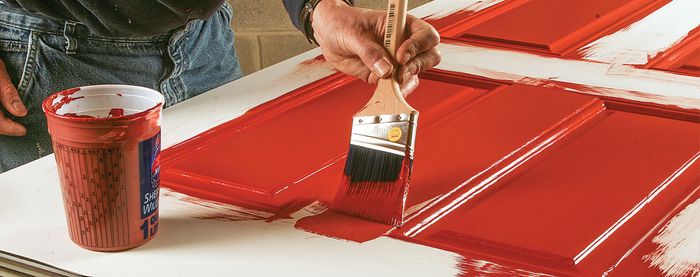
While steel entry doors are durable, reasonably priced, and energy efficient, their details don’t match the visual warmth of a well-built wood door. Still, a good paint job can go a long way to making a steel door look as welcoming as a wood one.
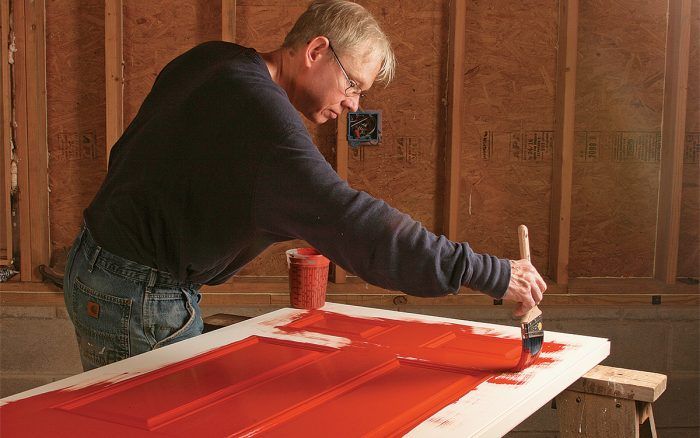
The key to a good-looking paint job on any door is the direction of the brush marks. On a wood door, the grain dictates the direction that you paint. With a steel door, think how the grain would run if the door were wood, and paint accordingly.
Paint in moderate conditions. If you work in the direct sun or in very hot temperatures, the paint can dry too quickly, making it hard to clean up errant brushstrokes or blend more paint onto freshly painted areas. Although many paints can be used in temperatures as low as 35°F, working in the cold makes paint harder to spread. And if the temperatures drop below the minimum, the paint won’t cure properly.
Buy a quality acrylic paint and follow the directions. Acrylic paint holds up well and is easy to clean off of brushes with water. The door shown here is a fire door for separating a garage from living space, so I didn’t prime over the factory primer. Had this been an exterior door, I would have primed it using the same sequence as in the photos.
Although you can paint doors while they’re hanging in their frames, I prefer to lay them flat. Drips and sags in the paint are less likely, and there’s no chance you’ll spill paint on the foyer floor.
Slideshow: Tips and Techniques for Painting, Staining, and Finishing
Step by Step
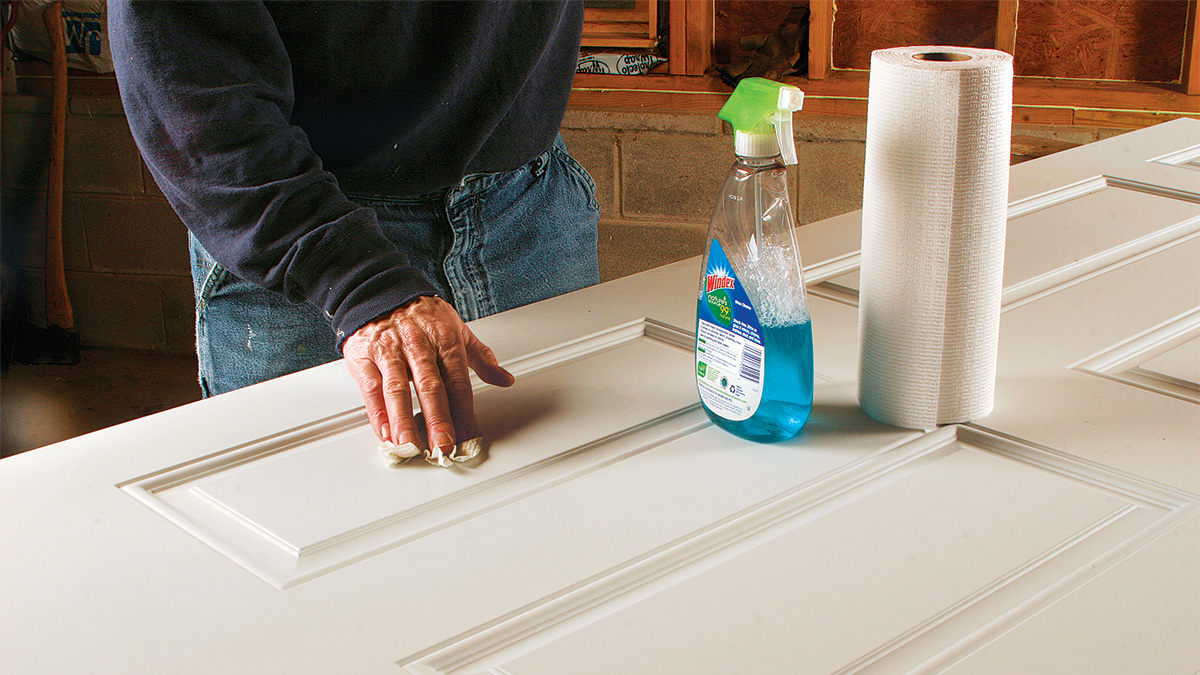
1. Clean the door. Use window cleaner to remove dirt and oil from the door. The cleaning agents are meant to evaporate and to leave glass free of streaks, so they don’t leave residue that could interfere with paint adhesion.
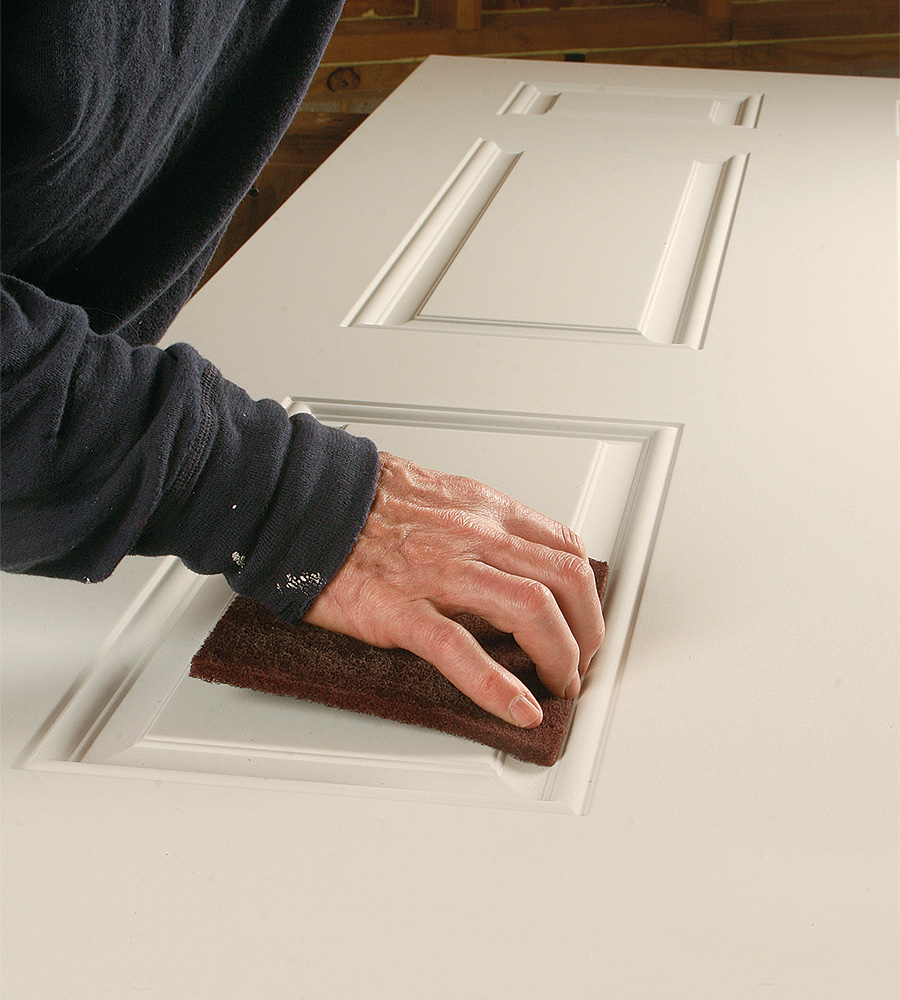
2. Rough up the surface. Use your fingers to guide a synthetic steel-wool pad into all the nooks and crannies. Use a microfiber tack cloth to pick up the dust.
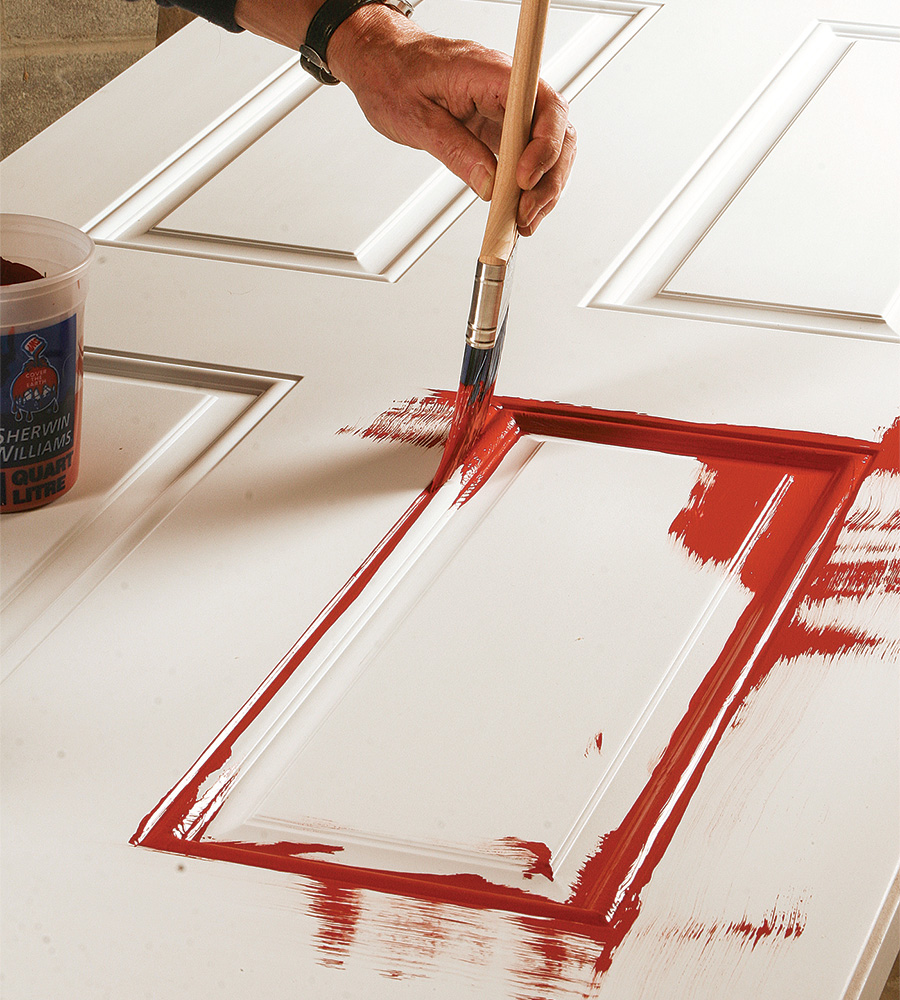
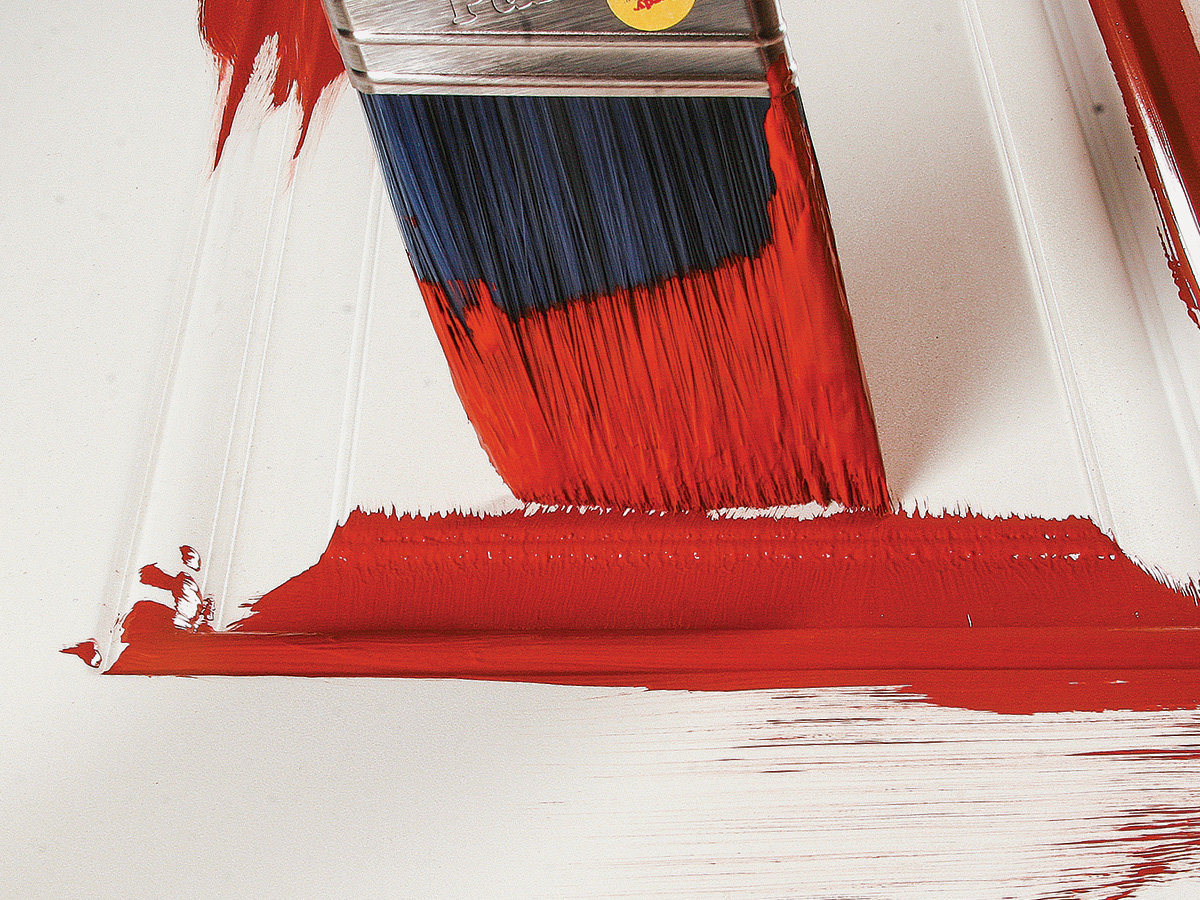
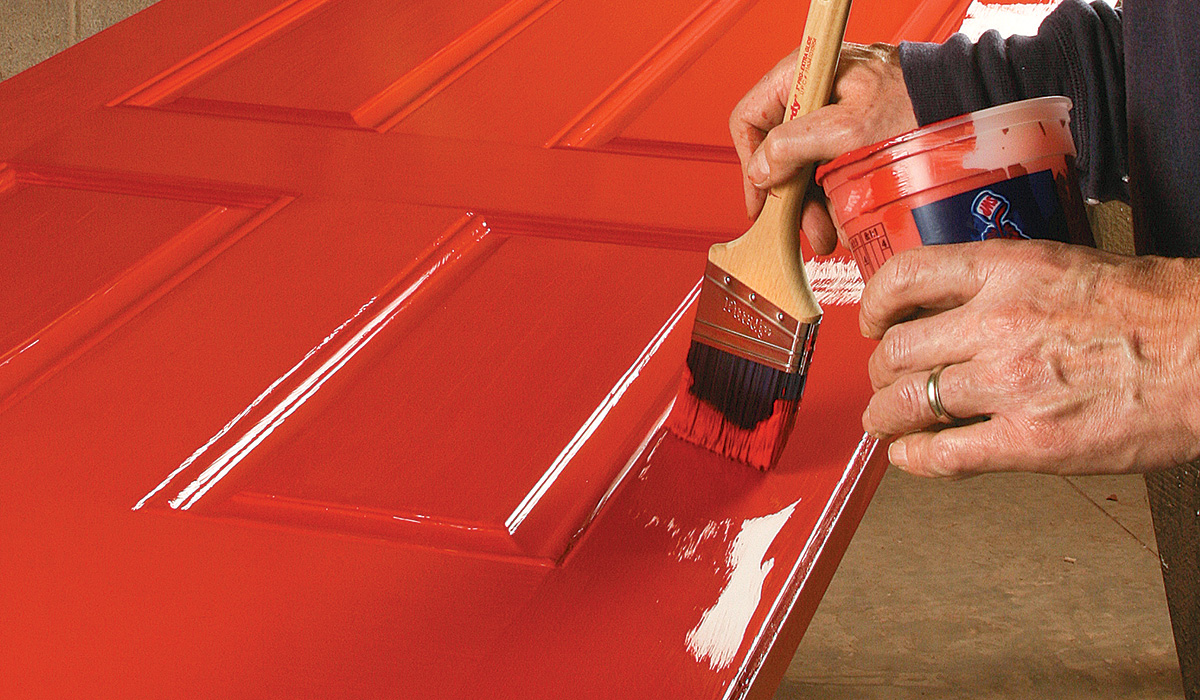
3. Paint the panel molding first. Here, the brush marks should go in the long direction of each edge.
4. Brush the panel ends. Use careful, short brushstrokes running in the same direction as the length of the panels, never across their width.
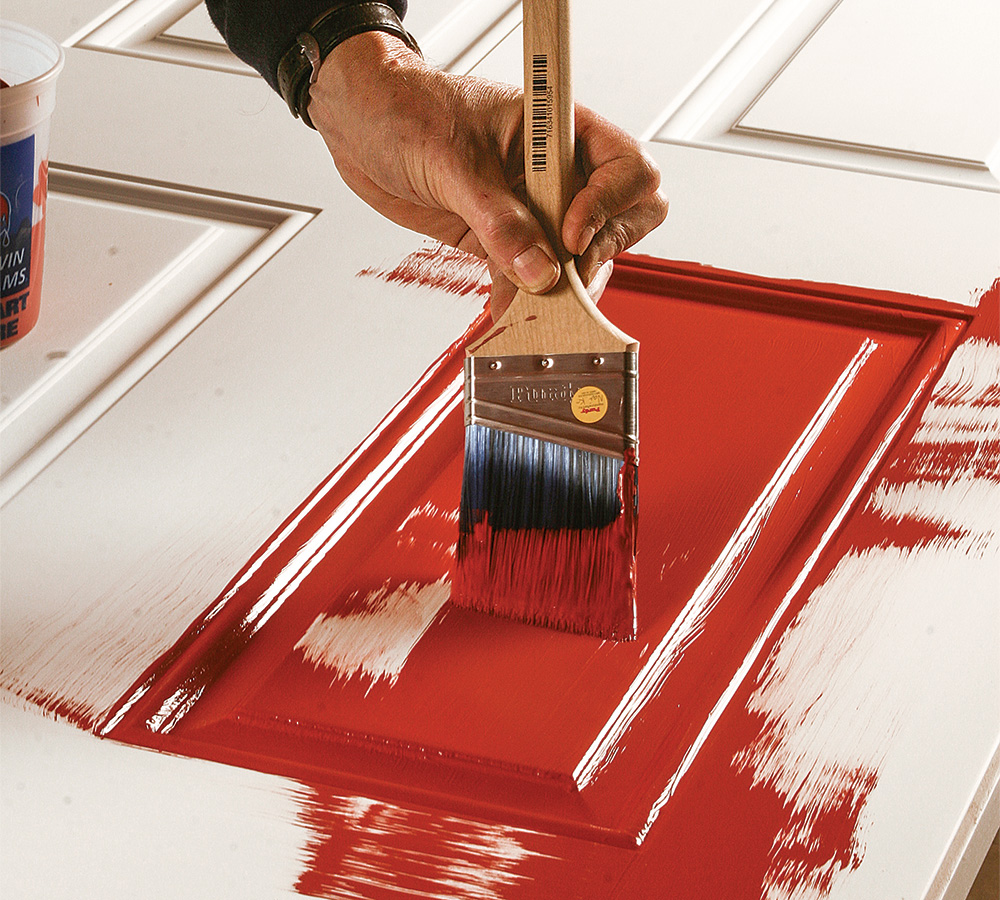
5. Cover the panel centers. Make broad brushstrokes along the length of the panels, brushing toward the previously painted ends.
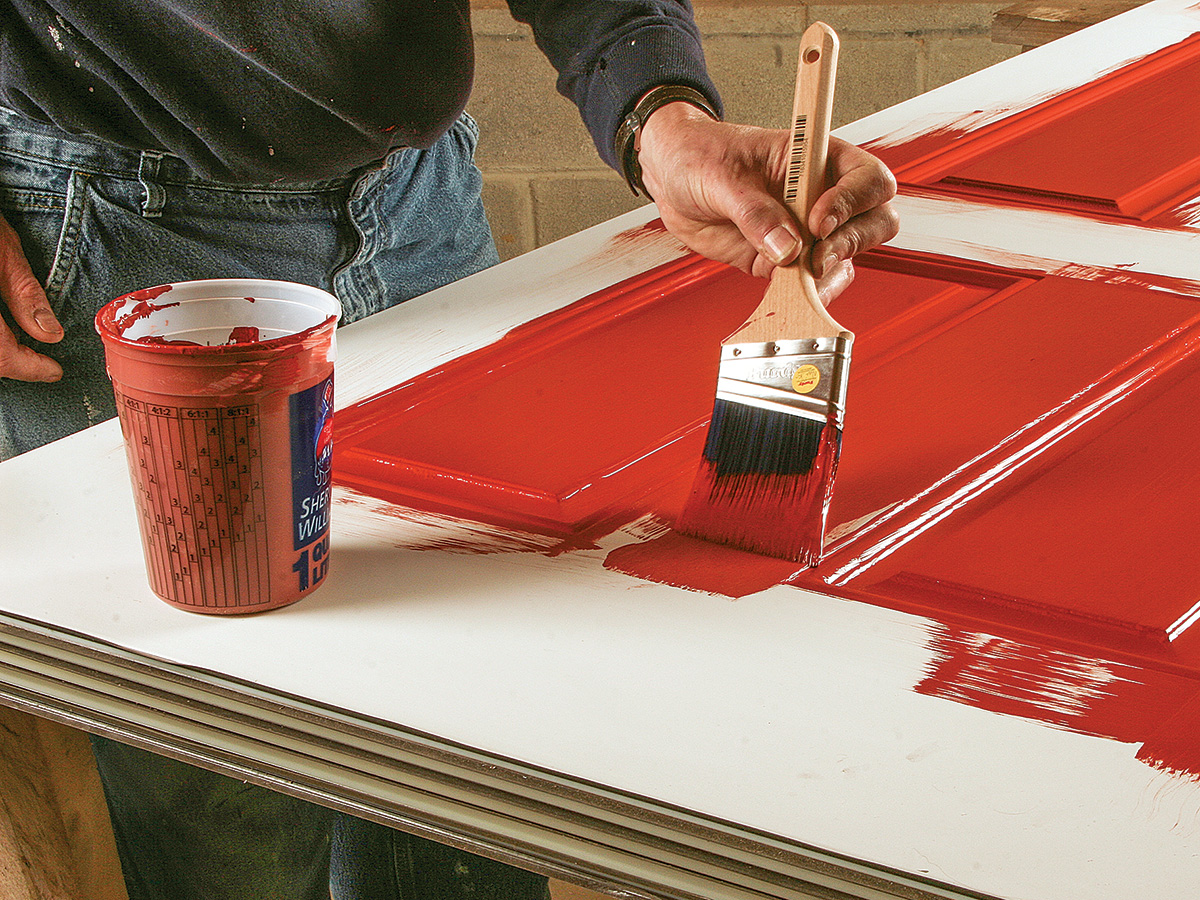
6. Paint the center stiles. Brush up and down. Painting onto the abutting rails is necessary and OK.
7. Do not let the overlaps dry. Right after brushing onto the rails from the center stiles, brush this paint out across the width of the door, keeping a straight brush line at the “joint” between the center stile and rail.
8. Paint the rails. Brush in the long direction, and lap onto the edge stiles. As in the previous step, brush out the overlaps in the direction of the stiles’ “grain“ before the paint begins to set.
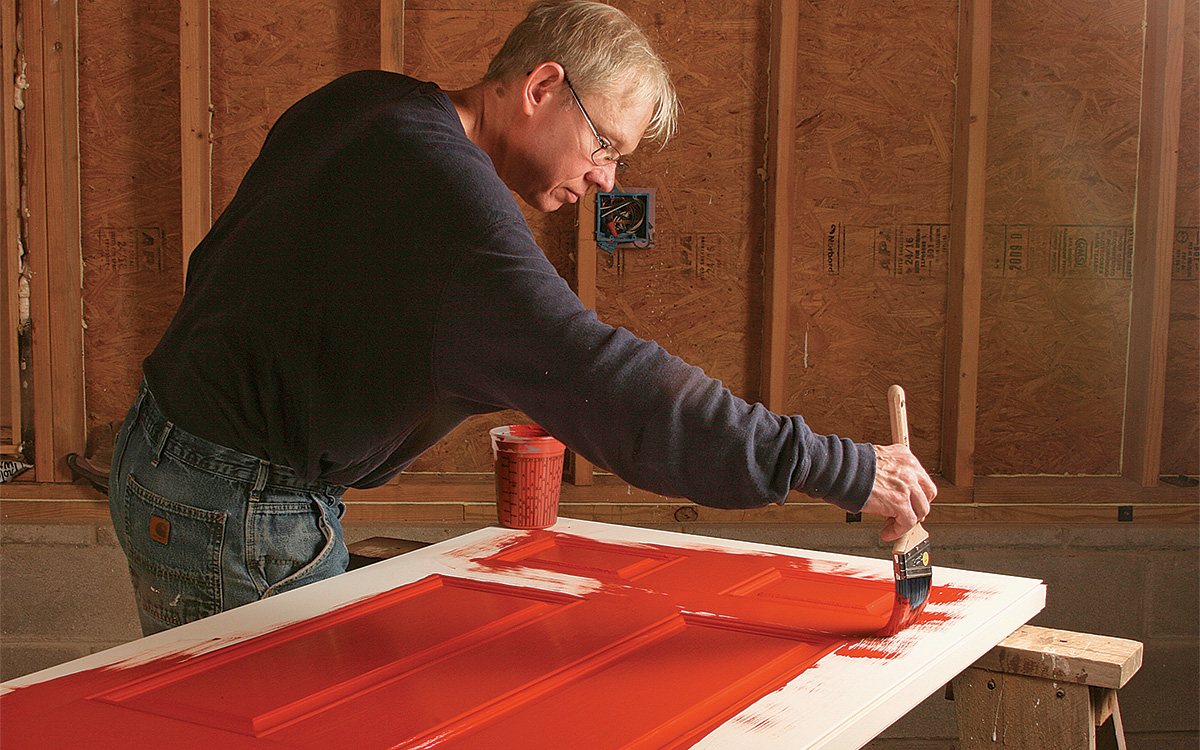
9. Paint the outer stiles. Paint in long, sweeping brushstrokes, and include the door’s edges. At the holes for the knob and deadbolt, keep the brush marks straight, passing directly over the holes rather than dragging the brush around them. You might get drips into the holes, but that’s OK.
Plastic Makes Painting Easier
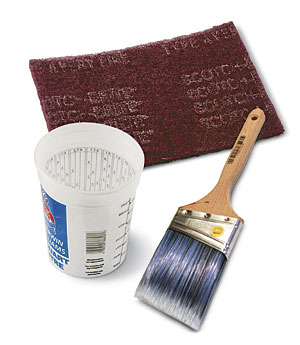
Synthetic steel wool doesn’t fill my fingers with sharp metal fibers the way actual steel wool can. The grit of 3M’s synthetic steel wool is indicated by its color. The maroon pads are fine enough that they aren’t likely to abrade through the factory primer and damage the door’s galvanization. (Any scratches that penetrate the zinc coating on the steel skin can rust.)
Angled sash brushes get in the corners better than square brushes. For acrylic paints, synthetic bristles are best, and I’ve found that Purdy brushes work well and last for years. I like a 3-in. brush because it’s big enough to speed up the job but small enough to be maneuverable. Finally, a 1-qt. plastic container (you can use a clean takeout-soup container) is easier to work from than a 1-qt. paint can. The 3-in. brush fits more easily into the plastic container’s larger opening.
Photos by Patricia Steed
