How to Paint a Custom Steel Staircase On-Site
Learn how carpenter Josh Edmonds used a site-made spray booth to prep and paint the stair frame featured in the article "Site-Built Steel-Stringer Stairs."
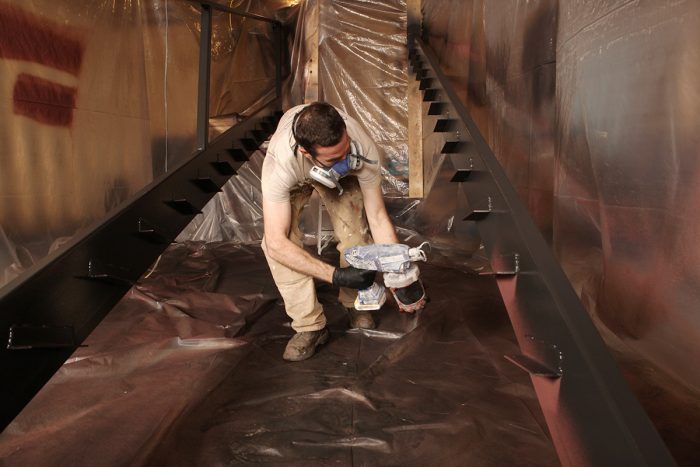
Fabricating steel-stringer stairs is one thing. Prepping them for finish and then painting them is a whole other bag. As a web extra to the article “Site-Built Steel-Stringer Stairs,” carpenter Josh Edmonds gives a full rundown of the prep and painting of the steel stringers in a makeshift spray booth.
Fill and sand to get things smooth
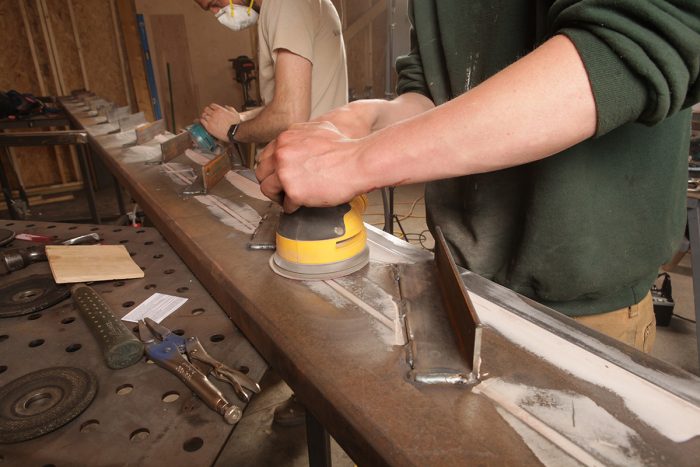
Josh and his crew start by filling any voids in the stringers with Bondo auto body filler. Because of its fast set time and flexibility, body filler is ideal for this application. Plus, the stringers are structurally way oversize for the loads they’ll have to carry, so there’s no real risk of them flexing and popping the filler.
 |
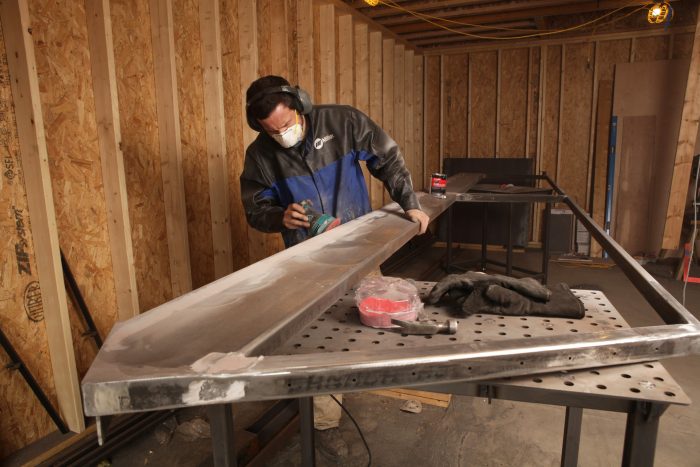 |
The crew pays extra attention to filling voids on the portions of the stringers that will be visible, and don’t worry as much about the parts that won’t. Once everything is covered and the filler has set, they sand every surface smooth with 120-grit sandpaper to level out the Bondo and to provide a clean surface for the primer.
Set up the temporary paint booth
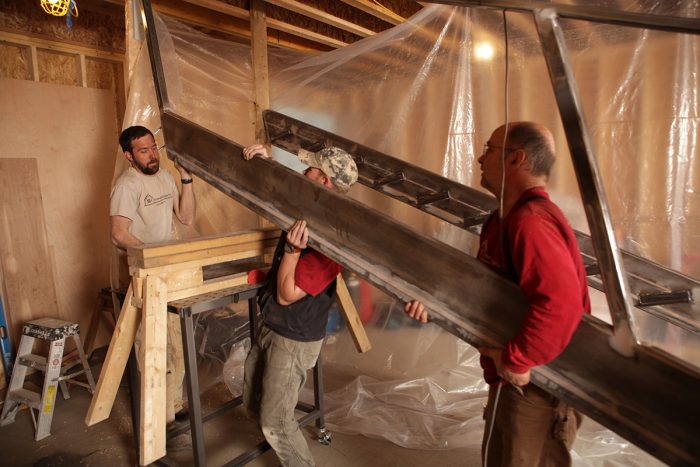
Next, the guys positioned the stringers for finishing. The original plan was for both stringers to essentially hang by the bolts that are welded into them at the top.
They screwed two vertical 2x6s to a ceiling joist in the garage, and bored a couple holes in each to receive the stringer bolts. This setup worked for the wall-side stringer, but the stringer with the handrail was a bit too tall to be mounted this way. Instead, they rested it on a sawhorse on top of a welding table, and had to do a little extra finish work on the underside later.
After arranging the stringers, they walled off the area and covered the floor with thin plastic sheeting. The painting process takes less than a day, and most of that is waiting for the various coats to dry, so the plastic doesn’t get much abuse other than catching overspray and being used as a test surface to check the spray pattern.
Clean all surfaces for a good bond
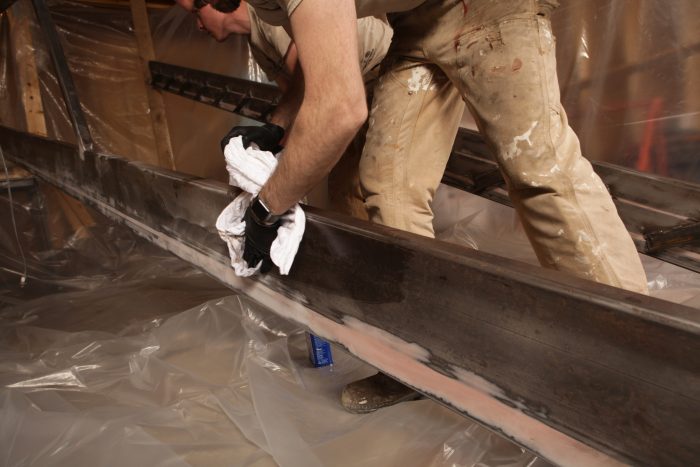
Before moving on to finishing, they cleaned all of the residual Bondo, steel, and rust dust off with clean rags and acetone. The acetone flashes off almost instantaneously, leaving a clean surface for primer.
Apply the paint
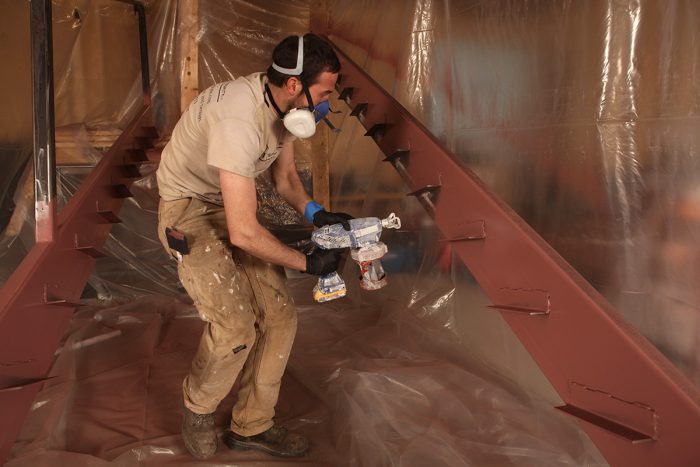
Even if you only paint occasionally, a small spray rig is a great investment. Edmonds uses a cordless Graco sprayer, which can handle a variety of finishes and is easy to maneuver without cords or hoses getting in the way. The downside of this small mobile rig is that it needs to be refilled more often than some other spray setups. Still, it’s faster and gets more even results that a brush does in the hands of someone who isn’t a pro-level painter.
Edmonds sprayed a coat of latex-based clean metal primer on all surfaces. It dries far more quickly than oil-based primers and paints.
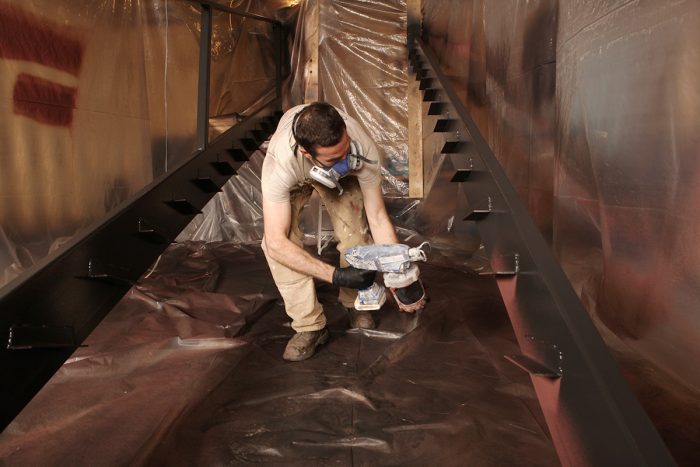
The primer is followed by two coats of low-luster floor paint, which cures harder than standard latex and can better handle the abuse it will have to endure in a busy household.
Read more about painting:
House Painting Tips & Techniques – Use these 35 illustrated solutions to make your next finishing project easier, cleaner, and more beautiful.
Interior Painting Guide – These 25 articles and videos will help you choose materials and hone your finishing techniques for a professional-quality interior paint job.
Deciding on Wood Fillers – How to choose the right filler, putty, epoxy, or spackle products for repairing everything from common nail holes to major rot.
Right-priced Spray Rig – Although some aspects of the setup are awkward, and it lacks some of the features found on higher-end kits, this is a true bang-for-your-buck miracle.
Video: Tips for On-Site Spray Finishing – FHB Ambassador Tyler Grace shares his setup and strategy for achieving a cabinet-shop-quality finish in a customer’s house
