Painting Ceilings and Walls
Follow these guidelines to paint a room methodically from top to bottom.

Let’s begin with some general guidelines: As you paint, be methodical so you won’t need to touch up missed areas. Paint top to bottom: Do ceilings, walls, trim, and baseboards before doing doors and windows. Paint back to front. Many painters go to the deepest recess of a room—often, a closet—and work methodically toward a door. Paint inside to out. If you start painting in the backs of built-ins and cabinets, your final brushstrokes on the outermost edges will be clean and crisp.
Once you’ve prepped the surfaces, masked off baseboards, and spread drop cloths, it’s time to paint.
| PRO TIP: Amateurs mistakenly paint from a 1-gal. paint can instead of a painter’s pail. Consequently, they dip into too much paint, which they then scrape off on the can lip. It’s better to dip into less paint and with two flicks of the wrist, dip-tap-tap the brush on both sides of a pail. This removes excess paint that might drip but leaves most of the paint on the brush, letting you paint farther. |
Painting the ceiling
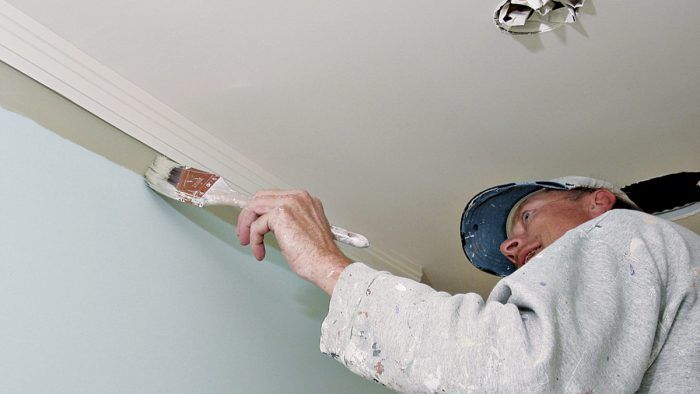
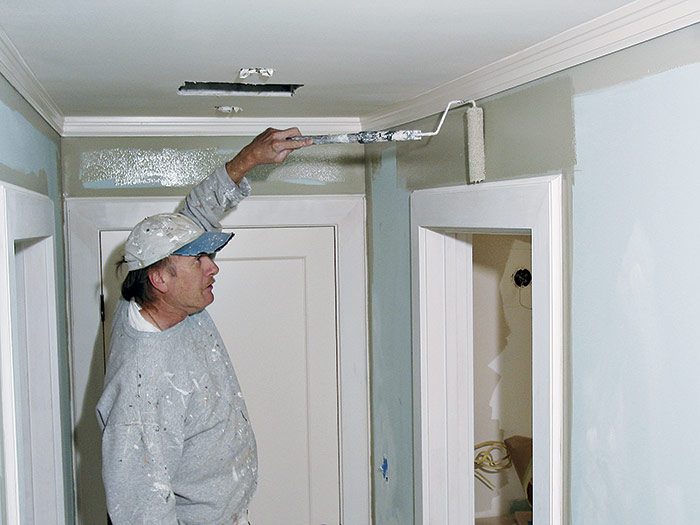
Begin by using a brush to cut in a 2-in. to 3-in. border where the ceiling meets the walls and near all moldings. This cut-in border reaches where a roller can’t and thus allows you to roll out the rest of the ceiling without getting paint on the walls. Later, as you roll within 1/2 in. to 1 in. of the ceiling–wall intersection, you’ll cover the brushmarks, so the paint texture will look uniform. This operation goes much faster if one painter on a step bench cuts in, while the second painter rolls on paint, using an extension pole to reach the ceiling.
To avoid obvious lap marks, paint the ceiling in one session, working across the narrowest dimension of the room. Roll out paint in 3-ft. by 3-ft. sections—about one roller-load of paint. First, roll the paint in a zigzag pattern, which distributes most of the paint in three or four strokes, then go back and roll the paint evenly. When the roller is almost unloaded, slightly overlap adjacent areas already painted. Keep roller passes light, and don’t overwork an area. Once the paint is spread evenly and starting to dry, leave it alone so its nap marks can level out.
| PRO TIP: If there are two painters, divide the job: The first painter leads the way with a brush to “edge” the corners, trim, and other hard-to-roll areas. The second painter follows, rolling over the edging to hide brushmarks, thereby giving the wall a uniform texture. The first painter should edge out 2 in. to 3 in. from the trim and corners, and the second painter rolls to within 1/2 in. |
For a smooth finish, use a standard 9-in. roller cover with 3/8-in. to 1/2-in. nap. Thanks to the extension pole, you can reach the ceiling easily, without needing to stand directly under the roller and its fine paint rain. To minimize mist and drips, run the roller up and down the bucket ramp several times when loading. But don’t fret about small, stray spots on walls because you’ll cover them later when you roll the walls.
| Primers and Paints* | ||
| SURFACE | PRIMER AND PAINT | COMMENTS |
| Drywall: | ||
| Unpainted | Acrylic latex primer and paint | Don’t sand between coats. |
| Painted with oil-based semigloss or gloss | Oil-based (alkyd) or latex | To switch to latex: sand oil-based paint, vacuum, prime with acrylic latex primer. |
| Painted with latex | Acrylic latex | Sand lightly before first new coat; not needed thereafter. |
| Plaster: | ||
| Unpainted | Acrylic latex primer and paint | Plaster must be cured before painting; dilute primer coat. |
| Painted with oil-based semigloss or gloss | Oil-based or latex | To switch to latex: sand oil-based paint, vacuum, prime with acrylic latex primer. |
| Painted with latex | Acrylic latex | Lightly sand before painting. |
| Interior trim: | ||
| Doors, unpainted | Oil-based or latex primer and paint; semigloss finish | Oil-based paint soaks into wood, dries harder, resists abrasion; sand between coats. |
| Unpainted | Clear finishes, such as polyurethane and varnish | Always seal bare wood or it will become grimy and dull. |
| Painted with oil-based semigloss or gloss | Oil-based paint | Sand between coats. |
| Painted with latex | Acrylic latex | Not as durable as oil-based paint. |
| Exterior: | ||
| Siding and trim, unpainted | Acrylic latex primer and paint | Latex stays flexible, allows some moisture migration. |
| Painted with oil-based semigloss or gloss | Oil-based paint, or acrylic if properly primed | Unless you strip siding, stick with oil-based paint. |
| Painted with latex | Acrylic latex | |
| * Oil-based here is synonymous with alkyd, now mentioned on most containers of paint and stain. Alkyds are synthetic resins that have largely replaced the traditional petroleum-oil base. | ||
Painting the walls
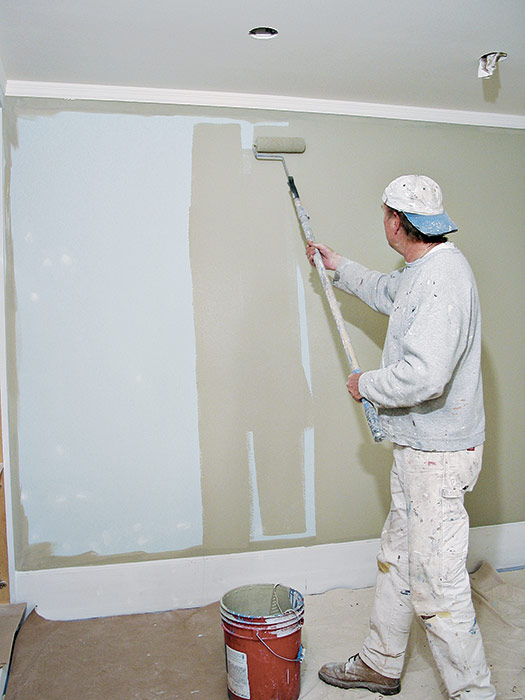
The wall-painting process is nearly the same as painting ceilings—cutting in with a brush and rolling larger areas—except that you can load more paint on the roller. To reduce spatter, roll up on the first stroke; the excess will fall back to the roller. Continue rolling in a zigzag pattern to unload the roller before rolling out the paint. A 6-in. hot-dog roller can paint the areas over doors and windows that are too narrow for a standard 9-in. roller. Rolling is always faster than brushing because you don’t need to dip a roller in paint continually. If you’re careful around electrical outlets, you can also use a hot-dog roller there.


Lingering Paint SmellsAs paint dries, it outgases (gives off gases), releasing water vapor or mineral spirits and additives into the air. The warmer the room and the better the ventilation, the sooner the smells will dissipate. Labels on paint cans indicate drying times. Typically, in a room that is 60ºF or warmer, acrylic latexes will be dry enough to recoat in two to four hours. Oil-based paints can be recoated in 24 hours. However, odors may linger because the paints need longer to cure: 8 to 10 days for latex, 28 to 30 days for oil-based paints. |
With more paint on your roller, you can cover slightly larger expanses of wall, say, 3 ft. by 4 ft. If you start at the top of the wall and work down, you’ll roll over any drips from above. Cover brushmarks by rolling within 1/2 in. to 1 in. of the ceiling; this is important when applying darker hues because rolled-on paint reflects light differently than paint that’s been brushed on. Slightly overlap adjacent sections. To avoid unloading excess paint along outside corners, lighten up as you roll.
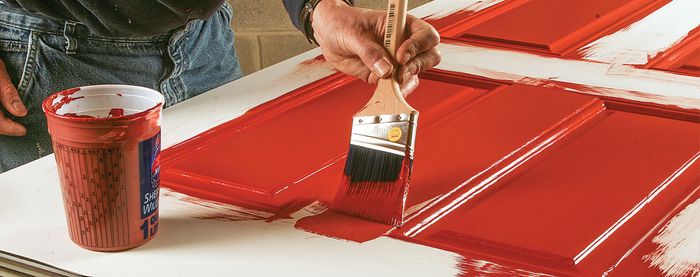
Finally, sand lightly between coats when you apply oil-based paint, especially enamels on cabinets or trim. On walls, use 220-grit sandpaper or a dry sanding block. It’s not necessary to sand latex paint, unless you’ve waited several weeks between coats; until latex is 100% dry, new coats adhere easily.


View Comments
amazing tips