Painting Trim the Right Way, Ep. 4: Caulk, Brush Work, and the Finish Coat
Once sanding is complete, preparing the primer is the next step to getting a smooth surface.
All Videos in This Series:
1. Introduction
2. Cleaning, Priming, and Filling Holes
4. Caulk, Brush Work, and the Finish Coat
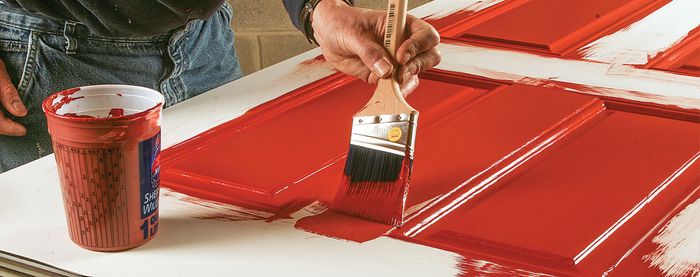
With two coats of primer applied, the next step is to fill cracks and seams with caulk. Leahy demonstrates his technique for laying out neat concise lines of caulk that won’t crack in the future. He wraps up the series with an in-depth look at his brush technique and how he achieves a flawless finish coat of paint.


View Comments
I read (and re-read) this article, used the recommended products, and did every step. This is precise work but the results were perfect! If you are going to do something, do it correctly and this is a go to guide.
We went through each of the recommended procedures, and everything looked perfect. However, when we fired up the boiler come autumn, the radiators dried everything out quickly and the caulking cracked. The new interior baseboard, window and door trim had shrunk, naturally, including the newly installed ship lap. Any suggestions for truly expandable caulking for our northern conditions? With hot water radiators, keeping up with humidity is a real challenge. Thank you for suggestions, Cheers from niagara
This guy's caulking method (and mine until very recently) is possibly going to lead to cracking.
Read Andy Engel's eye-opening article on caulk joints in Issue 261 of FHB (Aug '16).