Painting Walls With Glazes
Add a little texture and a lot of character to your walls with a decorative painter's formula for glazing.

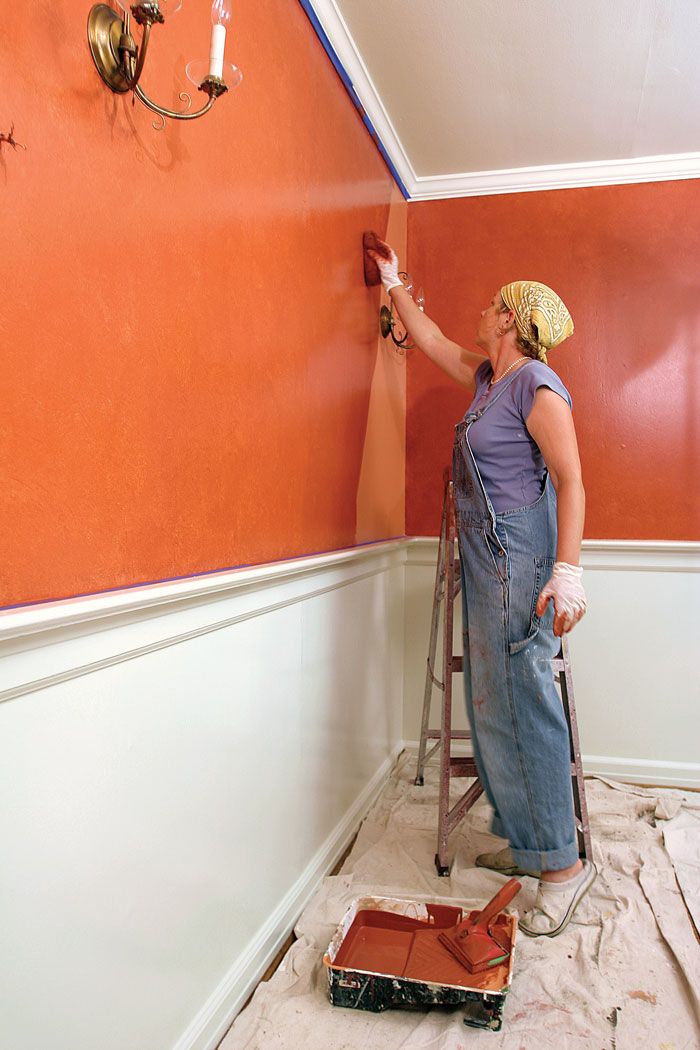
Synopsis: A glaze is a semitransparent paint mixture. It is applied on top of a solid-color base coat (basically a painted wall) and manipulated in-place with a sponge, rag, bag, or brush to create texture. Glazing your walls is an inexpensive project that you can customize to suit your style and tackle in a weekend. In this article, an experienced decorative painter discusses the materials, tools, and techniques used for glazing and offers some options for color and texture. She walks you through the process of glazing the dining-room walls on one of her recent jobs.
Every time I pick up a new decorative painting product at the paint store, I am discouraged by the lack of instructions. The directions tend to be oversimplified and fail to mention the many little tricks that make a decorative-painting project successful. Glazing kits are a perfect example.
A glaze is a semi-transparent layer of paint applied over a complementary solid color, or base coat. You’ve probably heard of ragging, bagging, or sponging. These glazing techniques are named for the tools used to create the texture. For centuries, artisans have used glazes to add texture and depth to art, furniture, and walls. Glazes are a great alternative to solid colors and wallpaper, and are an excellent way to hide flaws in imperfect walls.
Mixing the glaze is the easy part. You don’t need a kit, just a few basic ingredients, the right color combination, and good technique. As a decorative painter, I’ve learned a lot about using glazes, but one thing I can’t stress enough is that practice makes perfect.
Start with a sample board
I do sample boards for every job. Sample boards give me a chance to try different color combinations and textures, and to establish the right glaze formula. Most important, though, sample boards are a great way to practice technique and to see how colors interact.
I use 2-ft. by 2-ft. pieces of tempered hardboard for my samples, but you can use a scrap piece of drywall or any other smooth surface as a sample board. Remember, bigger is better. When you put the sample in the room, a larger board gives a better reading of what the color and texture will look like on the walls.
Priming the boards before you start is a good idea. This way, the boards won’t swell and the paint will adhere well so that you can use one board for multiple samples. The first sample is rarely a screaming success. On this job, the homeowner liked my first sample but asked that I make it “just a little bit darker” when I did the walls. Even though it was a simple adjustment, I did one last sample to make sure the glaze was right.
Match the colors to the room
You’ll need two paint colors: a base-coat color and a glaze color. You can start by choosing one overall color as a starting point for the glaze. I usually use the furniture, the art, or a fabric in the room for inspiration. Matching paint to objects is always easier than matching objects to paint. Here, I based the color combination on an existing Asian carpet.
I use paint chips to decide on the first color, then choose a second color either a little lighter or a little darker than the first choice, but in a similar hue. I’ve had the best results using different values of the same color paint. In this case, I used two shades of orange.
For more photos and details, click the View PDF button below:


