Refinish Your Cabinets
Save thousands by painting cabinets instead of replacing them.

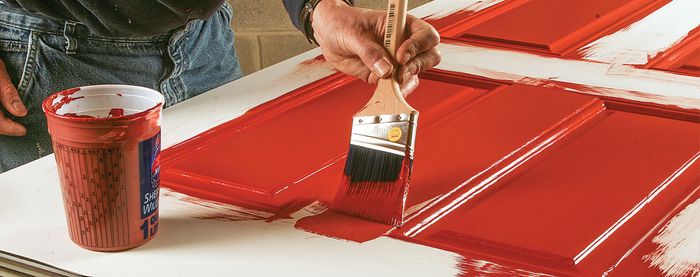
Synopsis: Nothing makes a kitchen shine like new cabinets, but buying new kitchen cabinets is a pricey proposition. Painter Philip Hansell suggests saving money and a trip to the landfill by repainting kitchen cabinets so that they look as good as new. Hansell recommends spraying instead of brushing to apply paint. Spraying is costlier than brushing because of the additional prep work, but a skilled spray technician can leave a smooth, flawless finish. To start, Hansell preps the kitchen by covering the countertops and floor with kraft paper and appliances with plastic sheeting. Next, he removes cabinet drawers and doors, making sure to label them carefully for their location and to label their associated hardware so that the kitchen can be reassembled properly after the paint is dry. Surface prep takes care of dents and dings, and sanding prepares the cabinets for the new coat of paint. Hansell recommends oil-based paint because it bonds and coats better.
Refinishing kitchen cabinets is a difficult and labor-intensive painting project, but the payoff can be huge. For a fraction of the cost of new cabinets, refinishing can transform a well-worn kitchen into one that looks and feels new.
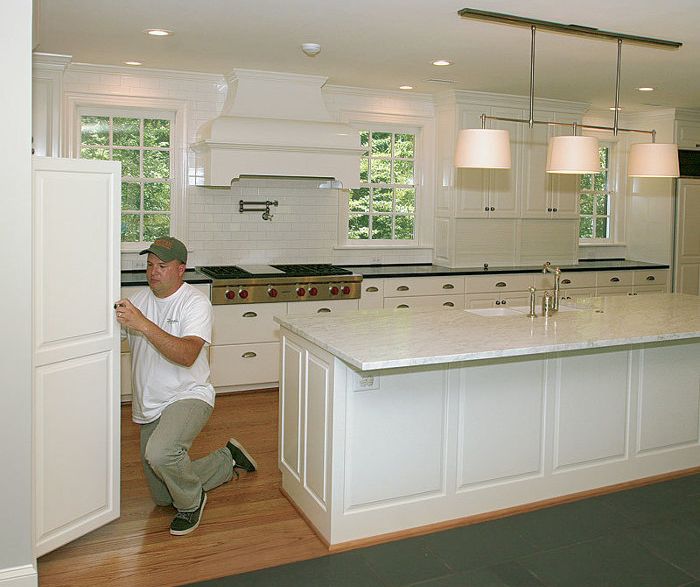
As with most painting projects, the secret to a high-quality finish on kitchen cabinets is proper preparation and the right tools and materials for the job. Here, I describe how my painting company goes about refinishing cabinets in a typical kitchen. The project shown is a high-end kitchen remodel in a handsome brick house in one of the nicest neighborhoods of Durham, N.C.
The kitchen design called for new tilework, lighting, and appliances. While the built-in appliances required new cabinets, the existing cabinets were in good shape, so the homeowners decided to save thousands of dollars by refinishing their existing kitchen cabinets.
Spraying works best
Unless the client’s budget is supertight, we generally paint kitchen cabinets with an airless sprayer. Spraying costs more than brushing because of the additional masking and setup, but a high-quality sprayer in the hands of an experienced painter produces a flawless, glass-smooth finish that’s as good as or better than the factory finish on most mass-produced cabinets.
My company paints so many cabinets every year that we installed a spray booth in our shop. It’s the same type of enclosure you’d find in an auto-body shop. Before we bought the booth, we made spray enclosures by hanging drop cloths or tarps from our shop ceiling. Tarp enclosures work fine, particularly if you’ll be doing this only once, but the booth — with its bright lights and filtered air — provides a better finish in less time.
You can spray cabinets on site, too. In fact, we almost always spray cabinet boxes on the job because it’s too time-consuming and expensive to remove them. Unfortunately, on most job sites it’s tough to find a space large and clean enough to spray the many doors and drawers found in a typical high-end kitchen, which is why we do those in our shop.
Getting started
The first step is protecting the countertops and floor with heavy kraft paper. If the kitchen has hardwood flooring that won’t be refinished at the end of the project, we put down a thicker product called FloorShell (trimaco.com). We tape the paper or FloorShell around the perimeter and at seams to prevent the high-pressure sprayer from lifting it during spraying. We also cover appliances, light fixtures, backsplashes, and adjacent walls with ClingCover plastic drop cloths (trimaco.com) taped in place.
Refrigerators need fresh air for operation, so we leave the plastic sheeting off the intake grilles until we’re ready to spray. When it’s time to spray, we turn off the refrigerator and cover the grille until we’re done for the day. We always tell the homeowners about this ahead of time so that they can consume or move anything that’s particularly perishable.
For more photos and details, click the View PDF button below:


