Repainting Interior Trim
Careful preparation and confident brushwork are the keys to a professional finish.

Synopsis: A professional painter describes the tools, materials and techniques that he uses to paint interior trim so that it looks great and lasts a long time. Included is information on prep work and primers, brush selection and techniques, and caulk, as well as a sidebar on how to paint over old oil-based paints.
A few years ago, a real-estate agent friend called to ask for a favor. Her client had slapped a fresh coat of paint over all the interior trim of his century-old house prior to putting it on the market. She’d called me because she thought his paint job looked “kind of funky.” I wasn’t even 2 ft. inside the door when I saw why she’d been concerned: From almost every square inch of the beautiful, ornate trim, the new paint was peeling away in sheets. This disaster was a classic example of what happens when latex paint is applied directly over high-gloss oil paint without proper surface preparation. I didn’t have the heart to tell them what it would cost to fix the mistake, so I referred them to another contractor, someone I didn’t like much.
Getting paint to stick is only half the battle. Interior-trim elements may not endure the same hardships as those on the exterior, but they’re subject to much closer scrutiny. When I’m painting a window that’s right next to the couch in the family room, I have to make sure that the painted surfaces are silky smooth and that the lines where trim meets wall are razor sharp, or I might never get paid.
Detective work precedes prep work

Interior-trim elements, such as crown molding, chair rail, casings or baseboards, are designed to stand out from the walls and ceilings. In most homes, the walls and ceilings are painted with a flat finish, while the trim receives a gloss. Until recently, the only way to get a smooth, glossy finish, free of obvious brush strokes, was to use an oil-based paint. Acrylic latex paints have made great strides in recent years, but putting latex over oil is still a challenge. Unless the client requests otherwise, I prefer to apply latex over latex and oil over oil.
There are several ways to determine whether the existing paint is oil or latex. If some of the paint is peeling, I take a large chip and bend it in half. Oil paint is brittle, but latex is flexible: A clean break tells me I’m working with oil; otherwise, I’ve got latex. If the painted surface is not peeling, I’ll put a few drops of Goof-Off—a product that messy painters use to clean up dried latex-paint spatters—on a flat horizontal surface such as a windowsill and wait a few minutes. If the paint becomes soft and gooey, it’s latex.
For more photos and details on repainting interior trim, click the View PDF button below.


View Comments
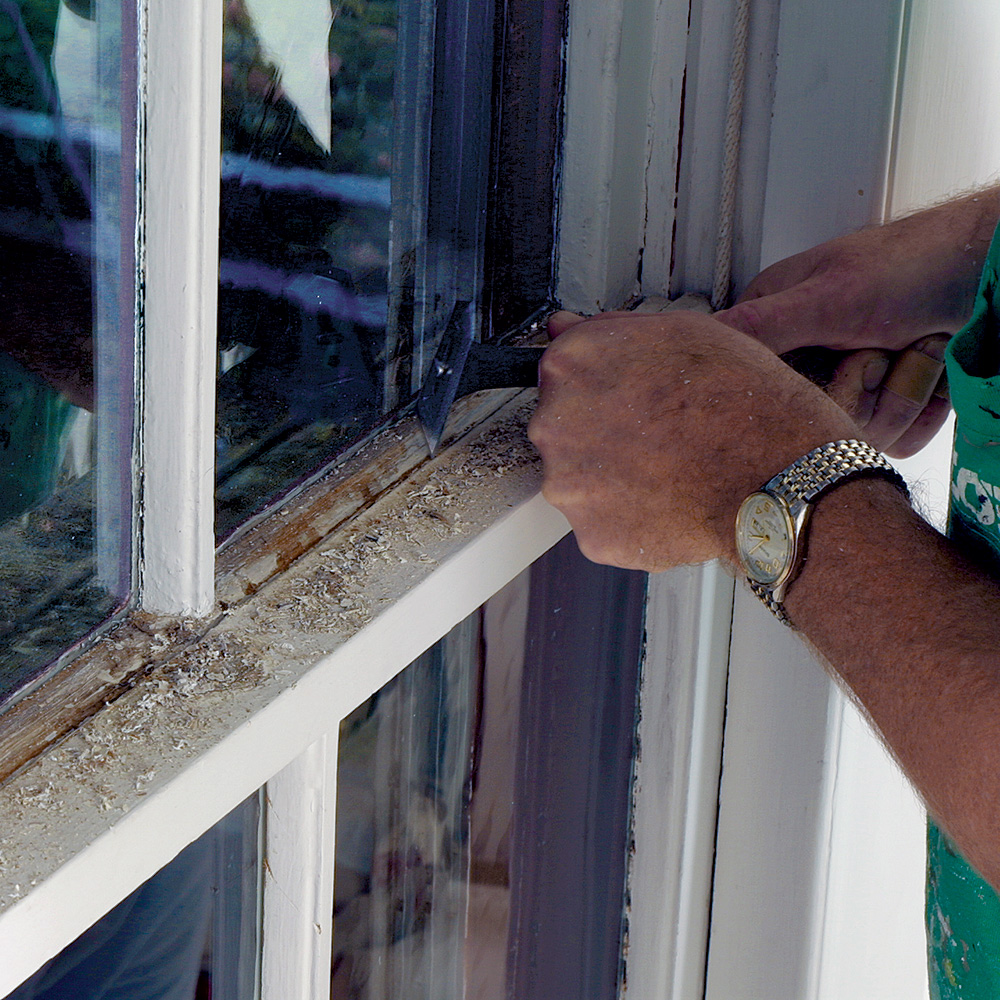
If that window is "century-old", it has lead paint! DO NOT dry scrape like is shown in the photo. This will leave toxic lead dust and chips which are hard to contain and dispose of safely. Read up on lead-safe work practices and safe lead paint stripping on EPA.Gov/lead.