Rolling Interior Latex Wall Paint
A professional painter's hard-won lessons for applying the ubiquitous wall finish.

Synopsis: This article offers detailed instructions for applying latex paint to interior surfaces with a roller. The author covers the entire process, from texturing surfaces to cleaning the rollers when the job is done. Some of the techniques featured here have fallen out of favor over the years, but the information may still be relevant to painters and homeowners working on older houses.
In a typical new house, the painting sequence usually goes something like this: the drywall finisher wraps up his work, the paint crew comes in and rolls or sprays the walls and ceilings, trim carpenters do their work and the painter returns to finish the trim. I finish trim first and walls last, for several reasons. First of all, the pleasant velvety appearance of flat latex wall paint doesn’t come without a trade-off. It’s by far the most fragile of all the painter’s finishes, and if the walls are painted before the trim, they can get pretty banged up by other crews. Some walls may even need repainting, especially in heavy-traffic areas like hallways.
Another reason for doing walls last is that I like to spray all my trim in place. Glossy paints, such as those applied to trim, benefit most from spraying. And if the walls haven’t been painted yet, I don’t have to worry about protecting them from overspray. Granted, I have to mask the trim before painting the walls, but I use a roller to apply the wall paint, so the taping is simple because a roller doesn’t cause overspray.
Health hazards
The smell of latex paint certainly isn’t as overbearing as that of oil, but that doesn’t necessarily mean that it’s safe to breathe for extended periods. Until recently, some interior latex paints contained mercury as a fungicide. Because of its neurological toxicity to humans, mercury contained in interior latex paints was banned by the EPA as of August 20, 1990. Paints made prior to that date might still be on the shelves. Their labels list their mercury content, and if they contain more than 200 PPM (parts per million), they should only be used outdoors.
Rolling or brushing latex paint doesn’t put a significant amount of it into the air, as does spraying. As a consequence, I don’t wear a respirator to roll it on, but I do use as much ventilation as possible. A window fan can help (and can dry the paint faster, too).
Textures and ceilings
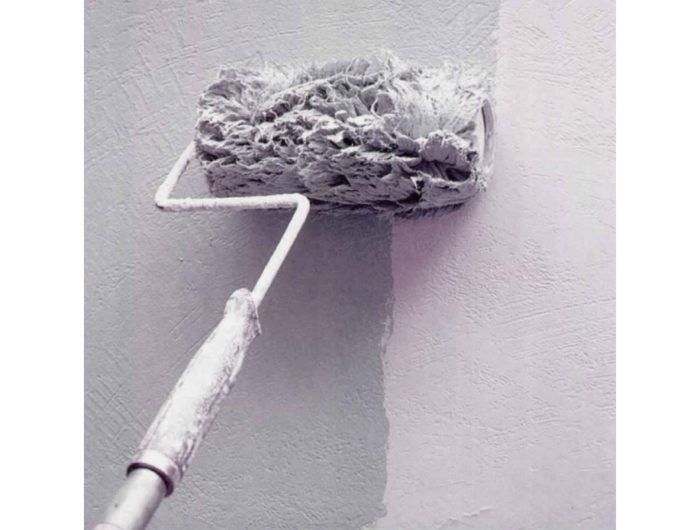
Textures can liven up a room and help hide slight surface irregularities. Most walls and ceilings that I paint have been sprayed with an “orange peel” texture. Rolled, brushed or troweled-on textures can also look good under a layer of paint.
Textures should be applied right after the drywaller is finished and before the trim carpenter arrives. Textures need to be uniform, so the “applier” should be experienced and it’s best if the same person does the whole house. Unless the paint is sprayed on, even a smooth-finished wall or ceiling will have some texture resulting from the nap of the paint roller.
Textures have some disadvantages. Foremost, they make repairing holes and dents more difficult. Textures are hard to sand down if an owner eventually wants to apply wallpaper to a wall. Finally, they require more paint because the surface isn’t flat.
Many of the houses I paint have ceilings that are finished with a sound-deadening texture that doesn’t need painting. But if I do have to paint ceilings, I normally do them before I spray the trim. Ceilings don’t get scuffed up like walls and painting them later subjects the trim to more spatter.
For more photos and details, click the View PDF button below:
Fine Homebuilding Recommended Products
Fine Homebuilding receives a commission for items purchased through links on this site, including Amazon Associates and other affiliate advertising programs.


Milwaukee 18v Cordless Reciprocating Saw (2720)

Cadex 18-Gauge Brad Nailer (CB18.50)


