Skillful Brushwork for Doors and Windows
As with all painting projects, proper preparation is key for a durable finish, but it takes good techniques and careful planning to make this job look its best.

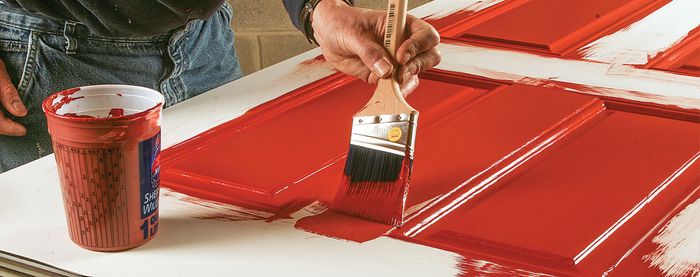
Synopsis: The paint protecting your doors and windows has a tough and important job to do. It must endure hostile weather, punishing wear, and up-close scrutiny every day. As with all painting projects, proper preparation is key for painting doors and windows. Painter, Philip Hansell makes it clear that order is everything. He says it is best to work from the inside out to prevent messing up work you’ve already completed. When painting the interior side of double-hung windows, he starts with the upper sash; when working on the exterior side, he begins with the lower sash. On doors, he starts with the muntin bars and panels. Rails come next, and then the stiles. The edge of the door with hinges gets painted the exterior color. The latch edge is painted to match the door’s interior side. With generous tips and a helpful Tool Box sidebar in the PDF below, a thorough process is presented for painting doors and windows.
The paint protecting your doors and windows has a tough and important job to do. It must endure hostile weather, punishing wear, and up-close scrutiny every day. Paint made for doors and windows used to be judged by how much lead it contained—the more lead, the better. These coatings worked great. The heavy metal helped the paint to stick and to move seasonally. As is well-known now, however, lead is toxic and is especially dangerous to kids. For this reason, lead has been banned from household paint since 1978.
Old doors and windows generally have high concentrations of lead paint, so it’s important to protect yourself and any children who live in the house by working lead safe. This means containing and collecting dust and chips and minimizing airborne particles. Wear a good particle mask when scraping and sanding, and use a HEPA vacuum. Thoroughly clean up the work area every day, and change your clothes before playing with the kids. See “Best Practices for Lead-Safe Remodeling” (FHB #214) for more on working lead safe.
Key Preparations
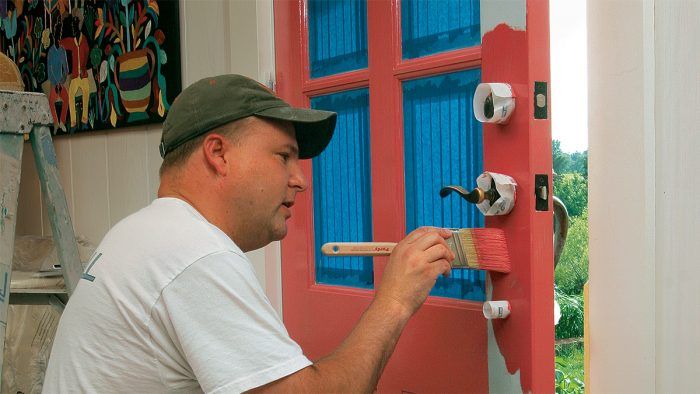
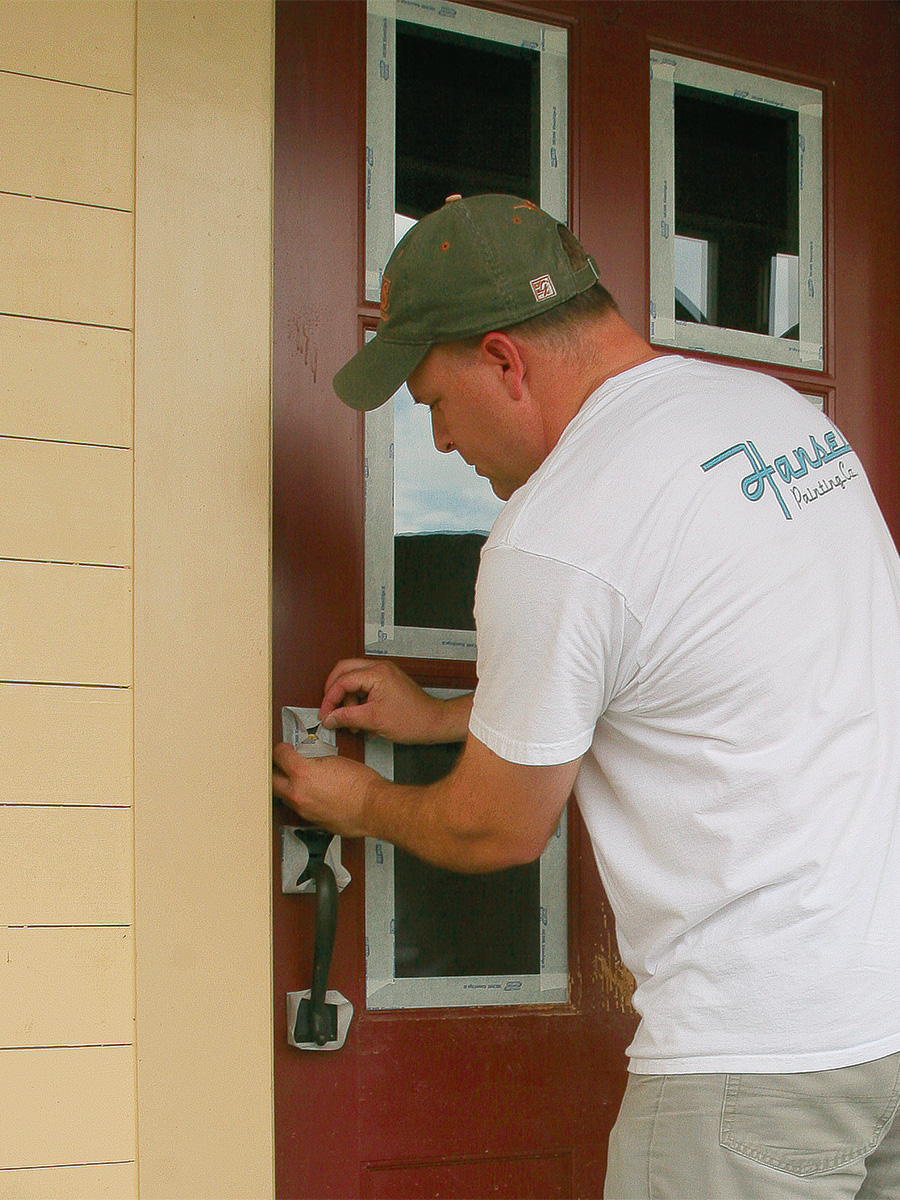
As with all painting projects, proper preparation is key for painting doors and windows. Before starting, my painters and I wash the glass with glass cleaner and paper towels. We then mask the hardware and the perimeter of the glass panes.
Once the door is cleaned and masked, we fill any damaged areas with two-part auto-body filler and sand the dry filler with 180-grit paper. For the initial sanding on the rest of the door, we use 220-grit paper on the interior and 180-grit on the exterior. For the second sanding (between the first and second coats), we use 320-grit paper for interior work and 220-grit for exterior work. A rougher grit on the outside gives the surface a little more “tooth” for better paint adhesion.
The weatherstripping on modern doors is generally easy to remove for painting. The vinyl covered foam, sometimes identified as “Q-Lon” after one brand, is removed by starting at one end and gently pulling it out of the kerf that holds it. Removing the strip eliminates a lot of tedious masking. I replace it when the door is fully dry—24 hours for latex and about four days for oil. It easily pushes back into the slot it came out of.
I recommend leaving hardware in place. Disassembly and keeping track of the many small parts is an unnecessary and sometimes expensive hassle. Asking a client to forego doorknobs and locks for two or three days is an even bigger problem.
For more photos and details for skillful brushwork for doors and windows, click the View PDF button below.


View Comments
Masking the hardware? You've got to be kidding. Simply remove it. (and sand away the built up mess around the hardware from previous clowns). Paint first thing in the morning and by nighttime it will be dry enough to lightly put the hardware back on for night security.
Old pantyhose make great paint and varnish strainers. Stretch it over the new container and pour.....
Amen.
Good suggestions for leadsafe work practices. But dry scraping and open sanding by hand will not permit safe dust collection. Vacuums must be attached to electric sanders or low infrared heat Speedheaters used to create soft paint waste from scraping. Metal scrapers with matching profiles work better than sand paper for getting into tight corners and grooves.
I assume you are talking about wood doors here. How do I ensure good paint adhesion on metal doors? What preparation steps should I take and what paint base will be most durable?