The Best Practices for Lead-Safe Remodeling
It’s required by law for professional contractors, but working lead-safe should be a priority for everyone.

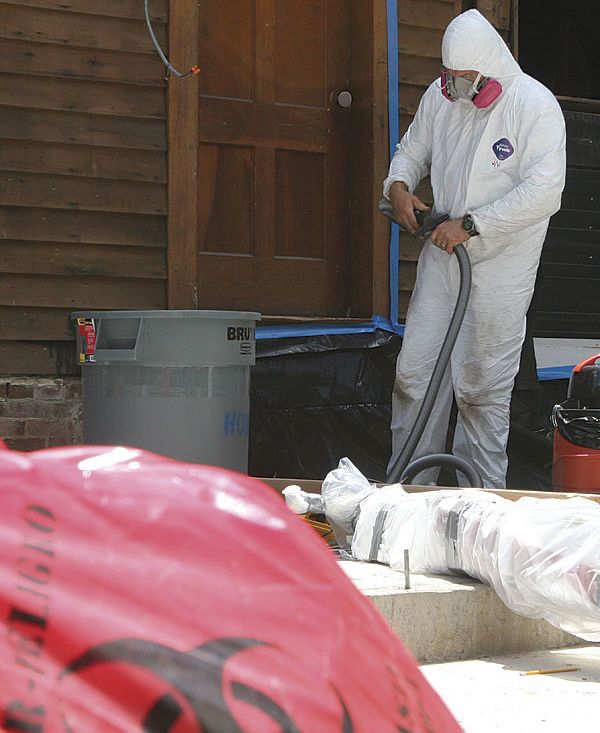
According to EPA regulations introduced in 2010, contractors are required by law to use extensive job-site precautions when working in locations where lead paint is present. In this article, senior editor Justin Fink outlines the best procedures for working lead-safe. The first step on any job site is determining if lead paint is present. Both outer surfaces and layers of paint below should be tested for the presence of lead. While several test kits are on the market, only LeadCheck has met the EPA’s stringent qualifications for false positives and false negatives. For outdoor work, use the 10-ft./20-ft. guideline. A perimeter 20 ft. from the work area is an alert that potentially hazardous work is occurring. An area 10 ft. from the work site contains dust, paint chips, and building debris. Be sure to use black plastic on the ground beneath the work area; dust and debris will show up clearly on a dark surface. Minimize dust creation, and avoid heat guns that could fumes or vapors. In addition to a respirator, protect yourself by wearing disposable coveralls, gloves, and booties. Carefully bag up and discard all debris; then vacuum up debris. For interior work, create a small containment zone to work in.


View Comments
Updated article: https://www.finehomebuilding.com/project-guides/painting/283-infrared-paint-remover