Installing a Pedestal Sink
Perfect for tight spaces, pedestal sinks are painless to install if you follow a few basic guidelines.

Synopsis: Installing a free-standing sink isn’t rocket science, but there are a few tips and tricks that can make the job go more quickly and smoothly. Here a veteran plumber offers up the right installation sequence with photos of the process. A sidebar gives advice about buying a good sink.
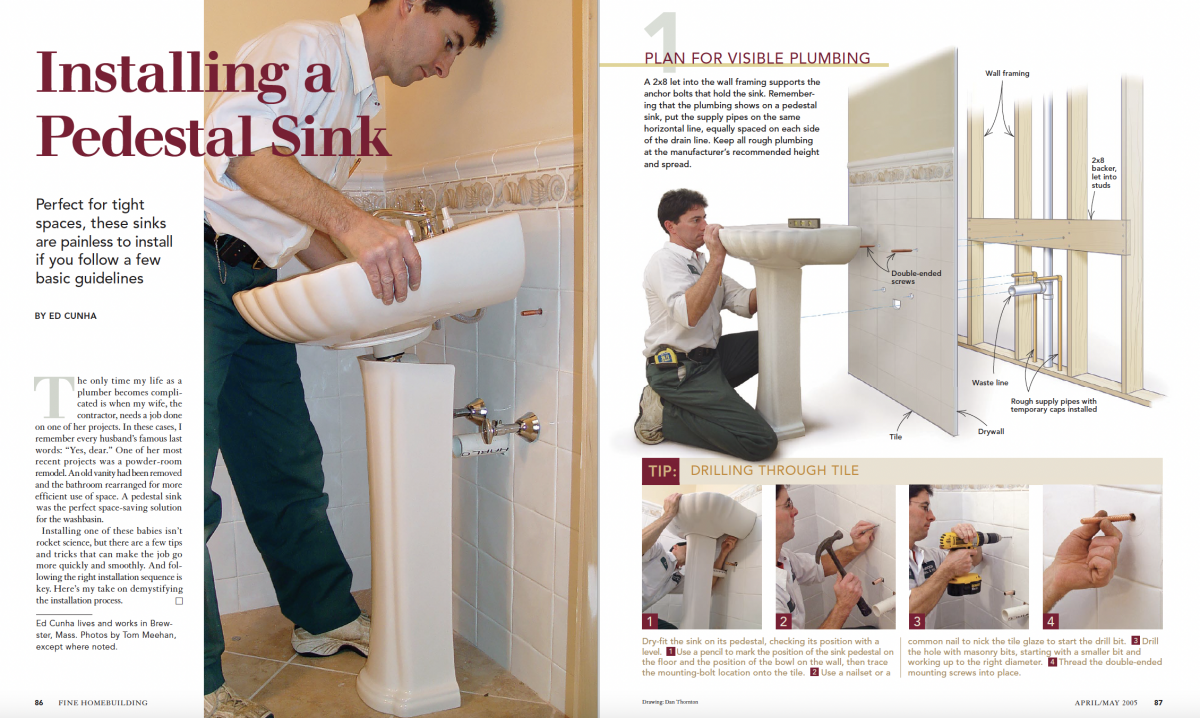
The only time my life as a plumber becomes complicated is when my wife, the contractor, needs a job done on one of her projects. In these cases, I remember every husband’s famous last words: “Yes, dear.” One of her most recent projects was a powder-room remodel. An old vanity had been removed and the bathroom rearranged for more efficient use of space. A pedestal sink was the perfect space-saving solution for the washbasin.
Installing one of these babies isn’t rocket science, but there are a few tips and tricks that can make the job go more quickly and smoothly. And following the right installation sequence is key. Here’s my take on demystifying the installation process.
Plan for visible plumbing
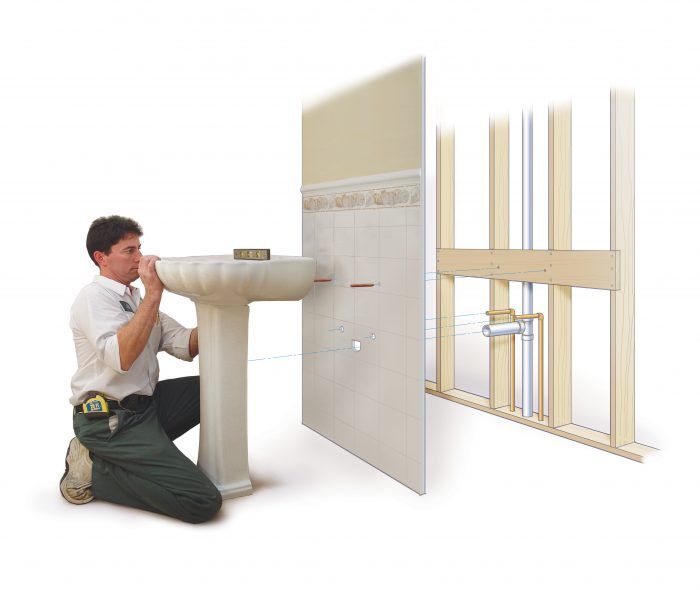
A 2×8 let into the wall framing supports the anchor bolts that hold the sink. Remembering that the plumbing shows on a pedestal sink, put the supply pipes on the same horizontal line, equally spaced on each side of the drain line. Keep all rough plumbing at the manufacturer’s recommended height and spread.
Supply valves go in before the sink
While the sink is still dry-fit, measure the distance between pedestal and wall to make sure there is plenty of space for the supply valves. Measure and cut the supply stubs so that the compression connection on the valve falls 3 in. from the wall. Remember to slide the escutcheon onto the pipe before sweating the valve in place. Before installing the sink, attach the faucet and supply lines to the sink. Smaller sinks can be held in your lap, and bigger sinks can be placed on the cardboard they were shipped in.
Hang the sink
Next, slide the sink over the bolts, align the sink to the marks you made earlier, and snug the securing nuts. Connect the sink drops (sink supply lines) from the faucet to the valves. Flexible lines can be used, but solid lines look better for exposed plumbing.
Then hook up
Mark the length of the drain line, then remove it and cut it to length. Measure and cut the decorative chrome sleeve that fits over the white PVC drain. The sleeve slips over the drain stub along with the escutcheon, and the drain can be glued into place.
Drain and done
It takes some creativity to use a wrench in the tight space behind the pedestal. The last step is inserting plastic shims from the hardware store to level the sink. It’s now ready for action.
For more photos, drawings, and details, click the View PDF button below:
Fine Homebuilding Recommended Products
Fine Homebuilding receives a commission for items purchased through links on this site, including Amazon Associates and other affiliate advertising programs.

Code Check 10th Edition: An Illustrated Guide to Building a Safe House

All New Bathroom Ideas that Work

Pretty Good House


