A sump pump draws groundwater from beneath a basement floor’s surface and sends it outside through a pipe. This may not solve all your basement moisture problems, but if sized correctly, it can eliminate puddles and keep a basement pretty dry, even during heavy rainfalls.
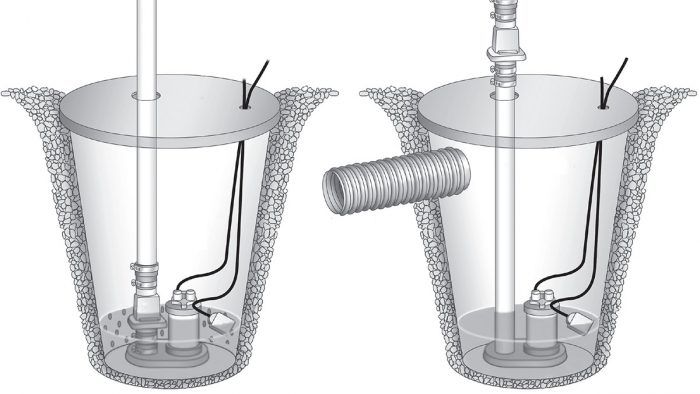
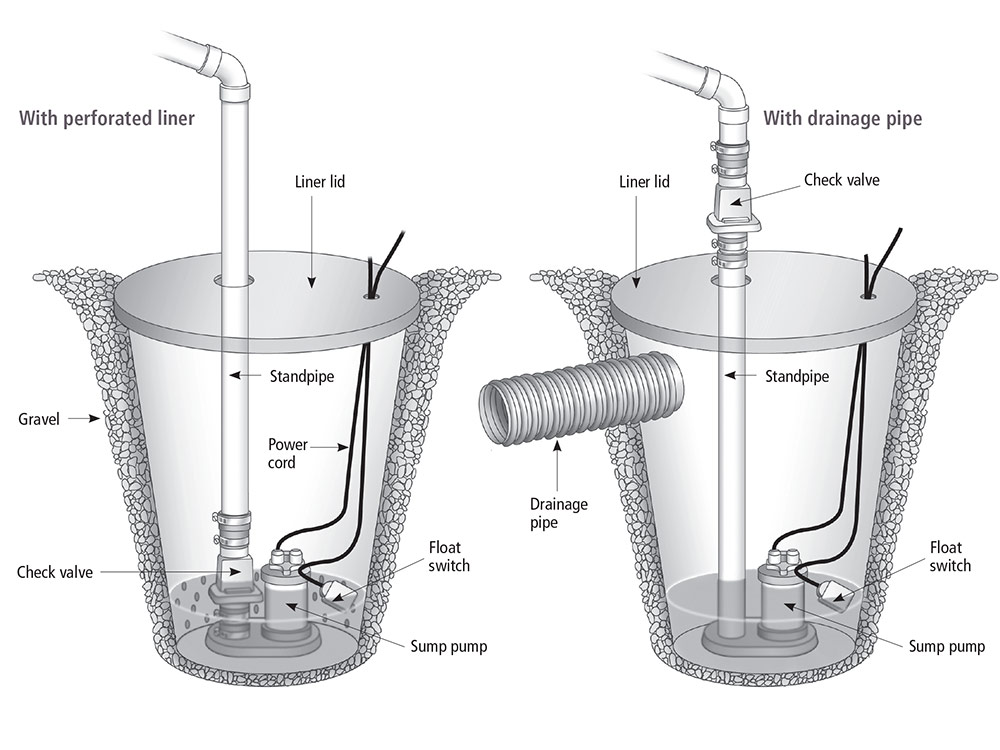
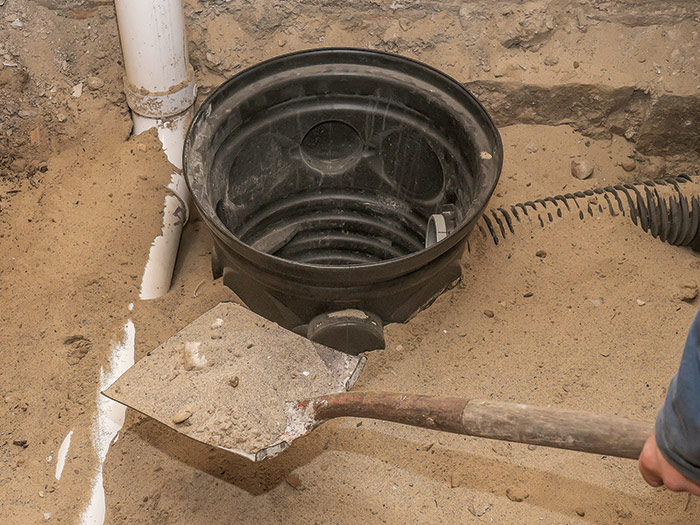
If a basement slab has buried perforated drainage pipe or clay tile running around its perimeter a few inches below the floor surface, then the drainage pipe should be inserted into the sump pump’s tank (as shown on these pages) so water can collect there. If there is no buried drainage pipe, the tank may be simply set in a hole at a low point. (Basement floors are usually slightly sloped.) Water under the concrete floor will slowly percolate through holes in the tank.
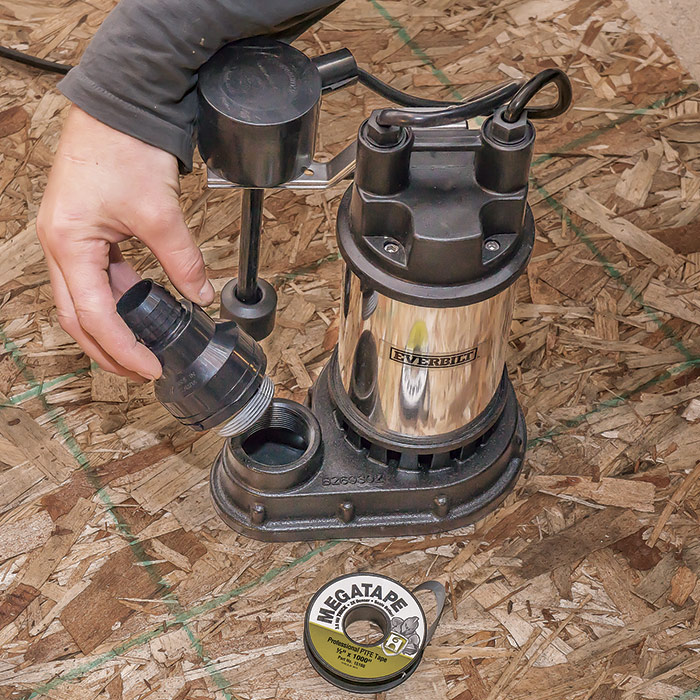
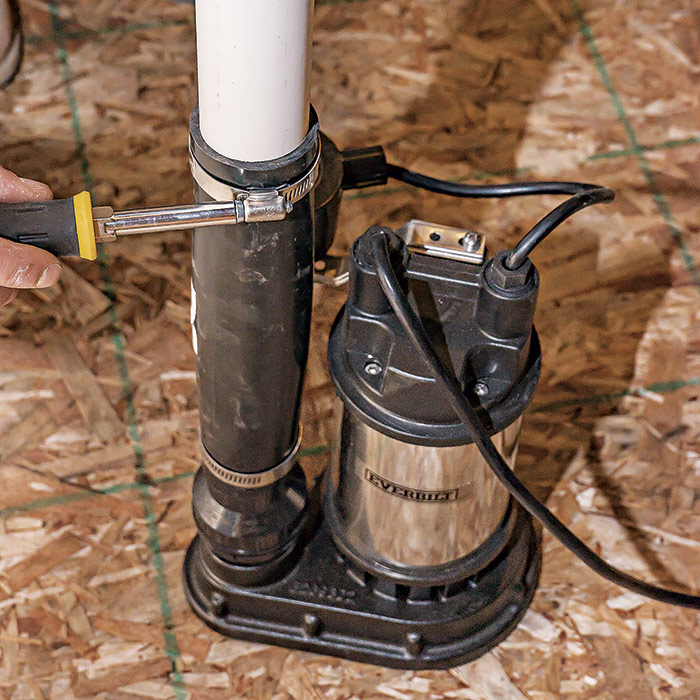
When the tank fills to a certain level, it raises the sump pump’s float, which turns on the motor. Water is directed up through a pipe, and then through a hole in the house’s rim joist, and finally out onto the lawn. Most sump pumps today are the submersible type. “Pedestal” sump pumps, with motors above the floor, are less expensive but are also noisy.
SUMP PUMP SETUPS
A sump pump’s liner may have a drainage pipe running into it, or it may be perforated so groundwater can seep in. A check valve may be installed onto the pump or in the standpipe. The water may be ejected into drainage pipes or simply routed outdoors.
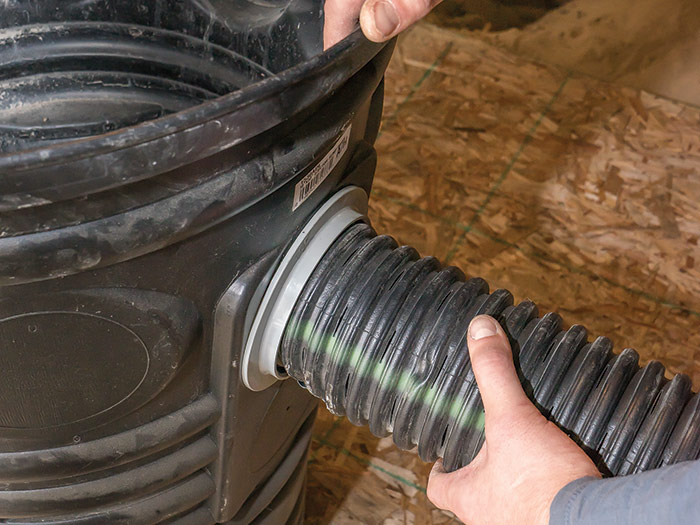
TIP: In the situation shown here, much of the basement floor’s concrete has been removed. If your basement floor is generally in good shape, you may choose instead to cut away and remove concrete only for the sump pump, or cut around the perimeter of the basement in order to run the drainage pipe.
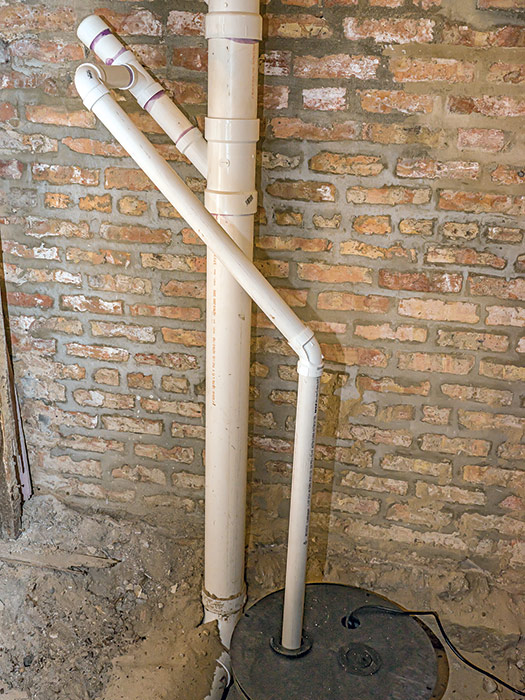
1. PREP THE LINER. If a drainpipe will run into the liner, cut away one of the inlet openings. Assemble an inlet fitting, which has a rubber gasket inside the liner.Insert the pipe into the fitting and secure it. (If the drainpipe is not easily maneuvered, this may be easier to do with the liner already in the hole, as shown in the next step.) If there is no drainpipe, purchase a liner that has many small drain holes so water can percolate into it.
2. SET THE LINER. Dig a hole deep enough so that when you set in the liner, its top will be just slightly above the future concrete floor surface. It should be reasonably level, but doesn’t have to be perfect.Once you are sure the pipe is secure and the top is at the correct height, fill in around it with sand or dirt. (If you have a perforated liner and no drainpipe, fill in with gravel, to keep the holes from clogging.)
3. ADD A CHECK VALVE. Add a check valve to the sump pump, which makes sure drain water will not back up into the pump. This check valve attaches directly to the pump; other types are installed on the drainpipe above the pump (see the sidebar).
Another Sump Setup
Here’s another way to install a sump pump: The check valve is installed above the floor in the standpipe, and the drain line runs outside, so pumped water will flow away from the house.
SUMP PUMP WITH CHECK VALVE IN PIPE
SUMP PUMP DRAINS OUTSIDE.
4. ASSEMBLE THE STANDPIPE. Attach a 2-in. standpipe that will rise from the pump out of the liner; make it longer than needed, so you can cut it later. Make the first connection with a flexible rubber coupling, which will effectively absorb the vibration caused by the running pump.
5. CUT AND CONNECT THE PIPES. Assemble the drainpipes that run to a main drain (as shown here) or outside (as shown in the sidebar above). Hold a final fitting in position to determine where to cut the pipes, and assemble.
Once you are sure the pieces fit, draw reference lines, apply primer, and cement the parts together.
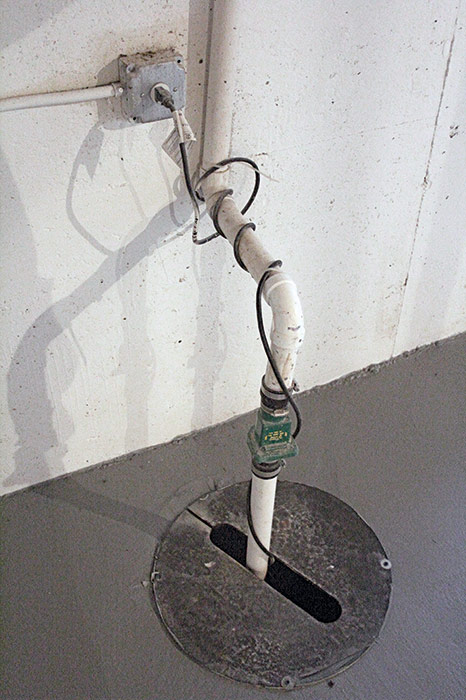
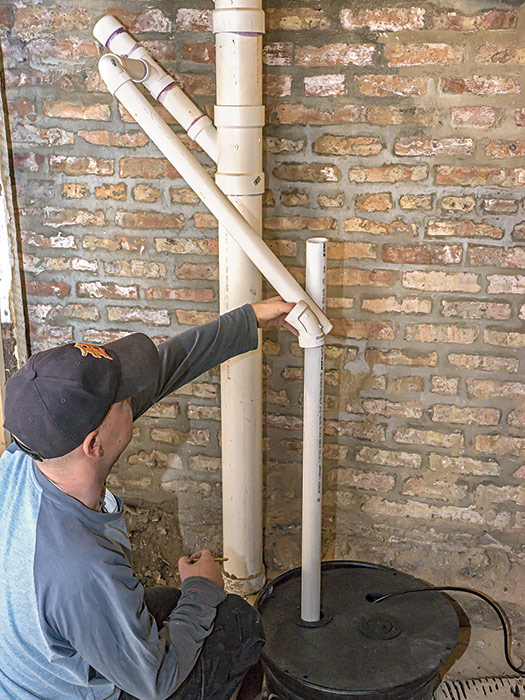
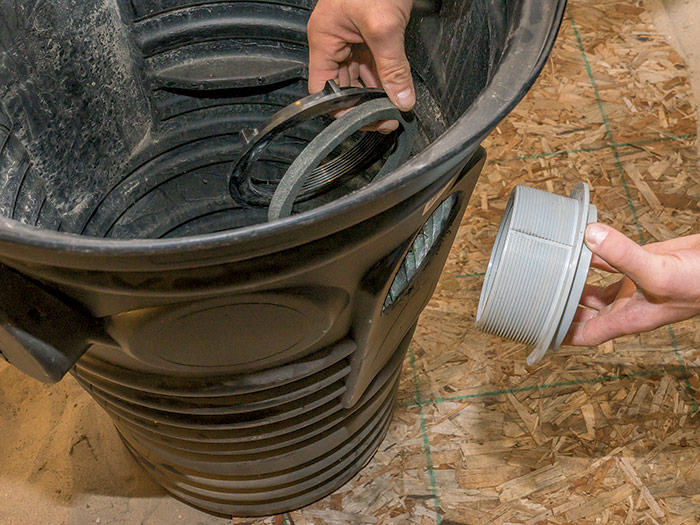
TIP: Make sure you will be able to access the sump pump for future servicing. In the example shown here (see Step 5), the lid can be raised high enough so the pump can be reached easily.
Excerpted from Plumbing (The Taunton Press, 2016) by Steve Cory.
This is a dialog window which overlays the main content of the page. The modal window is a 'site map' of the most critical areas of the site. Pressing the Escape (ESC) button will close the modal and bring you back to where you were on the page.
We use cookies, pixels, script and other tracking technologies to analyze and improve our service, to improve and personalize content, and for advertising to you.
We also share information about your use of our site with third-party social media, advertising and analytics partners.
You can view our Privacy Policy
here and our Terms of Use here.