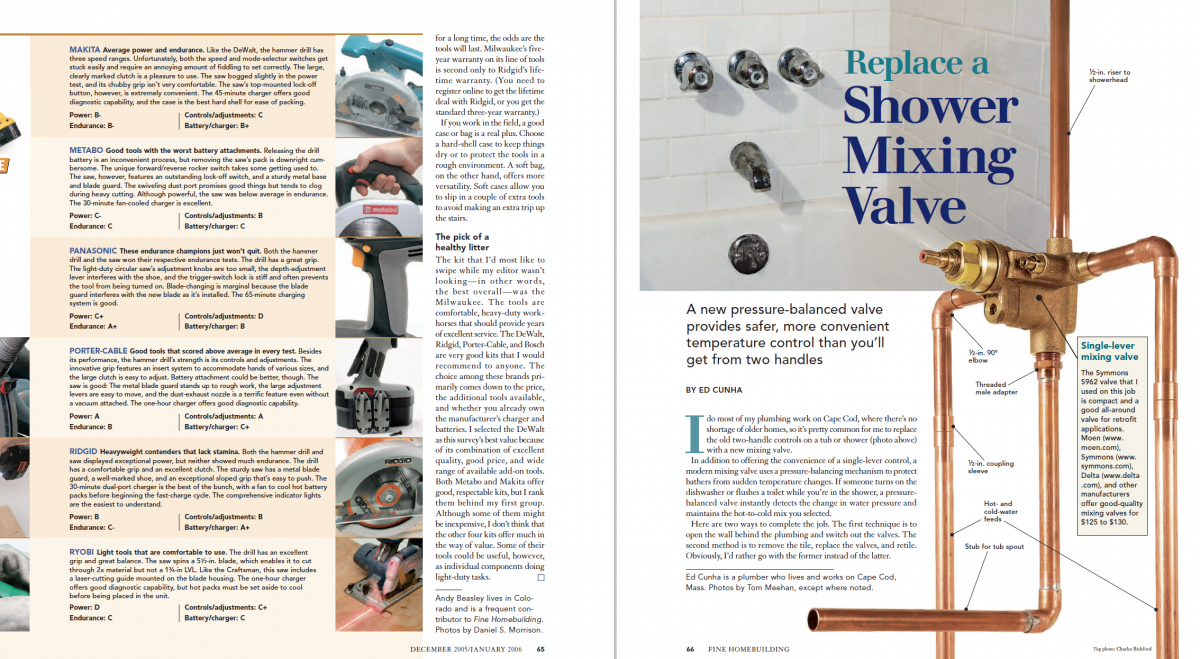
Replace a Shower Mixing Valve
A new pressure-balanced valve provides safer, more convenient temperature control than you'll get from two handles.

Synopsis: Replacing an old two-handle shower faucet control with a single-lever mixing valve is a way to dress up an outdated shower and gain greater control over water temperature. The plumbing is basic; the trick is to find an easy way to access the pipes inside the shower wall. In this article, a master plumber walks you through this process, working through an access panel behind the shower wall. Don’t worry if that route is not an option in your house — there’s a sidebar on removing a few tiles to get at the plumbing from inside the shower.
I do most of my plumbing work on Cape Cod, where there’s no shortage of older homes, so it’s pretty common for me to replace the old two-handle controls on a tub or shower with a new mixing valve.
In addition to offering the convenience of a single-lever control, a modern mixing valve uses a pressure-balancing mechanism to protect bathers from sudden temperature changes. If someone turns on the dishwasher or flushes a toilet while you’re in the shower, a pressure-balanced valve instantly detects the change in water pressure and maintains the hot-to-cold mix you selected.
Here are two ways to complete the job. The first technique is to open the wall behind the plumbing and switch out the valves. The second method is to remove the tile, replace the valves, and retile. Obviously, I’d rather go with the former instead of the latter.
The chrome has to come off
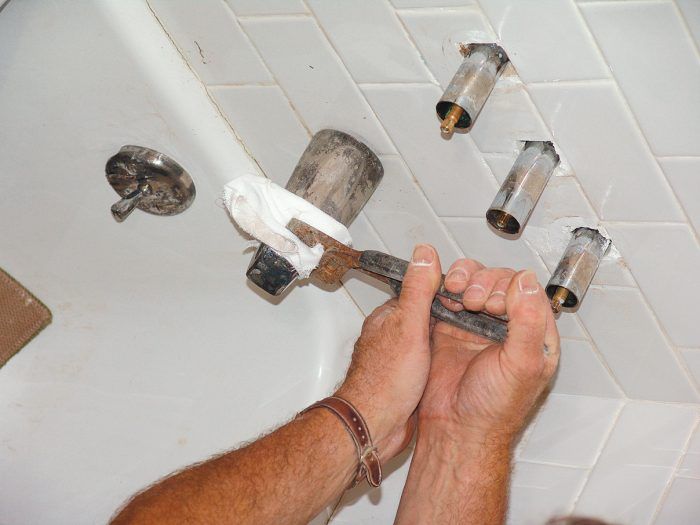
Pry off the cover plates that hide each handle’s installation screws, then remove the screws, handles, and backing plates. In case the spout will be reused, I protect its finish with a rag as I unscrew it with channel-lock pliers.
Cut an access panel
If there’s not an access panel behind the tub’s plumbing wall, you’ll have to cut through the wallboard. I transfer measurements from the tiled side of the wall to the back and cut out a rectangular panel. A panel that extends from stud to stud is easier to patch.
A tiny cutter for tight spaces
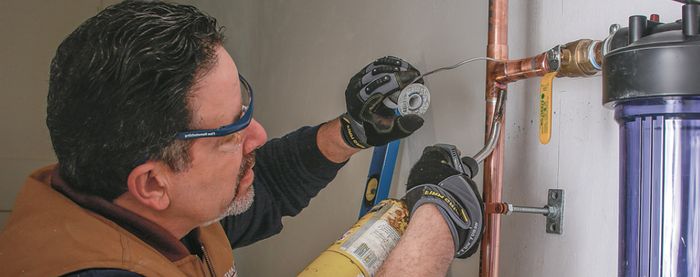
A standard tubing cutter is too large to use in the wall space, so I use a mini-cutter to cut the hot and cold lines that feed the old valve. I make these cuts at the same level so that I’ll have an easier time fitting the new valve.
Lift out the old valves
After cutting the riser line that feeds the showerhead, I can pull the old valve free. I’m careful not to damage drywall edges.
To view the entire article, please click the View PDF button below:


