Replace Your Vanity
Add style to your bathroom with this basic carpentry and plumbing project.

Synopsis: Tyler Grace has done many gut remodels of bathrooms, but often the answer to a problematic bathroom is a simple facelift. One way to spruce up a tired bathroom is to replace the vanity. Although details are important, the work is not difficult, as Grace demonstrates in this step-by-step article.
My business specializes in interior renovations, so I’m no stranger to gutting an old bathroom and building it from the studs and subfloor back to a fresh finished space. But in many cases, all that’s needed is a facelift to bring the aesthetics into the current decade. Typically, such jobs involve new flooring, trim, plumbing fixtures, lighting, and the cherry on top of the updated finishes: a new vanity.

At its core, the workflow for replacing a vanity is pretty straightforward—turn off and disconnect the plumbing, yank the old vanity out, put the new vanity in, and reconnect the plumbing—but the devil is in the details. If you want the work to look and function at a professional level, there are some subtle steps to the process. You have to know the tricks for removing the old vanity without causing unintended damage, and how to fit the new one without relying heavily on shims and caulk. Moreover, some cautionary knowledge about the plumbing will go a long way toward ensuring that you won’t need to make multiple trips to the store for plumbing parts, and that leaks won’t ruin all your hard work.
Methodical demo
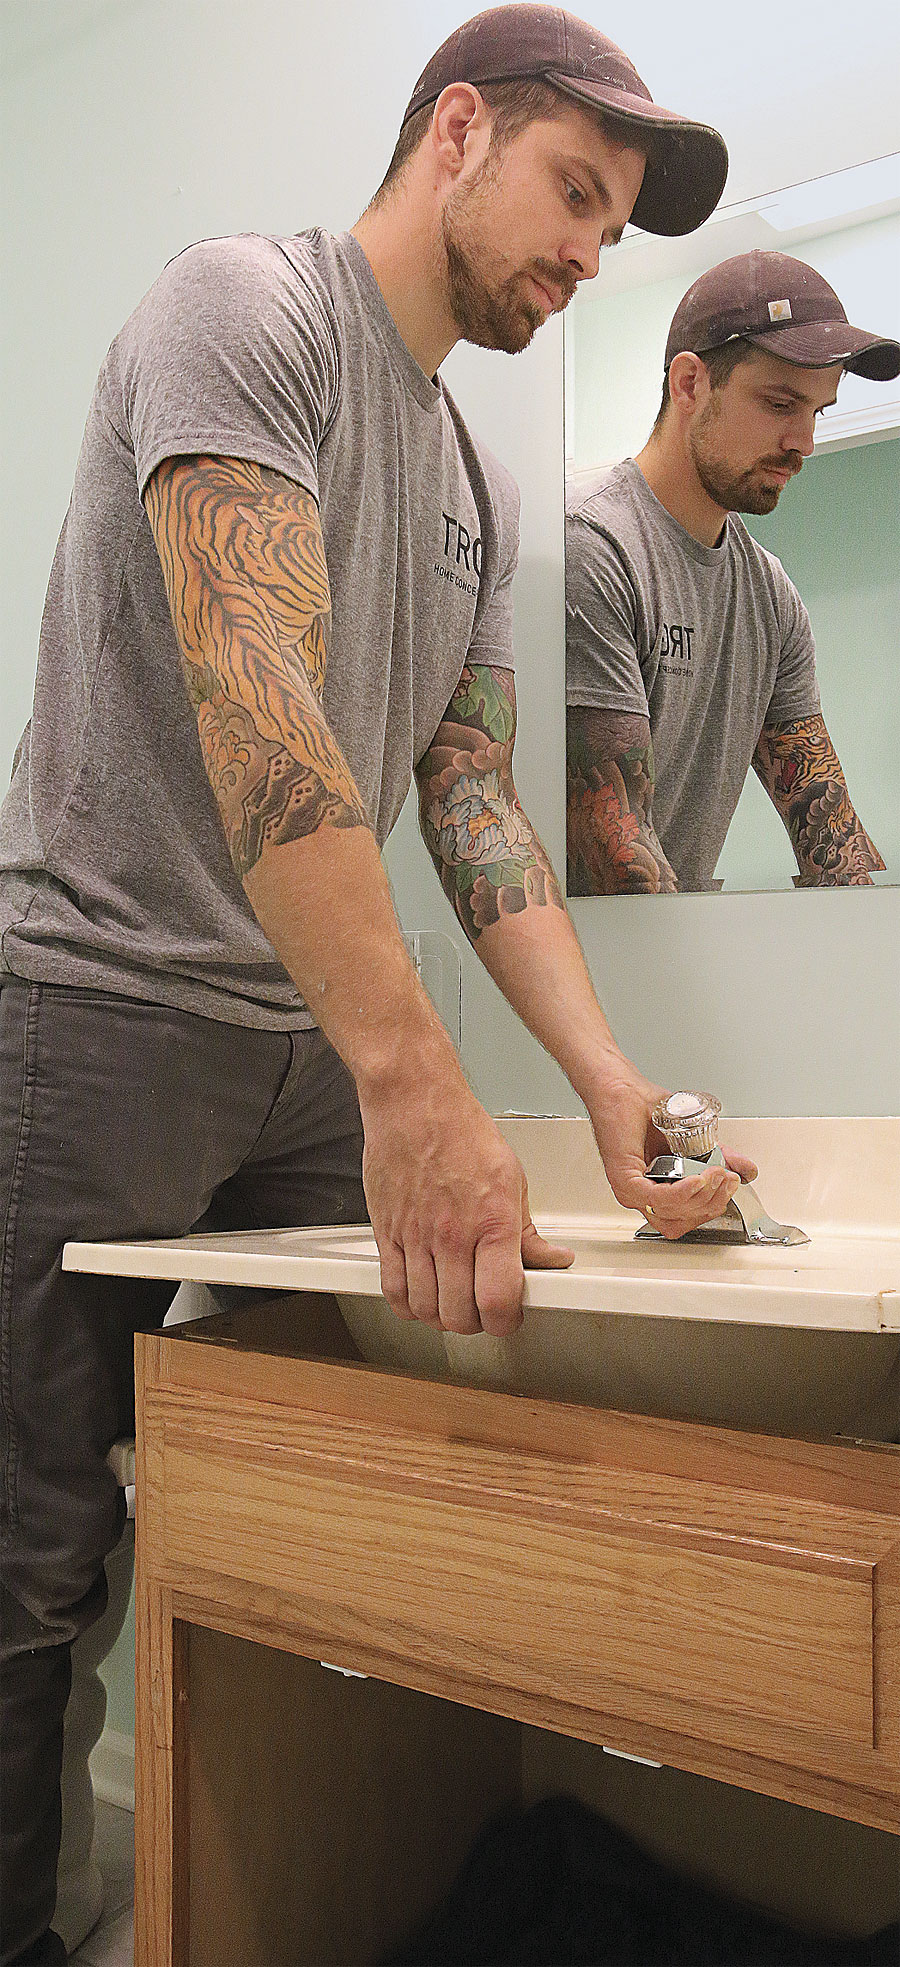
Removing the old vanity is straightforward work, but these tips on sequencing and site protection will ensure that the task goes smoothly and doesn’t risk damaging the rest of the room. First and foremost, before starting the demolition, unpack the new vanity and inspect it for defects or damage, and double check measurements to be sure that the location of the existing plumbing will be compatible with the placement and size of the new cabinet. You don’t want to discover that you chose the wrong replacement vanity after the old one is already sitting at the curb for trash pickup.
Fit the cabinet
Scribing — a transferring technique used to cut the cabinet for a perfect fit against the walls and floor — elevates the quality of your vanity installation and eliminates the need to caulk and to hide irregularities created by shimming. For vanity cabinets that have a solid back, this process needs to be done in two phases: an initial scribe to level the cabinet and fit it against the side wall, and then, after the back has been cut so that it can be slid into position against the back wall, a second round of scribing for a final fit. The process isn’t hard to learn, but the sequencing has to be correct.
Countertop and plumbing come last
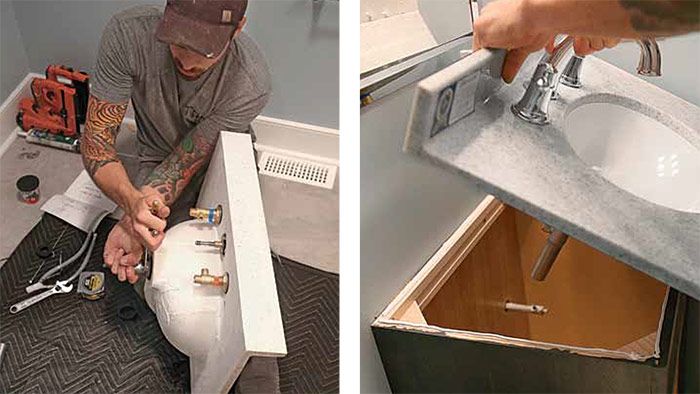
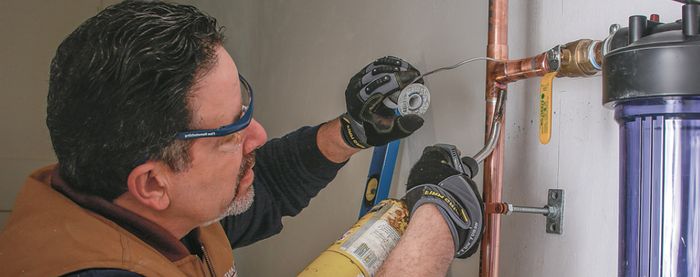
Install as much of the faucet plumbing as you can prior to setting the countertop. This not only reduces the gymnastics of working in a dark, cramped vanity cabinet, but it makes it easy to ensure that the handles and spout are aligned correctly and spaced evenly. When installing the drain assembly, don’t reuse parts from the old vanity. The cost savings would be minimal, but even if drain parts were expensive, it still would not be worth the potential for leaks. On that note, you can leave the cabinet empty for a few days just to make sure there are no leaks. It’s easier to adjust a drain trap or snug up a compression fitting than to replace an entire vanity because of an unnoticed leak.
For more photos, drawings, and details, click the View PDF button below:


