A Flat-Seam Copper Roof for a Bay Window
When installed properly, this centuries-old roofing can last a lifetime.
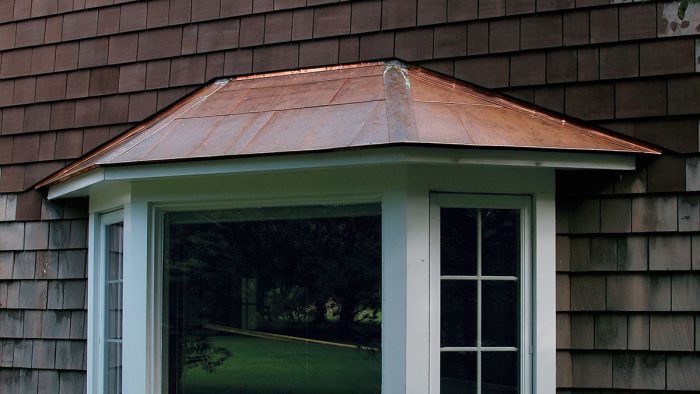
Copper has been used as a roofing material for centuries. Some argue that because of its long life expectancy, copper is the most economical of roofing materials. There are buildings in Europe covered by copper roofs that are more than 300 years old. Copper roofing also improves with age. The verdigris patina that develops over time protects the underlying copper from further corrosion. I get a little extra satisfaction in the knowledge that someday, my descendants could point to a copper roof and say, “My great-great grandfather put that roof on 150 years ago. Isn’t it beautiful?”
These days, copper sheet is sold by weight. Common designations of 20 oz. or 16 oz. refer to the approximate weight of 1 sq. ft. of sheet copper. The lighter of the two is most commonly used in residential work; the beefier 20 oz. is more commonly specified in historic-restoration work or on public buildings.
Recently, my crew and I installed a 16-oz. standing-seam roof but decided that a flat-seam roof would be more appropriate for an adjacent bay window. Made of copper sheets whose interlocking seams are hammered flat, this style can be seen on small church steeples or on ventilation dormers on large older buildings. Flat seams can be used on a flat roof, but the seams must be soldered. Here, the roof’s pitch allowed us to install the copper without solder, except in two small spots. Rather than the traditional underlayment of roofing felt and rosin paper, we used a newer membrane called WeatherLock (www.owenscorning.com) made for metal roofs.
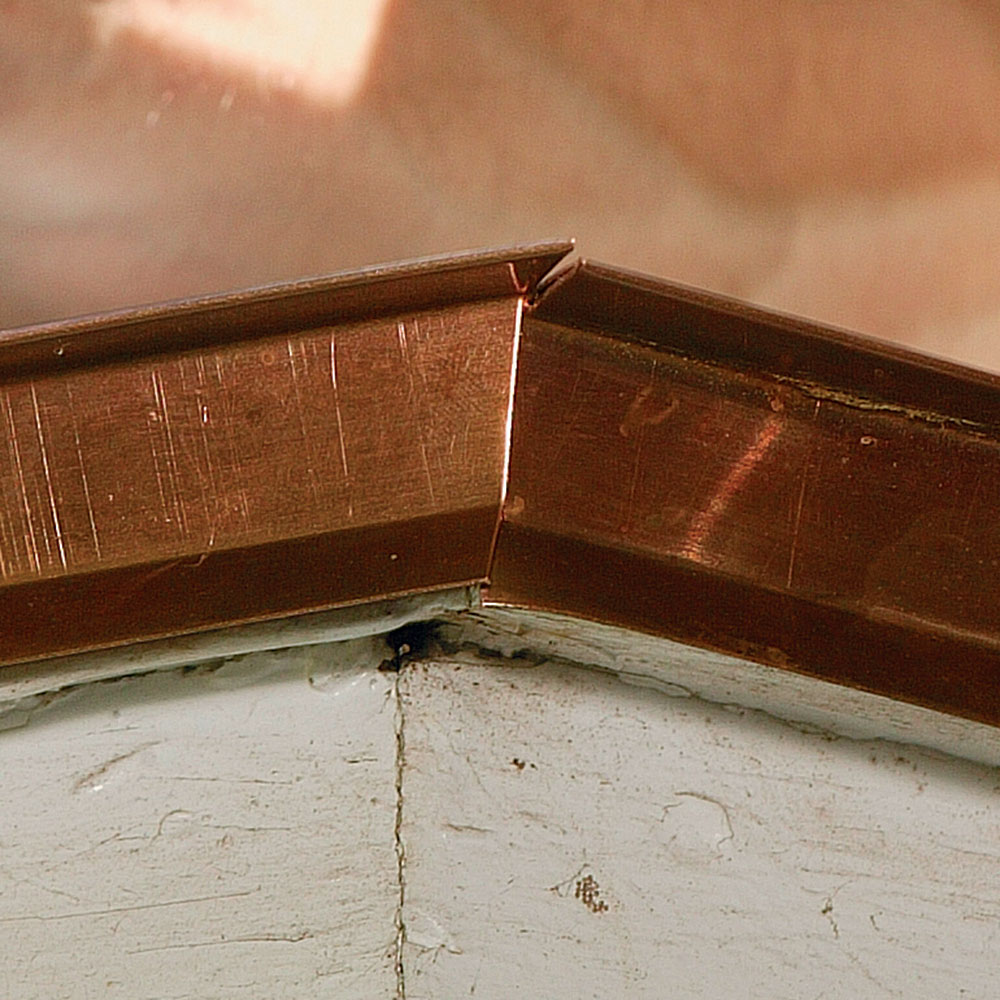
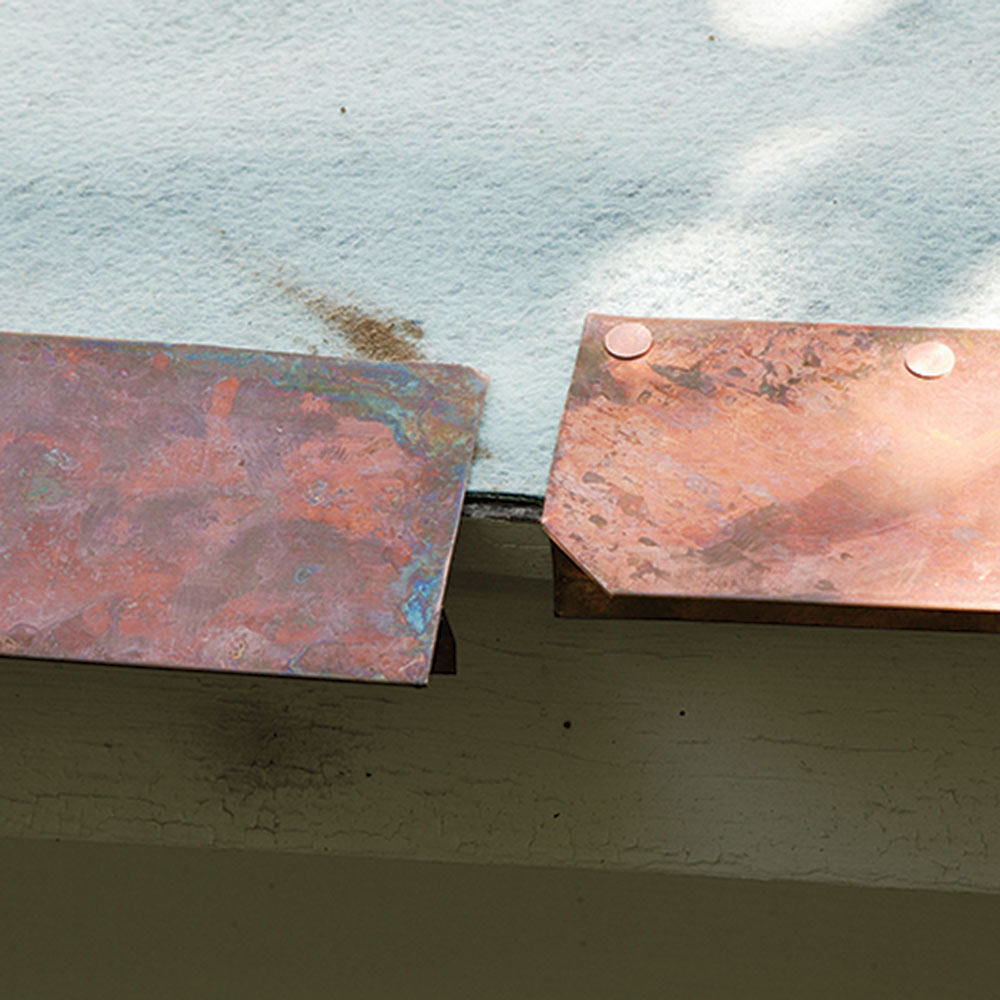
Tabs and clipped corners create better joints
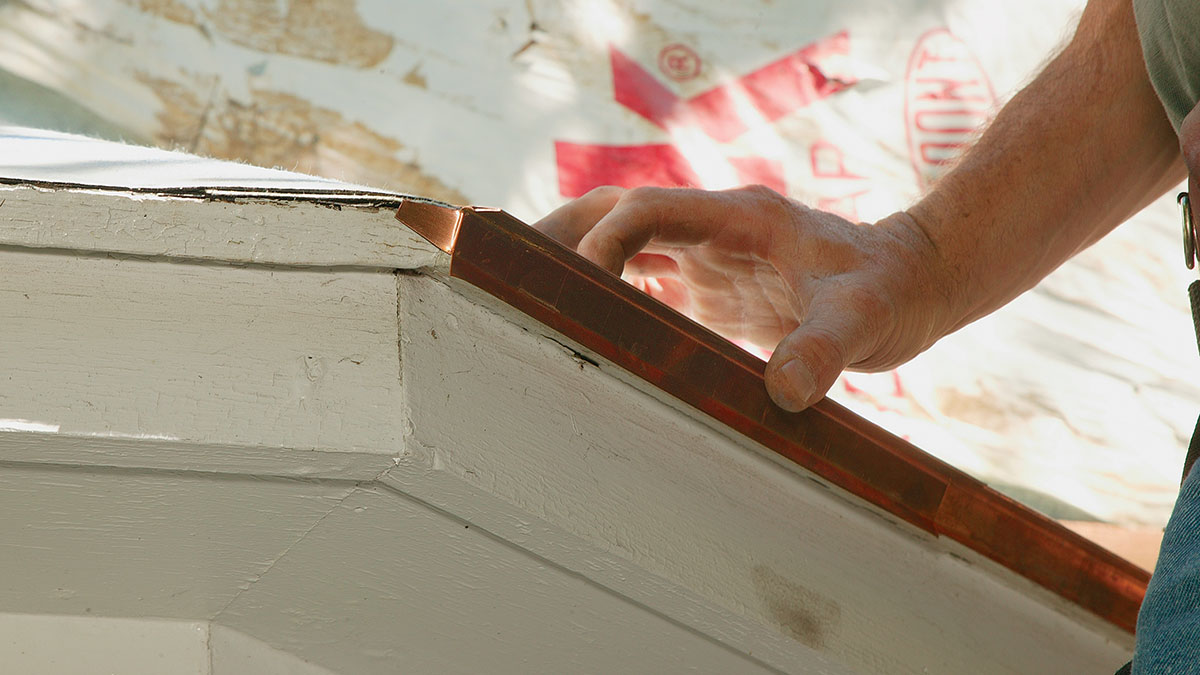
When installing the drip edge, I cut the fascia side an inch or so long and taper it slightly to form a tab that rids the joint of any gaps. If there’s a field joint, I clip the folded corner of the section to be lapped so that the overlapping piece will fit tightly over the first. Drip-edge joints are finished with a hand-crimping tool.
 |
 |
Hips don’t lie
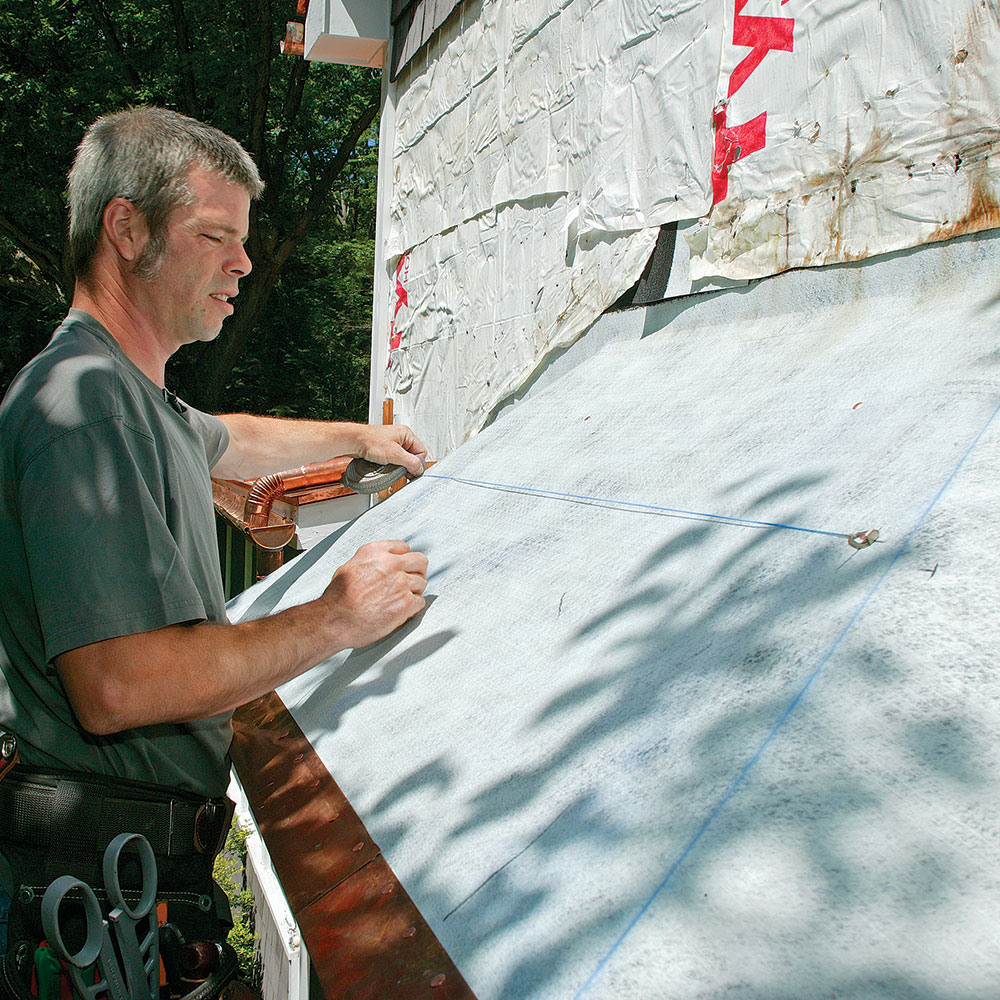
Layout for this type of project is mostly a matter of appearance rather than function. The goal is to end up at the hips and corners with evenly sized pieces large enough to bend easily. To plan a small roof, I usually draw the layout on the underlayment. In a flat-seam application, the maximum size of each panel shouldn’t exceed 24 in. by 18 in. before the 1-in.-wide locks (bends) are formed. The trick to layout is to compensate for the locks. After being bent on the brake, a piece this size covers an area 22 in. by16 in., so that’s the size of the panel I draw.
 |
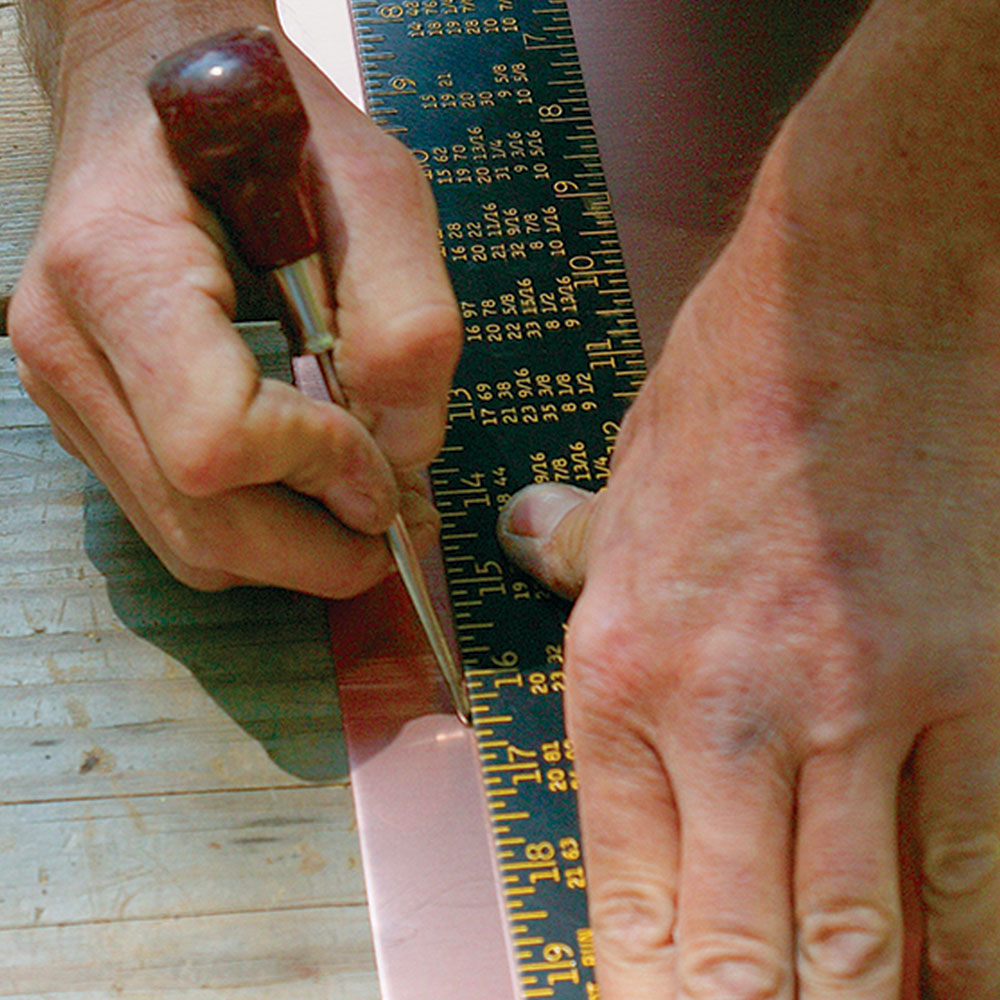 |
A tool that writes on both sides at once
Because the panels have bends in both directions, I use an awl to make a mark that carries through to the other side of the copper. Even if I’m forming a piece I know I won’t have to flip over, I use the awl to make a light impression rather than simply scratch. I also can use an awl to mark up to three sheets at the same time; the mark carries clearly through.
A pan ready for the roof
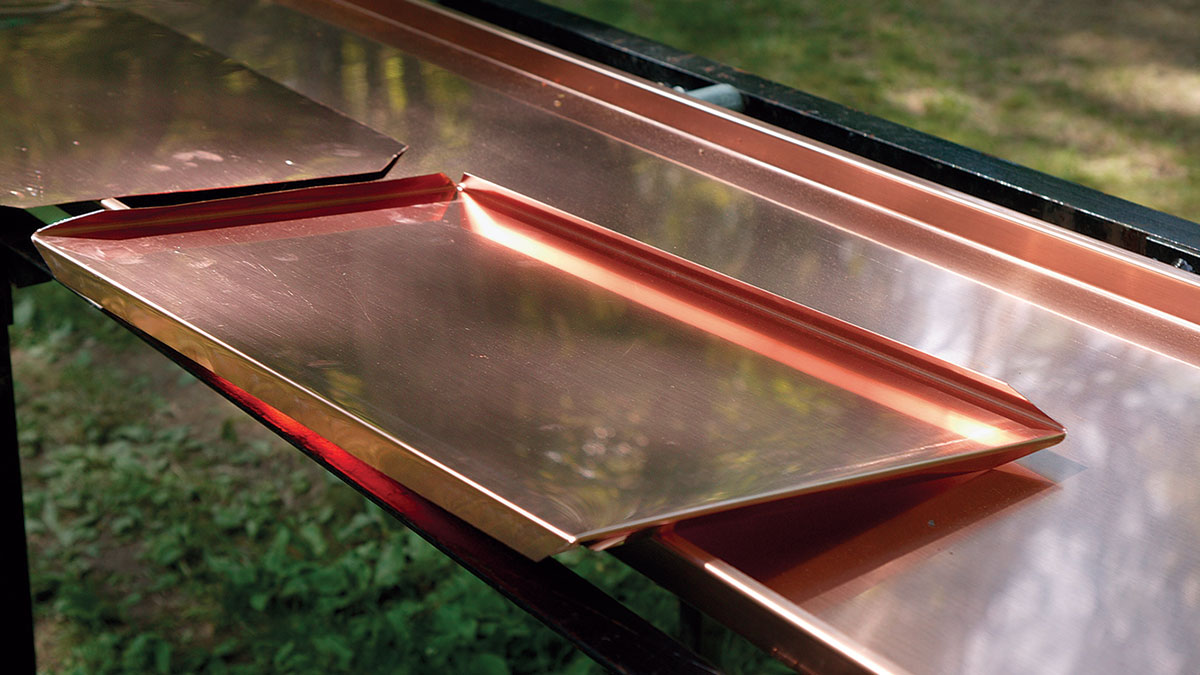
Fresh from the brake, a panel illustrates proper bending technique. It’s better to under bend than to overbend because it’s impossible to reverse the process without damaging the copper. Panel corners clipped at a 45º angle are essential to successfully bending the alternate locks. Unlike the relatively shallow 1/2-in. locks used in soldered work, these are 1 in. wide.
Trick of the trade
A handy brake
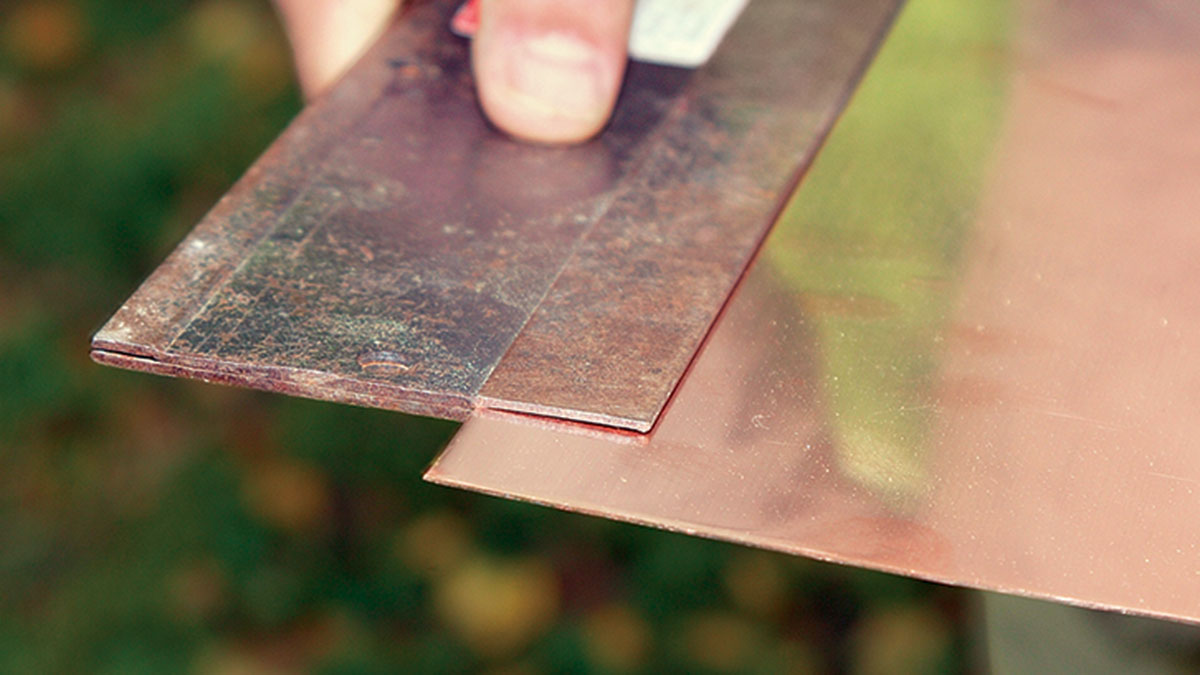
Handheld brakes, also called folding tools, are useful when you’re on the roof and need to fold a seam quickly. Slots run along each long side. One is typically 3/8 in. deep; the other is 1 in. deep. The copper is inserted into the slot and bent against the edge. My set, made by Malco, has 12-in., 18-in., and 24-in. lengths and cost a little more than a dollar an inch.
Nailing clips stabilize the panels
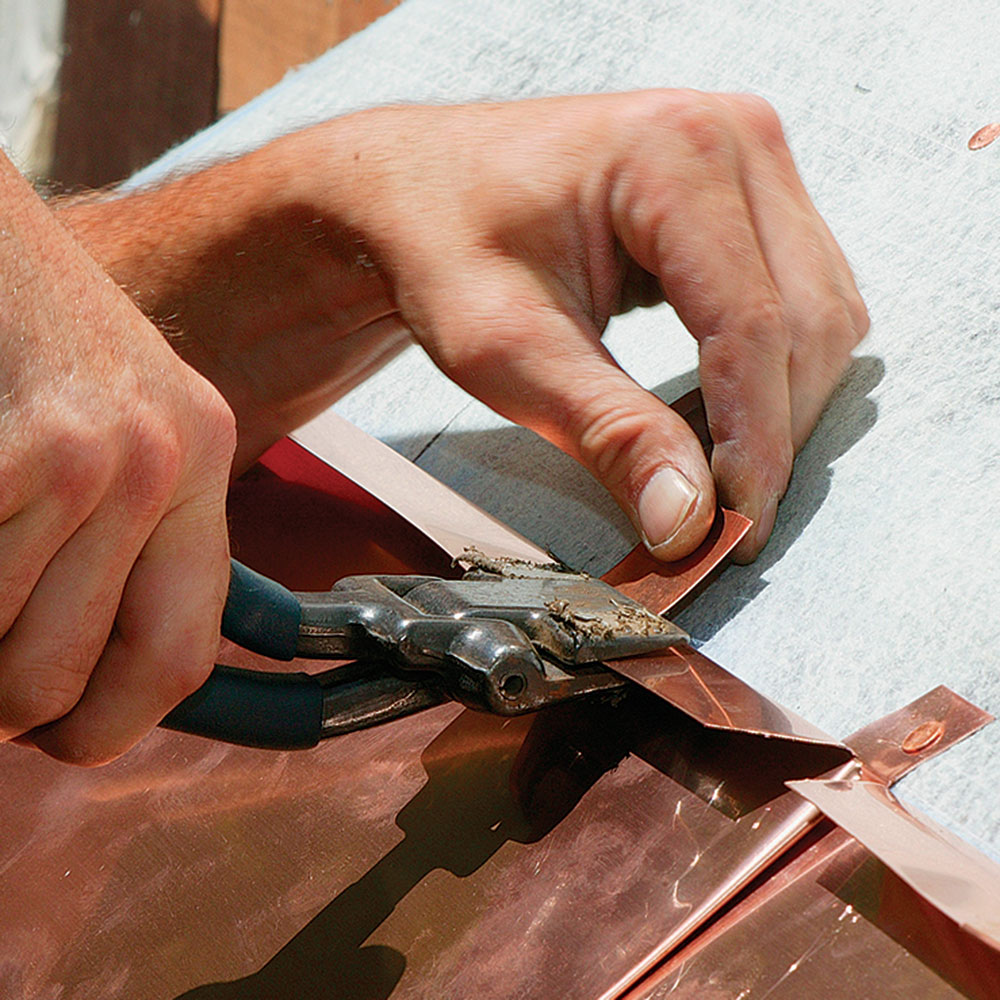
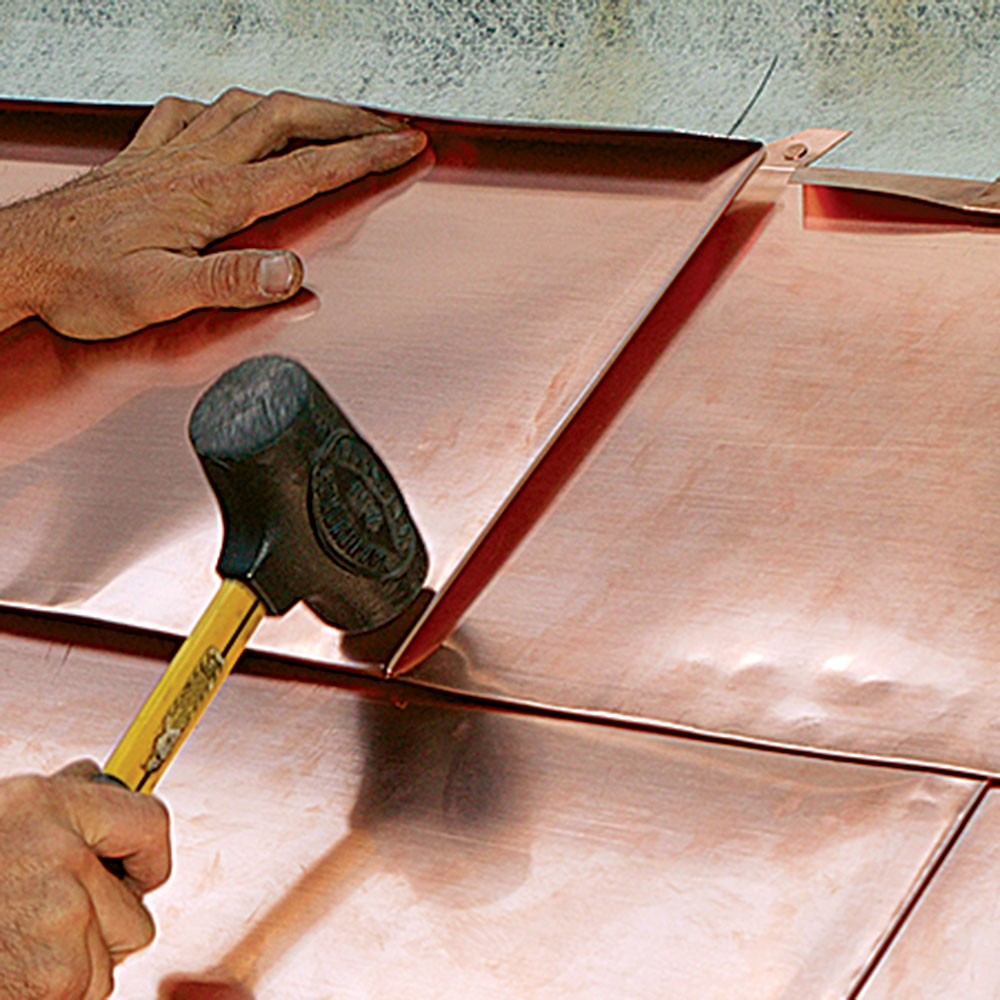
Strips of copper called clips that are crimped onto the seam and nailed to the sheathing allow the panels to expand and contract. Once the adjoining panel is in place, the seam is hammered flat with a mallet.
 |
 |
Leave room at the top for flashing
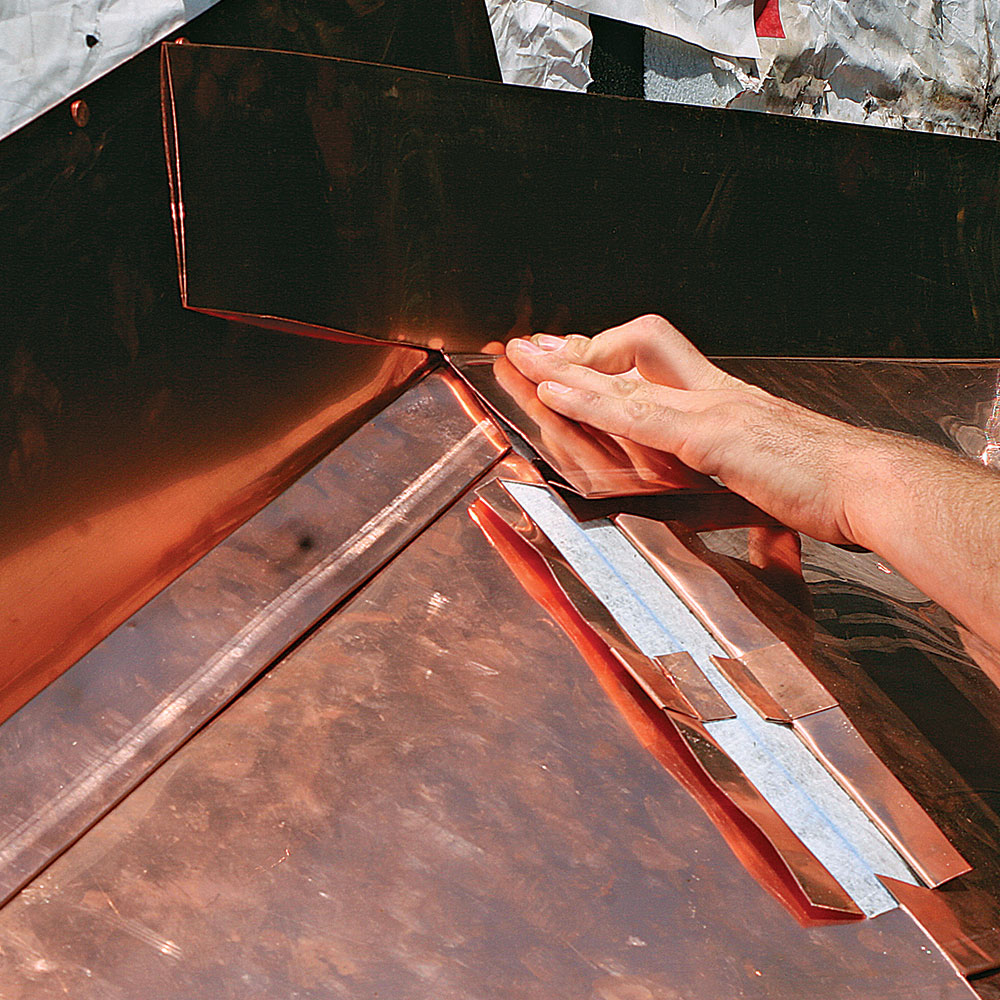
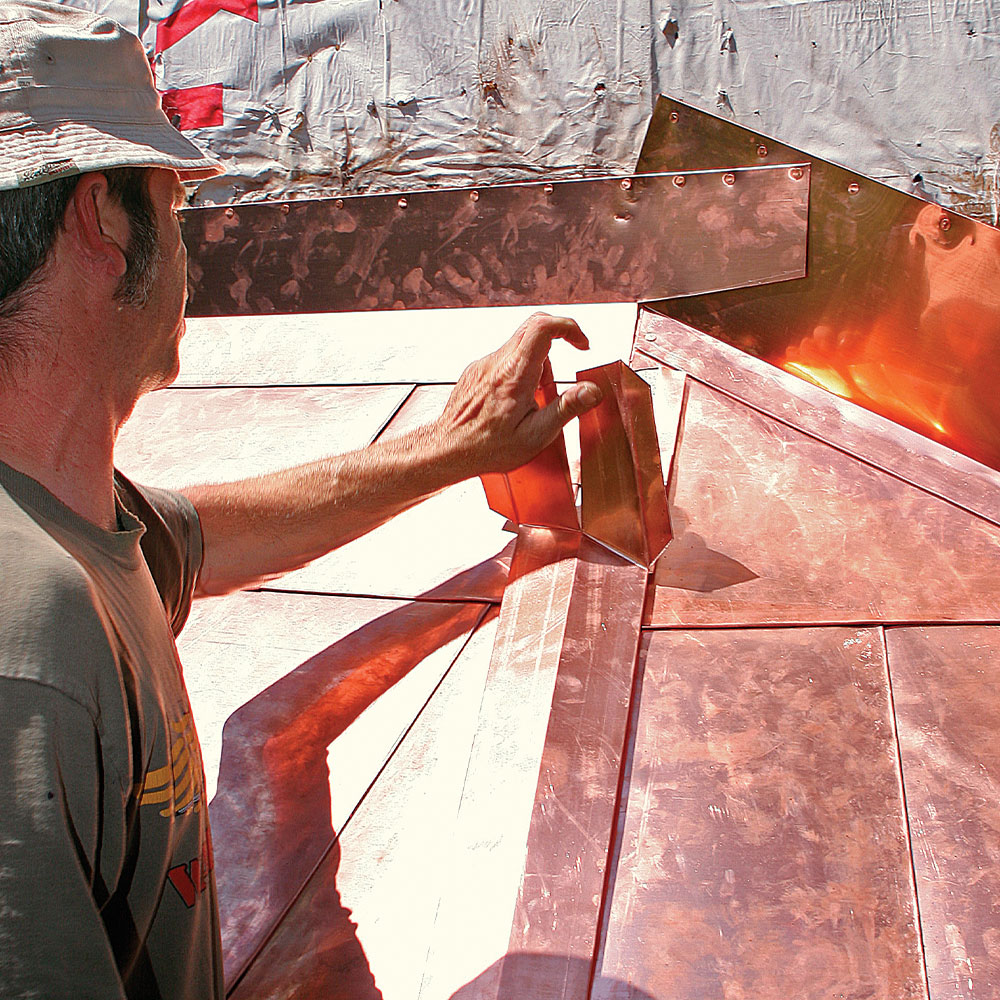
Following the roofline, the top edges of the panels are bent to receive the locking bend of the three-piece flashing, which extends about 6 in. up the sidewall. The side pieces are installed first and lapped by the top piece.
 |
 |
The last piece is the trickiest
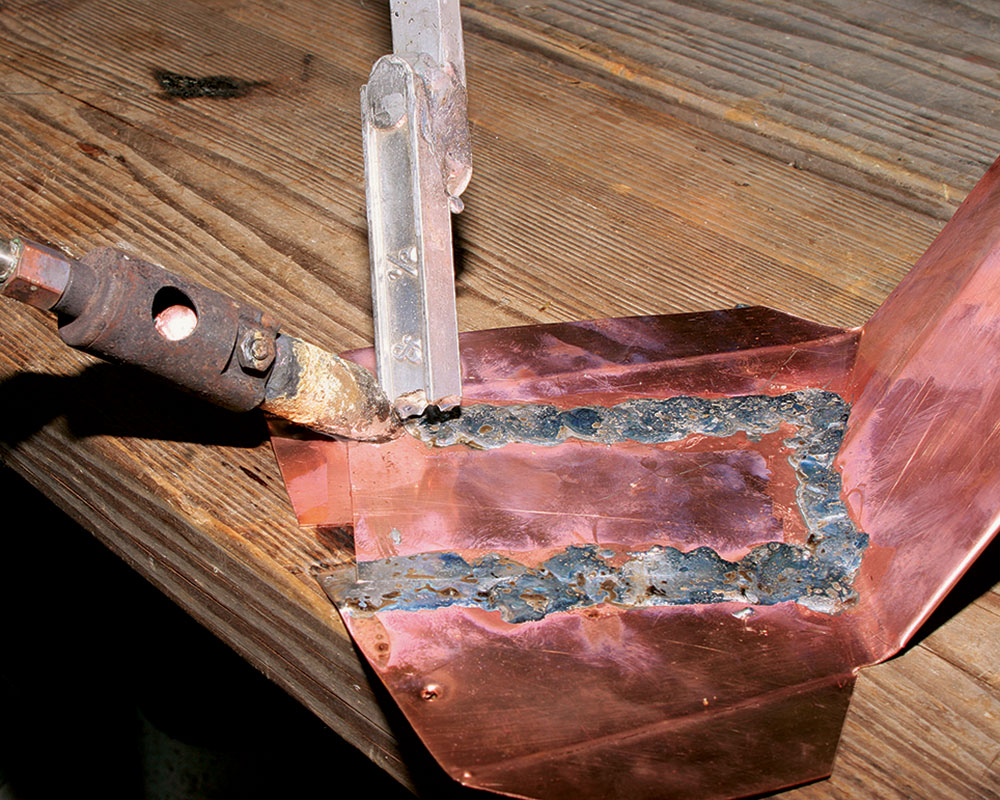
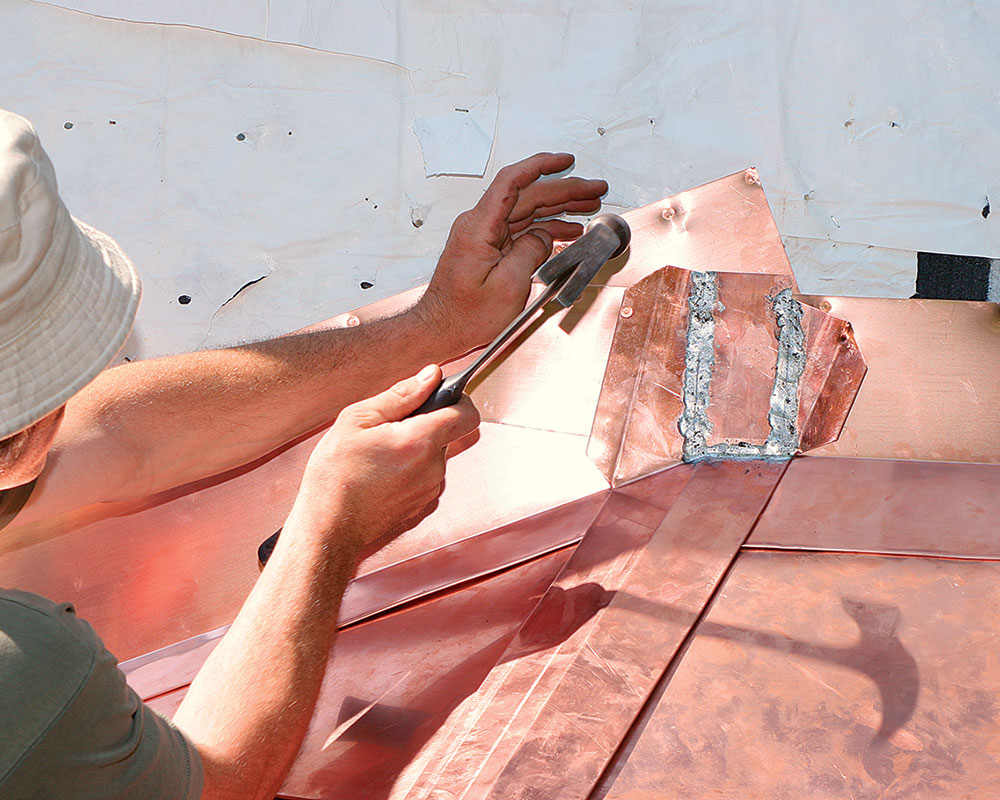
The hip caps are bent exactly in the middle, at the approximate angle of the roof. The bending sequence is lock seam, middle, then lock seam. I push the cap up along the hip, split the top that flares to meet the flashing, then solder a patch over the split. A word to the wise: Don’t take a machinist’s view of the metalwork. The hip-cap side locks must have about 1⁄4 in. of slop so that the cap can be pushed into place easily.
 |
 |
Photos: Charles Bickford and Chris Ermides
Fine Homebuilding Recommended Products
Fine Homebuilding receives a commission for items purchased through links on this site, including Amazon Associates and other affiliate advertising programs.
Roof Jacks

Roofing Gun
Shingle Ripper

