Planning a Reroof Project
Once you start a reroof job, there's no turning back. Make sure to plan for permits, materials, tools, safety, and waste.
This article is part of a series contributor Mike Guertin is writing in response to the many questions FHB readers ask about reroofing. In his introduction post, Mike lists some of the most common questions he hears on this topic.
When reroofing, the last thing you want is rain pouring into the house, so do some homework, round up the information, and make a plan before jumping up on the roof.
Here’s an overview of some of the initial questions to consider when planning a reroof job. I’ll take up each topic in more detail in other blogs.
Is a building permit required?
Different jurisdictions may approach building permits and codes differently. Check with your town, city, or county building department to find out what the requirements are for reroofing: Is a permit required? What are the building-code requirements for reroofing? What inspections are required?
What materials are you going to use?
Shingles are the big choice. There are eight manufacturers offering an array of models with different features and warranties, not to mention the color options. Find out what shingle products are available through local suppliers. This will help narrow your search. Ask what models and colors are in stock and start there. If you’d like a non-stock shingle, ask what the minimum order is, what the lead time is, and if there are any extra charges (special order, delivery).
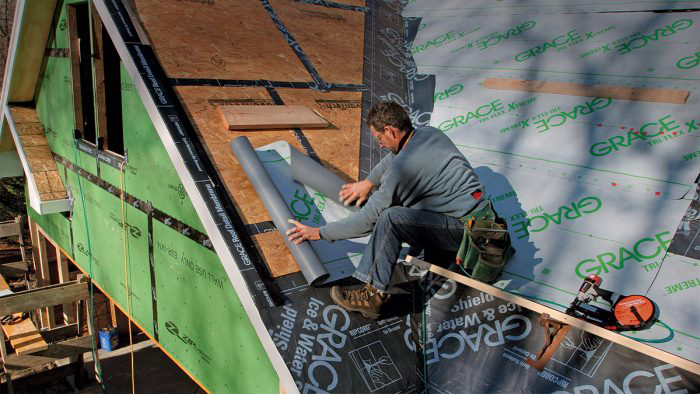
Underlayment covers the roof sheathing before the shingles are installed. Tar paper is the traditional underlayment and still a good option that is compatible with all roof shingles. Synthetic plastic underlayments have advantages over tar paper but cost more, and not all synthetic underlayments are compatible with all shingles, so you’ll have to check.
Ice barriers may be required along the eave edge of the roof in areas prone to ice dams. Your local building department can verify if an ice barrier is required. The most common type of ice barrier is a polymer modified-bitumen self-adhering, self-sealing sheet membrane. There are lots of brands and types with different characteristics to consider here.
Drip edges have been required along the eave and rake edges by the International Residential Code (IRC) for 10 years. They help support the shingles along roof edges and help manage water. There are minimum size requirements for the roof leg and the fascia/rake leg in the IRC that some drip edges found in box stores and lumber yards do not meet.
Most roof leaks occur where there’s a transition between a roof plane and a vertical wall or penetration. We need properly sized and installed flashing to keep water out. Step flashing or continuous flashing along sidewalls, vertical wall flashing, chimney flashing, and vent-pipe flashing are just some of the necessary flashings. The IRC has specific requirements like size and thickness for flashing and in other cases the code refers to the shingle manufacturers’ instructions. Some flashing will be available at local roofing suppliers and some will be special order or require custom fabrication.
Many people don’t give the roofing nails much thought but they shouldn’t be overlooked. You’ll need nails long enough to penetrate through the thickness of the shingles and through the roof sheathing. You may need longer roof nails to fasten the hip and ridge shingles and shingles in cut valleys. You also have the choice of corrosion resistance with stainless steel and different types of coating.
 |
 |
What tools and equipment will you need?
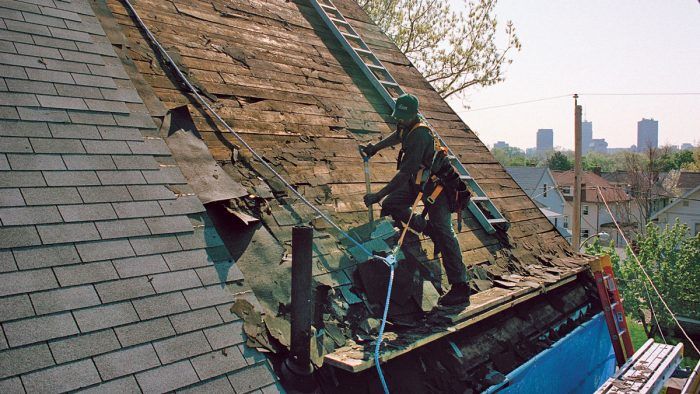
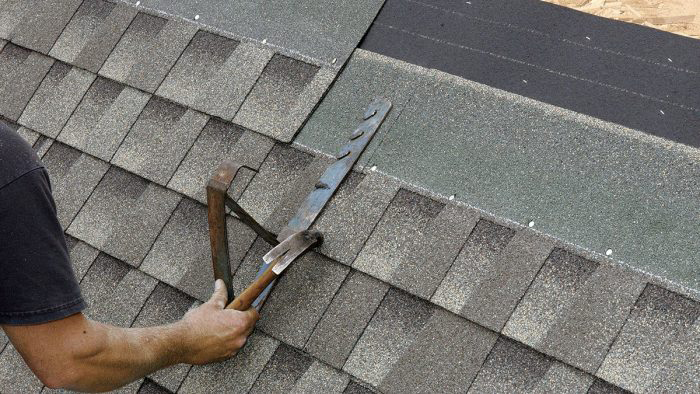
You probably already have many of the basic tools you’ll need for installing underlayment and shingles and flashing: stapler, hammer, square, knife, tape measure, chalkline, and metal snips. If you want to speed up fastening, you’ll need a roofing nailer, a compressor, and air hoses. You’ll need ladders, roof jacks, and planks to get up on the roof and access along steep roof slopes, and tarps, stripping tools, pry bars, a wheelbarrow, gloves, and a nail magnet to strip the old shingles off the roof and manage the waste. Don’t forget about safety equipment for fall protection like harnesses, roof anchors, and safety lines or full perimeter guardrails as well as personal safety equipment such as glasses, hearing protection, hard hats (for any help working beneath the roof), and gloves.
How are you going to get rid of the waste?
Getting rid of the old roof shingles is usually accomplished by renting a roll-off container. A lot of waste haulers have a limited supply of containers due to the amount of construction going on so scheduling can be a challenge. And if you plan to do the roof stripping over the course of several weekends, make sure the hauling company will spare a container for the duration of your project. You can store piles of old shingles on the ground and load a container when it arrives, but that requires handling the shingles twice on the ground.
Have a plan for where the container will be placed on-site. If you can get it close enough to the house, some of the shingles can be shoveled off the roof and right into the container.
How will you protect the rest of your house, plants, and lawn?
Stripped shingles can fall in large clumps or small pieces. The walls, windows, and doors of the house are at risk of being hit and damaged or broken by falling debris, so think about how you’ll protect the house. The same thing applies for landscaping—falling shingles can damage bushes and can be hard to clean up from the lawn and planting beds. Most roofers cover plants and the lawn with tarps, but tons of shingle tear-off can crush plants beneath tarps, so extra support—or frequent tarp unloading—may be needed. And think about how long the fallen debris will take to clean up off of the protection tarps. Sunlight beating down on dark-colored tarps can burn and kill the plants beneath them if covered for too long, especially during the middle of the day.
Will you work alone or have help?
You can strip and reshingle a roof in sections working alone without exposing the roof to the weather following the top-down shingling method. Or you can round up a crew to help. If you plan to have unskilled family and friends help, make sure that 1, they’ll show up on the day(s) you plan to work, and 2, they are prepared for working on the roof.
FOLLOW THE ENTIRE SERIES: Installing an Asphalt Shingle Roof
Fine Homebuilding Recommended Products
Fine Homebuilding receives a commission for items purchased through links on this site, including Amazon Associates and other affiliate advertising programs.
Flashing Boot Repair

Ladder Stand Off
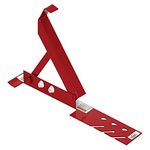
Roof Jacks


