Repairing Slate and Tile Roofs
It takes a different skill set than that required for replacing asphalt shingles.

Slate and tile are relatively brittle, expensive, and easily damaged if you don’t know what you’re doing. And they’re slippery when wet. In most cases, it’s best to hire a pro to repair a slate roof.
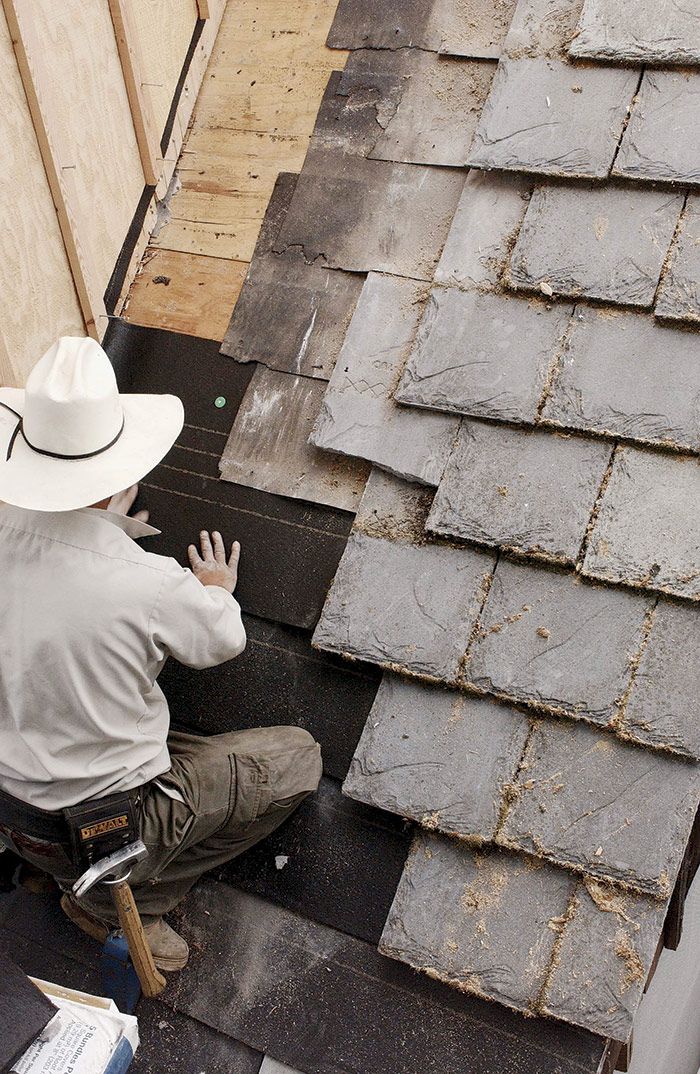
Slate and tile are so durable that they often outlast the underlayment and fasteners. So when repairing or replacing these roofs, prolong the life of the installation by using heavy underlayment (30-lb. building paper or self-adhering bituminous membrane), copper attachers, and copper flashing. Although these materials are expensive, if the roof lasts upward of 60 years without leaking, it’s money well spent.
Slate roofs are most often damaged by tree limbs. You can usually make repairs safely if the damage is along an edge and hence reachable without requiring that you walk on the roof. If you note a number of missing slates and rust stains on the roof, the nails may be rusting through, creating an extremely dangerous situation. Call a slate specialist at once.
To repair incidental damage, buy a slate hook. Work the head of the tool up under the damaged piece until the tool’s hooked head catches a nail shank. Then strike the handle of the tool with a hammer to cut through the nail shank. When both shanks are severed, slide out the damaged slate, being careful not to disturb adjacent pieces.
Once the damaged slate is on the ground, transfer its dimensions onto a replacement slate. Then rent a tile-cutting saw to cut the new piece, wearing goggles. Or ask a tile dealer to cut the piece for you. Ideally, the new piece should be the same size as the one it’s replacing, but old nail shanks may prevent sliding a full-length replacement piece into place.
That done, align the bottom edge of the replacement slate to others in the course. Predrill two nail holes, each one 1 in. from the edge and about 1 in. below the course above; you’ll probably be drilling through two layers of slate, so take it slow. (Use a cordless drill with a carbide-tip bit.) Size the drill bit just slightly larger than the thickness of the nail shank. Because this pair of nails won’t be covered by the slate above, caulk all holes with urethane before inserting nails. Drive the nails down just snug and no more so you don’t split the slate.
Fine Homebuilding Recommended Products
Fine Homebuilding receives a commission for items purchased through links on this site, including Amazon Associates and other affiliate advertising programs.

Peel & Stick Underlayment

Roof Jacks

Flashing Boot


