How to Install a Vinyl Soffit
Learn how to lay out, cut, and fasten a vinyl soffit before you install the siding panels.
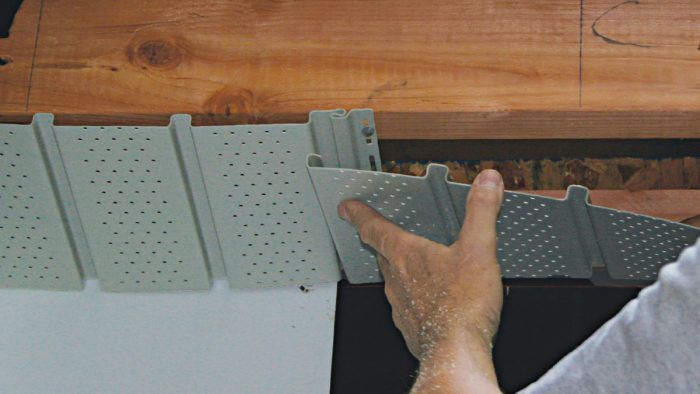
The primary reason for using vinyl siding is to create a low-maintenance exterior; the same goes for the vinyl soffit.
Like all siding, tar paper or housewrap and flashings are critical to keeping water out. The Vinyl Siding Institute’s (www.vinylsiding.org) installation manual recommends covering the corners and 1 ft. beyond with rigid flashing such as aluminum. I think adhesive membrane works just as well or better but hesitate to ignore such specific instruction.
Step for installing vinyl soffit
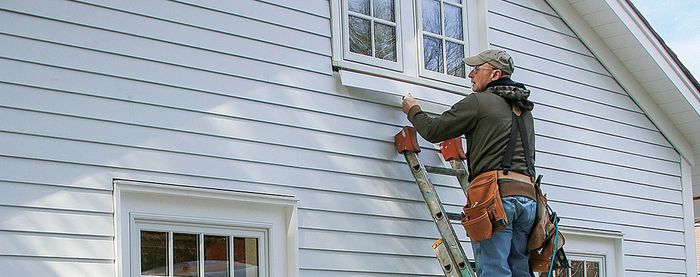
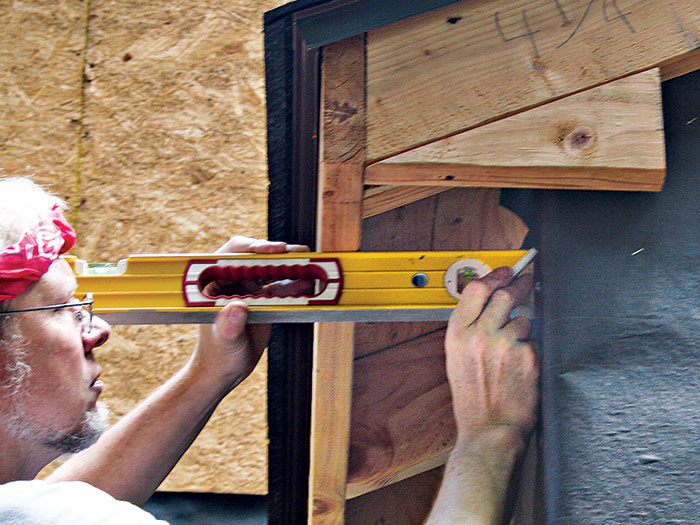
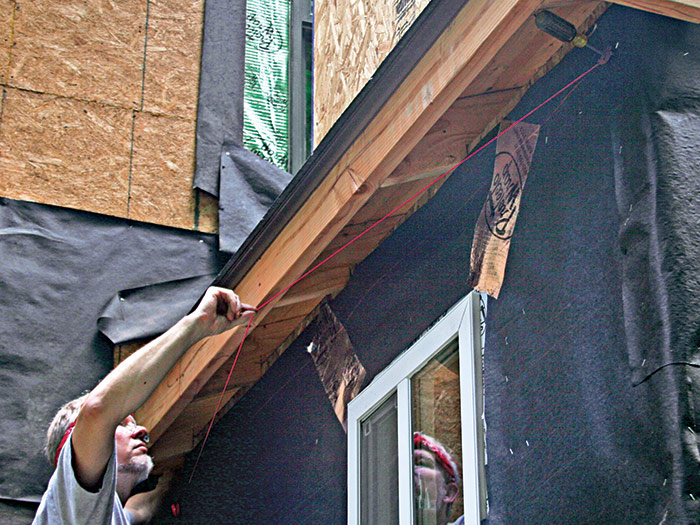
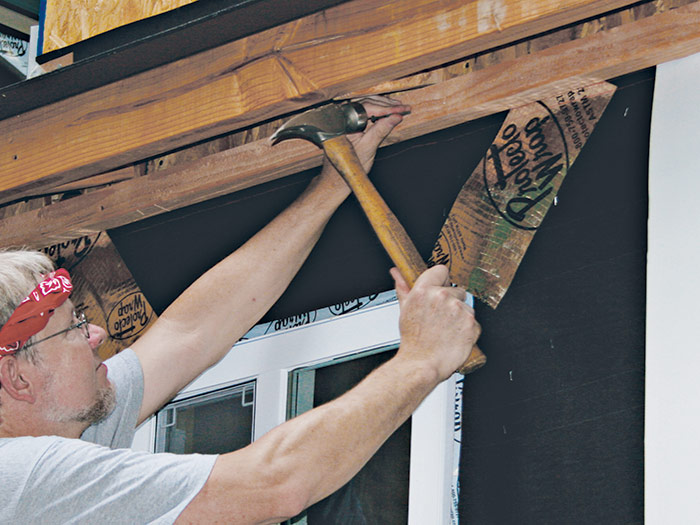
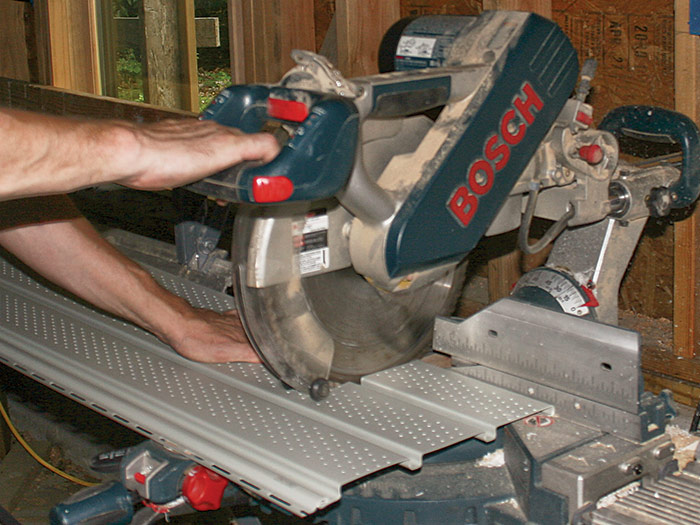
Install the aluminum flashing first. 1 Then fasten a 2× nailer for the soffit panels to the wall. Level over from the subfascia at each end of the wall to find the elevation. 2 Snap a line on the wall. 3 Fasten the nailer on and just above this line with 10d commons or longer. 4 Cut the vinyl soffit panels on a miter saw 1⁄4 in. or so shorter than the distance between the wall and the subfascia. 5 The Vinyl Siding Institute says to cut vinyl with a plywood blade installed backward in the saw to avoid cracking the material. I’ll do that in the cold, but I rarely bother in the summer, instead cutting more slowly.
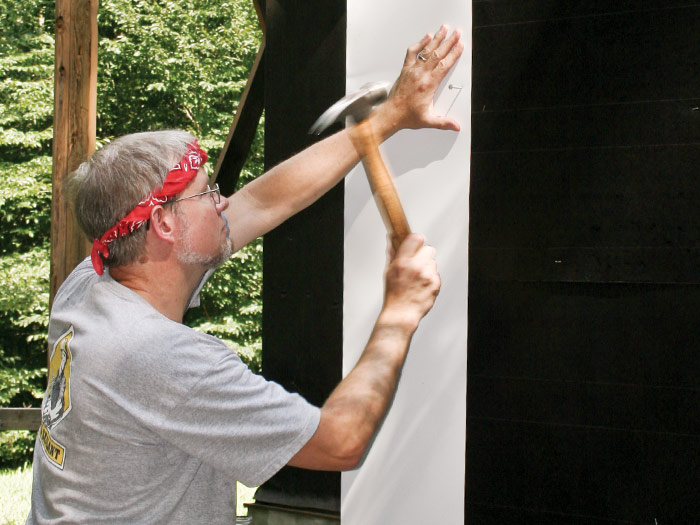
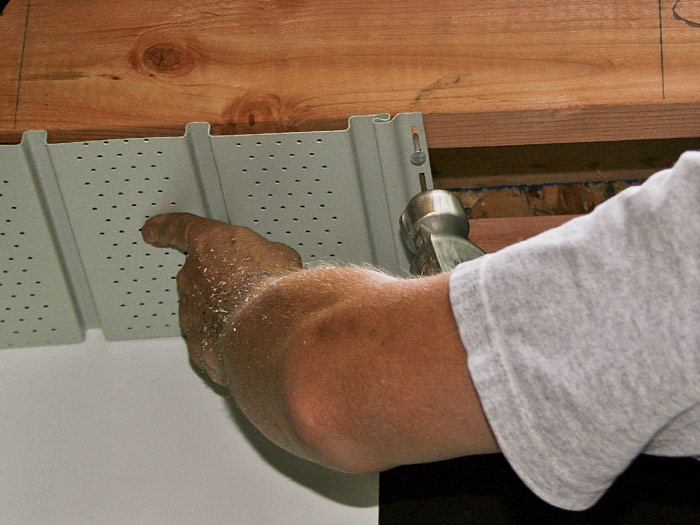
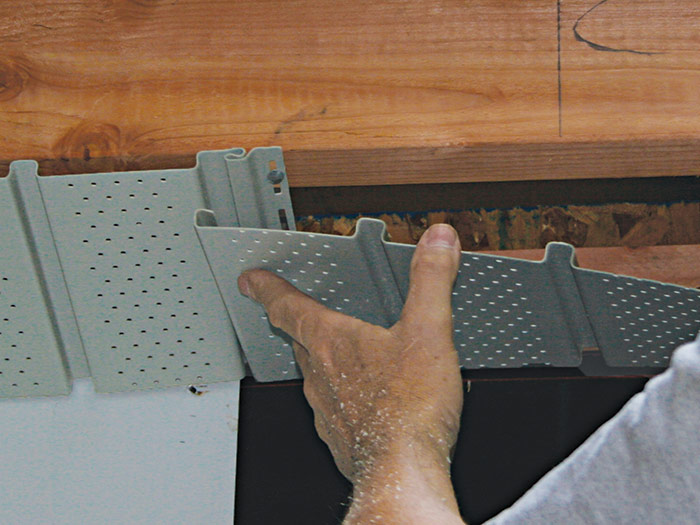
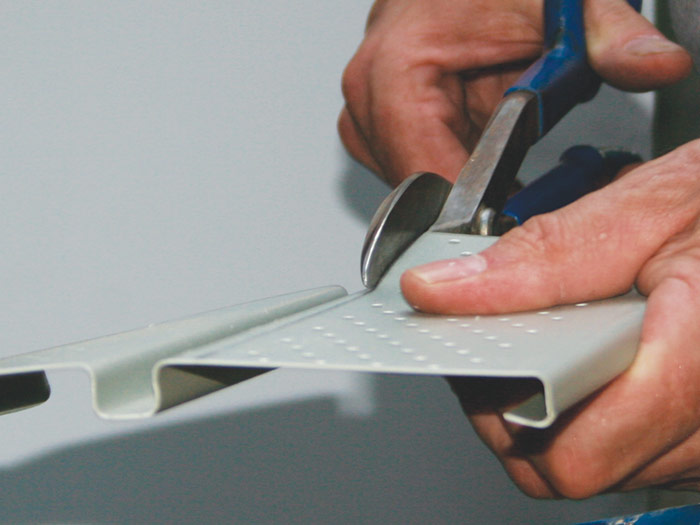
Nail the first soffit section to the subfascia and the nailer using 1 1⁄4-in. or longer roofing nails through the centers of the slots in the panel. 6 Don’t set the nails tight here, or in any piece of vinyl. Vinyl has to be allowed to move with changes in temperature (see “Temperature Tactics” below). Tack the other side of the first piece of soffit with a nail through one of the vent holes. Don’t worry much about supporting this end—the fascia will hold it up. Hook the buttlock (the edge of the piece of vinyl siding or soffit opposite the edge with the nail slots) of the second section into the flange of the first piece. 7 You’ll feel it click in. Continue this procedure until the soffit is complete. Trim the last piece on a miter saw or with snips. 8
Temperature TacticsUnlike most other siding, vinyl doesn’t change dimension with changes in humidity, but it does move—a lot—with changes in temperature, expanding in the heat and shrinking in the cold. You can hear it moving when the sun hits it on a cold morning. Consequently, you have to take thermal expansion into account during installation. Never install vinyl siding so its ends fit tightly between two surfaces—it will buckle in the heat. Instead, cut it about 1⁄2 in. short—about 5⁄8 in. short if the heat is extreme and about 3⁄8 in. short when installing in the cold. Vinyl trim always has a channel into which the siding slips, hiding gaps and cut ends. |
 Excerpted from Carpentry Complete: Expert Advice from Start to Finish, by Andy Engel
Available at Amazon.com.


View Comments
Not so sure I agree with the last sidebar: "Never install vinyl siding so its ends fit tightly between two surfaces—it will buckle in the heat. Instead, cut it about 1⁄2 in. short—about 5⁄8 in. short if the heat is extreme and about 3⁄8 in. short when installing in the cold. Vinyl trim always has a channel into which the siding slips, hiding gaps and cut ends."
-
If the vinyl and the air temperature is hot when installing, the vinyl has likely expanded to its near maximum length. It should be cut to a length that is slightly shorter than the space it's going into. Definitely not 5/8" short.
Conversely, If the vinyl and the air temperature is cold when installing, the vinyl has likely shrunk to its near minimum length. It should be cut to a length that is much more shorter than the space its going into - more like the 5/8" that is stated. Definitely not 3/8" short as it may expand more than 3/8" when the temperatures climb.