
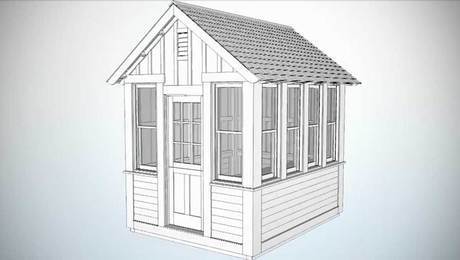
How to Install Corner Boards, Skirtboards, and Clapboards on a Garden Shed
Add furring strips and assemble your cornerboards first to make this siding and trim job go smoothly.
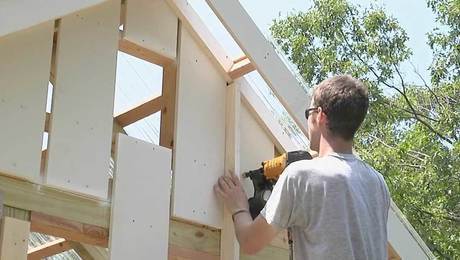
With the furring in place, we’re ready to begin the trim and siding. We’ll focus on the lower half first, starting with the corner boards, which I pre-assemble.
First, I bevel the edge of each board on the table saw. Then I join the halves together with trim screws, and I break the corners with a quick pass of the block plane. Corner boards are very susceptible the moisture from the ground, so seal the end grain with at least two coats of primer.
I butt each corner board tight to the underside of the sill and fasten it with ring-shank nails. As long as the corner boards are installed plumb, the skirtboards that fit between them should fit squarely without any gaps. Because trim boards are not always the same thickness, you may have to cheat the skirtboards out a little with shims so they are flush with the corner boards.
Above our skirtboards we are going to put in a wooden drip cap. It just rests right on top and gets a few nails down and into the skirt. The drip cap helps direct water away from the skirtboard, and also spaces out the bottom edge of the first course of clapboards.
We want an even exposure between our courses of siding, so what I’m going to do is measure from the top of my drip cap to the underside of my sill. It’s just shy of 32 inches. Now a 4-in. exposure makes that real easy—we’ll just do eight courses. I’m going to measure and mark that on a story stick that I can use to transfer those measurements all the way around the building.
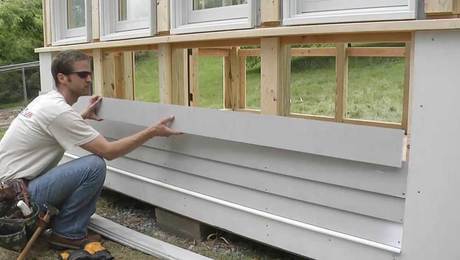
The clapboards are cut just a hair longer than the space between the corner boards so I can spring them into place for a snug fit. Remember to prime all cuts and to fasten the pieces with a single nail at each framing member. In order to make out last course fit, I had to rip it down to the exposure, which is four inches.
I’ve gone about as far as I can go with the lap siding on the bottom half of the building. I have to install the uprights around the door before I finish the clapboards on the front of the shed, because that’s what I’m going to butt the siding up into.
The lower half of the building is now done. In the next episode we’ll move on to the upper half, which is board-and-batten siding.
Videos in the Series
-
 How to Build a Garden Shed: Introduction
 -
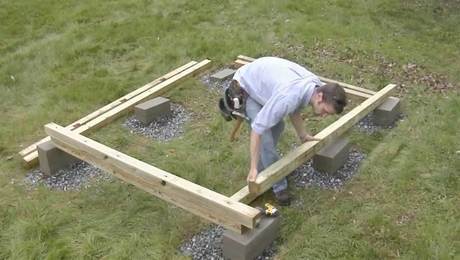 How to Build a Foundation and Frame a Floor for a Garden Shed
 -
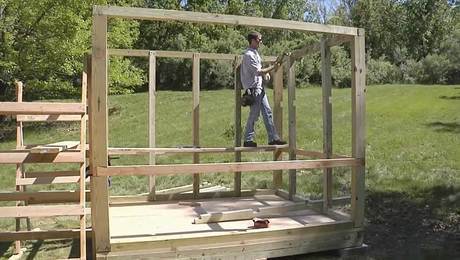 How to Frame Garden-Shed Walls with Half-Lapped 4X4s
 -
 How to Frame a Garden-Shed Roof and Install Skip Sheathing for Cedar Shingles
 -
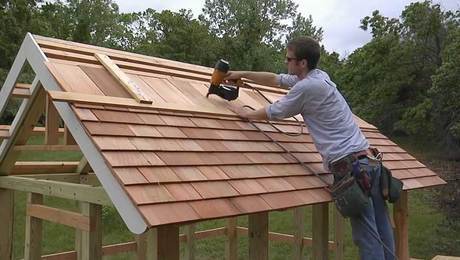 How to Install Cedar-Shingle and Clear-Polycarbonate Roofing on a Shed
 -
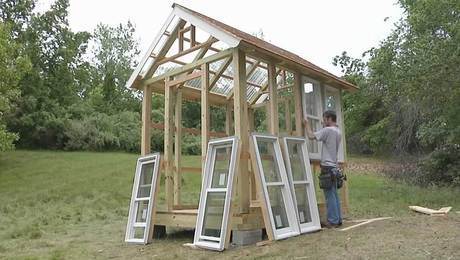 How to Install Garden-Shed Windows and Doors
 -
 How to Install Corner Boards, Skirtboards, and Clapboards on a Garden Shed
 -
 How to Install Board-and-Batten Siding on a Garden Shed

View Comments
The first piece of clapboard needs a starter strip. A starter strip is a rip from the top of a clap board the same width as the standard clapboard overlap - 1-1/4 in. to 1-1/2 in. usually. Since the uppermost clapboard will need to be ripped to fit beneath the window sill trim you can rip that piece off before installing the first clapboard and use the strip as the starter. Without a starter strip the butt (bottom) edge of the first clapboard will not be in plane with the butt edges of the siding courses above.