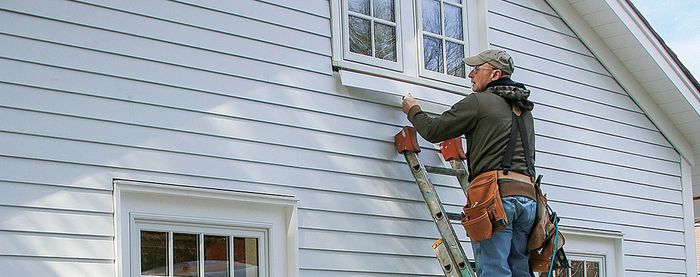
Keep Siding Straight With a Story Pole
A simple layout tool aligns siding with window and door trim, and helps you to finish where you started.

Synopsis: When you’re installing siding on a house, it’s vital to keep the courses straight and even as they go up and around the house. It’s even better if siding courses align with windows and doors. With those thoughts in mind, builder Lynn Hayward shares his advice on creating and using story poles. These important tools allow a house to look its best and the siding to perform better, too. This article includes a list of best practices for working with story poles.
Sidewall shingles and clapboards have nuances and limitations, but they share the same goals. Besides shedding water and protecting a structure, siding enhances the architectural lines of a house. Each course should run level around the building, align at inside and outside corners, and end where it began.
I like to line up the siding courses with windows and doors. This placement not only looks better than courses notched around openings, but it also makes the siding perform better, too. To keep siding courses consistent, my crew uses story poles laid out with marks that represent the bottom of each course. Using the window tops as a reference, I can make story poles for upper floors or for changes in elevation. As long as the pole is referenced from the same point, the course marks can be carried around the entire house to the place where they started.
Over the years, I’ve learned to designate a single person on the crew to make all the story poles. If many people make the poles, the chances for error skyrocket, and accountability plummets.
Best Practices
During the closing-in stage, I use a builder’s level to install the first-floor windows so that their tops are at exactly the same height; the window tops become the main reference points that we use to make story poles. Based on the window reference points, I can make story poles for the upper levels, gables, or additions.
I make story poles from 8-ft. lengths of 1×2. I hang the pole from the top of a first-floor window, then mark the location of the bottom of the window trim on the pole.
Next, I measure the height of the space to be sided, then divide by the theoretical reveal.
• White-cedar shingles: 51⁄2-in. reveal
• Red-cedar shingles: 7-in. reveal
• Clapboards: 4-in. reveal.
Ideally, I like the courses to line up exactly with the window bottoms. Whenever possible, I adjust the reveals on the pole so that there’s no notching over and under windows or doors. For instance, if the 15th course of white-cedar shingles ends up 2 in. above the main row of windows, I reduce the reveals to 5-3⁄8 in. Windows, continuous bands, elevation changes, and rooflines all must be taken into account for the final layout.
For more photos and details on how to keep siding straight, click the View PDF button below.


