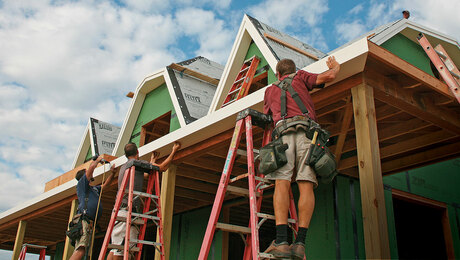
PVC Roof Trim
A coastal builder’s technique for durable and weathertight fascias and soffits is based on years of experience with plastic trim.
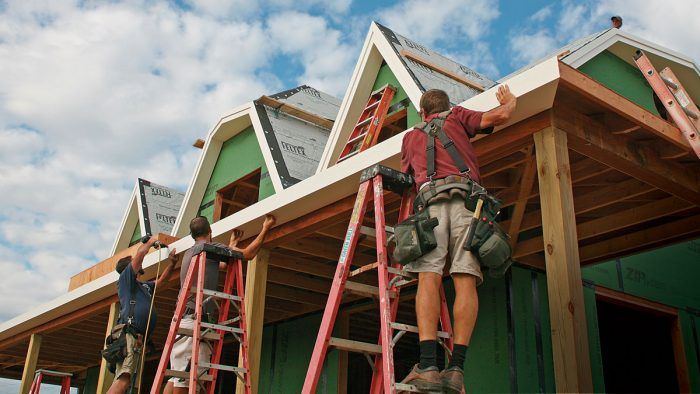
Synopsis: Author John Spier has spent the last thirty years building houses on Block Island, R.I., where wind, rain, sun, and salt spray all take their toll on the exterior elements of a house. Based on his long experience, he always recommends using PVC exterior trim, because it doesn’t rot. This six-page Master Carpenter article details his techniques for trimming the roof line with PVC: how he handles the long lengths, his methods for fastening and gluing it, and how to plan for its thermal expansion and contraction. He discusses tricks for straightening out the underlying frame and his preferred methods for installing the soffits and fascia. Also included are a sidebar on the benefits of painting PVC. Video extra: How to Install Exterior PVC Trim. Photos: Charles Bickford
Framing defines the bones of a building, but a well-executed trim job highlights its design for the world to admire. If done properly, the individual trim components blend together, their arrangement is smooth and harmonious, and the trim looks good for years to come. Trim installation is also a very satisfying part of the job that marks the transition from rough frame to fine finish.
For almost thirty years, I’ve been building and renovating on Block Island, R.I., a place where houses are routinely blasted by wind-driven salt, sand, debris, and precipitation, occasionally all at once. I’ve learned to have my clients invest in quality materials to resist these forces of nature, and for the past decade, this has included PVC exterior trim. As with using any new material, installing PVC has a learning curve, but after working with it for a number of years, I feel like I’ve developed techniques that allow the material to perform at its highest potential.
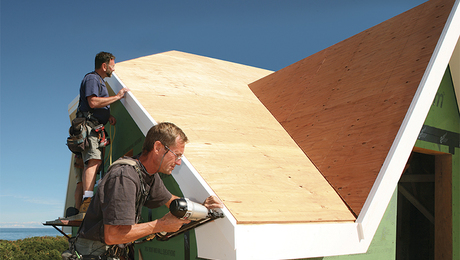
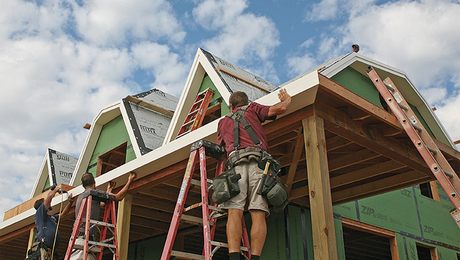
Recently, I built the house shown here and trimmed it in PVC. The design includes an upper roof marked by almost rounded gables and a pair of A-style dormers. A lower roof shelters a porch encircling the first floor. With their longer lengths and variety of joints, the house’s roof soffits and fascias provide good examples of the methods I use to work with the material.
Good or bad, PVC isn’t wood
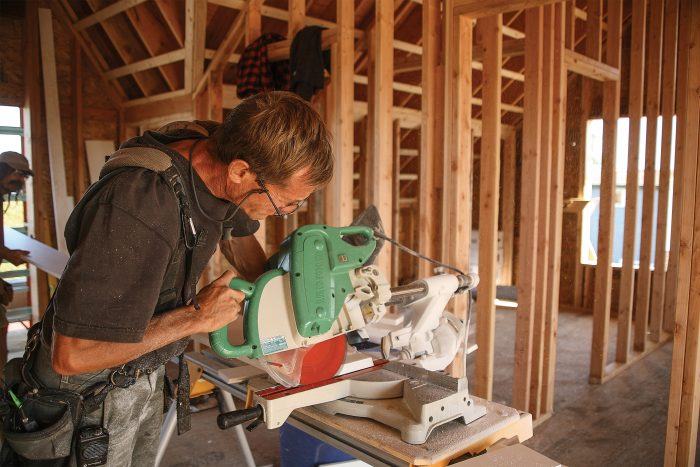
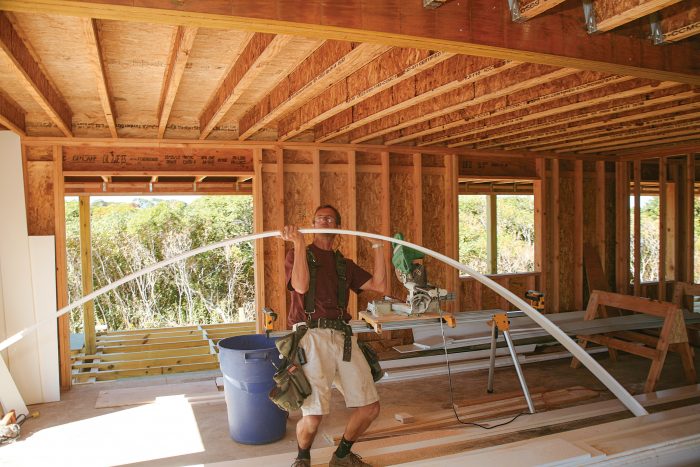
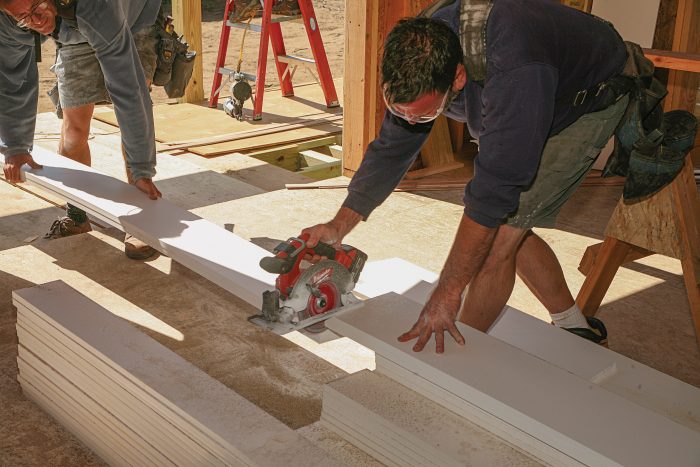
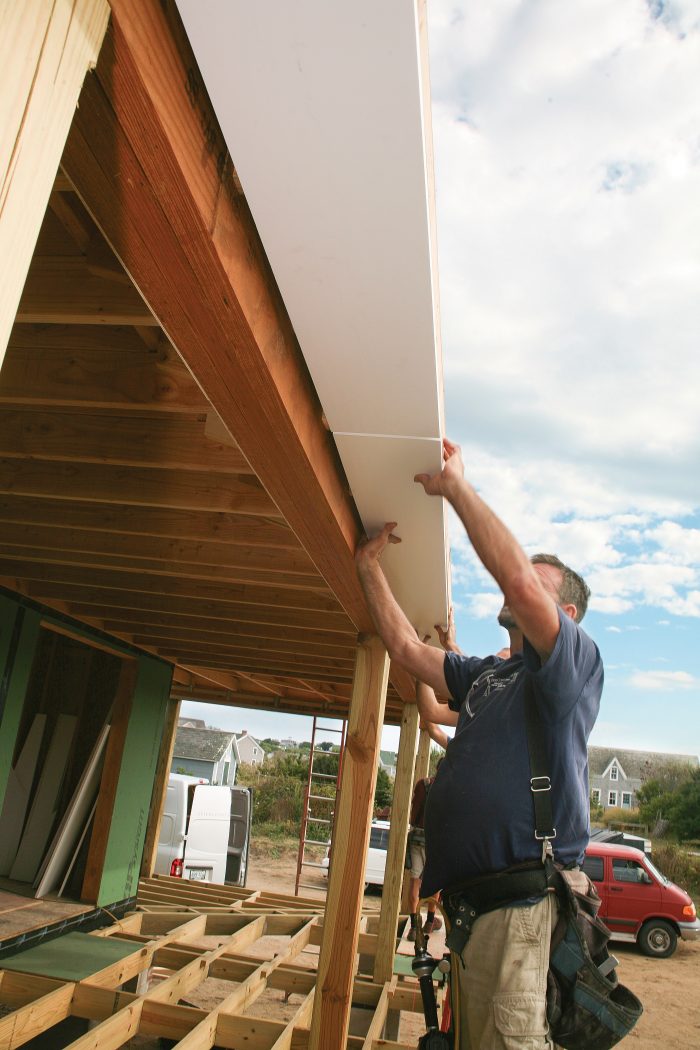
Although PVC trim is weatherproof, its plasticity makes it harder to work with, especially if you’re used to working with wood. First, because of its flexibility and long lengths, it’s difficult for one carpenter to move efficiently. It took a couple of jobs for me to find an efficient method for carrying and cutting the floppy material.
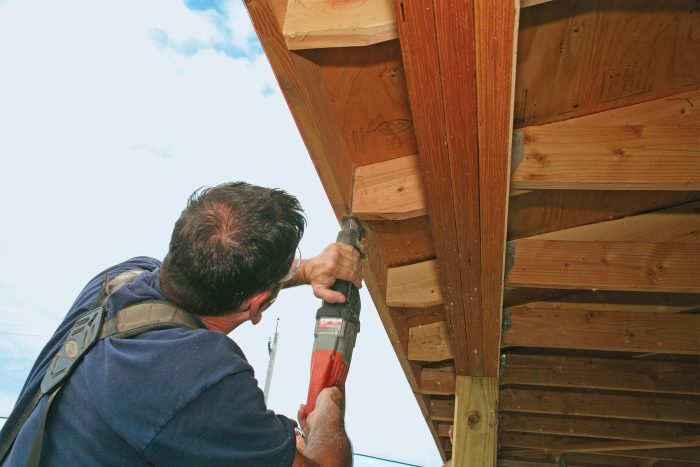
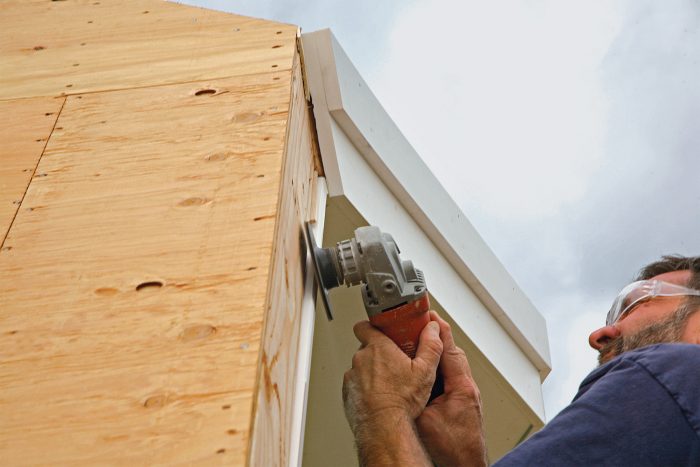
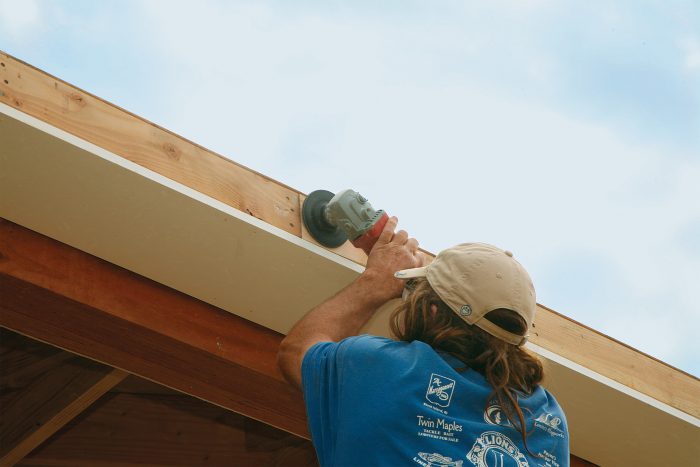
Its flexibility also means that PVC will telegraph every bump and ripple in the framing, rather than bridging and hiding them, so the framing needs to be straight before I start to trim. I use shims, saws, a grinder, and an old power plane to smooth things out.
The other tricky aspect of PVC is its finish. PVC crosscuts, rips, and routs smoothly, but the exposed core doesn’t have the same smooth surface as the factory faces and edges. When I look back at my earlier PVC-trim jobs, it’s usually the ripped edges and cut ends that I notice first. In the early years, the material’s porous interior structure tended to capture mold and dirt. Since then, manufacturers have refined the material’s composition. Even so, I’ve learned to plan carefully so that only factory edges are exposed.
When that is not possible, I smooth ends and edges that will be visible with a slow pass of a sharp plane. I also use a block plane to ease sharp corners. Some professionals advocate wiping down cut edges with acetone to seal the material, but that’s an additional level of toxicity that I prefer not to have on the job.
Make PVC joinery stick
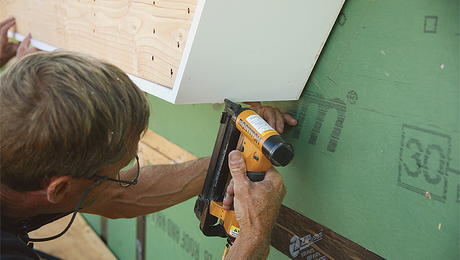
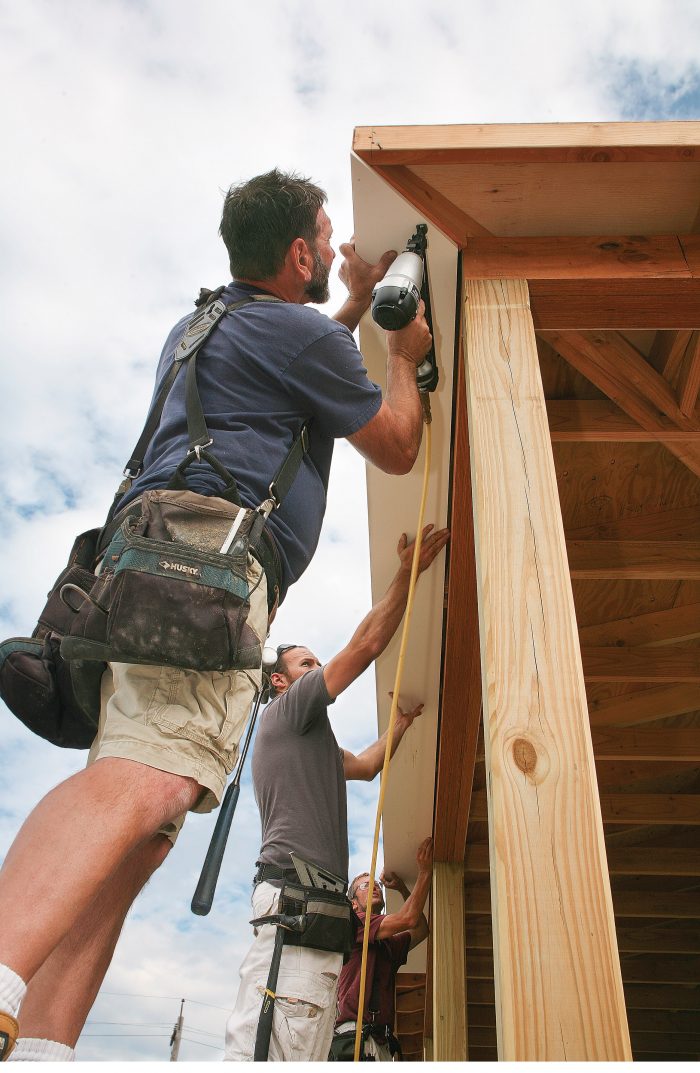
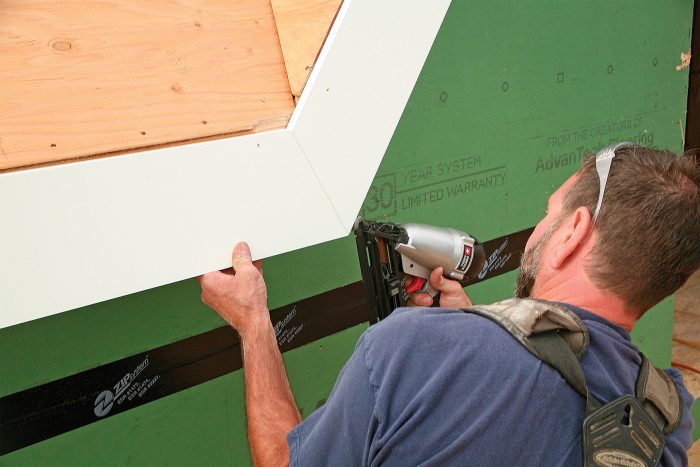
I’ve used the gamut of fastening systems for PVC trim. In the past, I hand-nailed trim with stainless-steel nails, but the nail heads were visible and detracted from a clean appearance. I now use a combination of pneumatic nails and Cortex screws and plugs. I fasten soffits with stainless finish nails because the holes there aren’t as noticeable. I hang fascias using just a few nails where they will be hidden by a second fascia layer, and then I finish fastening with screws and plugs.
On jobs that are to be painted, I nail everything pneumatically and fill the nail holes with a shrink-resistant and UV-resistant vinyl or epoxy exterior filler made for PVC. If the dried filler is not painted afterward, its porous texture tends to attract dirt and can look shabby (see “Good reasons to paint PVC,” p. 79).
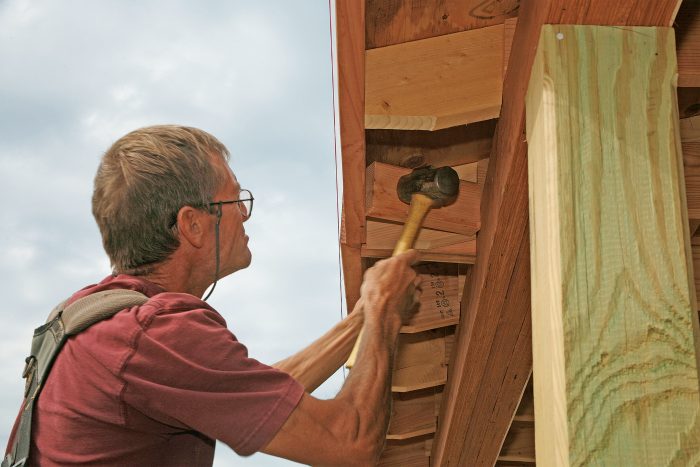
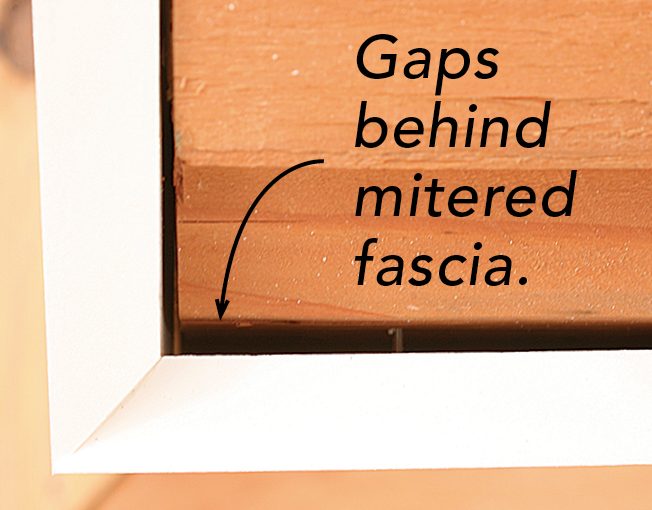
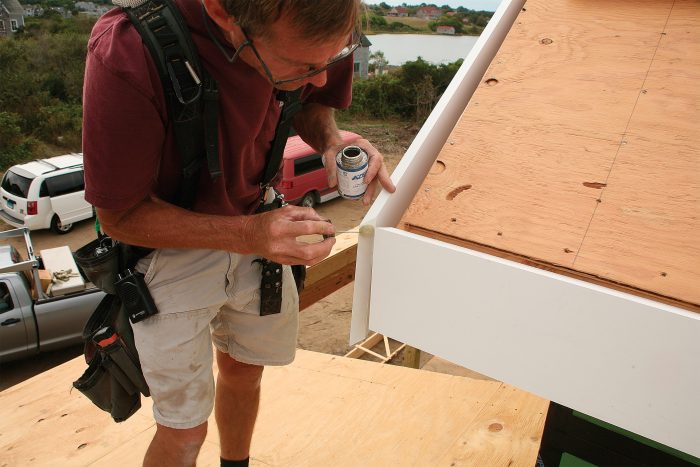
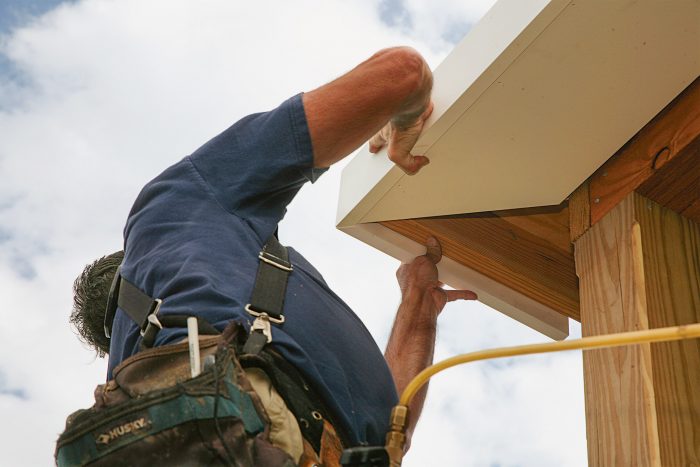
I also keep in mind the ambient temperature when I’m installing PVC trim. I don’t get scientific about it, but in hot weather, I fit pieces tighter; in cold weather, I leave some expansion room at the unglued butt joints between long soffit pieces. About 1⁄16 in. between boards seems to work well. At the corners, I cut miters a bit proud of the framing, especially in hot weather, to allow the framing to move. When the temperature drops, the trim can shrink and still retain the integrity of the joint. I use 23-ga. pin nails to hold miters together while the glue sets, a holdover from the way I’ve always trimmed with wood. On return visits, I’ve found that those PVC miters stayed tight.
Start with the soffits
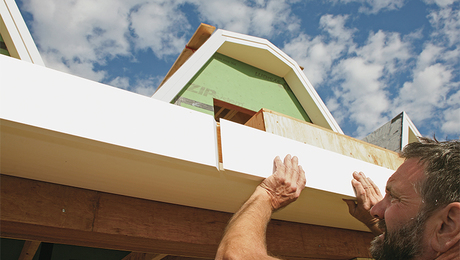
Roof trim consists of two main components: soffits and fascias. It’s possible and occasionally better to install fascias first and then fill underneath later, but soffits generally are where you establish your initial straight lines. The outer edge of the soffit provides a straight fastening surface for the fascia, and without the fascia in the way, the soffit is easy to hold and shim straight as needed. Another consideration is that soffits should always ventilate and drain; I use butt joints in the field, and I don’t fit the soffits tightly to the sheathing.
One of the secrets to efficient soffit work (or work on any roof trim, for that matter) is to make angled cuts on the smaller pieces that are easier to handle and mark. I never try to fit a joint at both ends of a long length of trim, and I try to do as little measuring as possible. It’s much faster and more accurate to scribe a piece than it is to measure once on the house and a second time at the saw. And if I can place joints well above eye level, they are much less likely to be noticeable. Finally, when I’m cutting trim, I have a mental overview of the lengths that I need and how they will best come out of the stock. I keep track of my cutoffs, I know where I will be able to use them, and I allocate lengths so that soffit and fascia joints are staggered by a few rafter bays.
Keep the fascias looking sharp
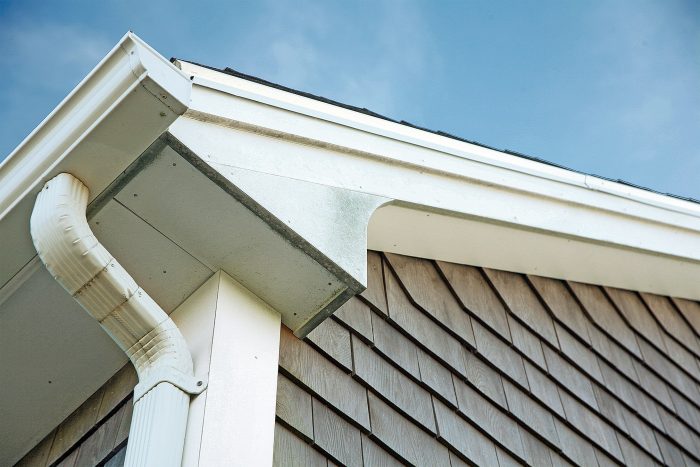
Fascias are the most obvious and visible trim component on most houses, the element that defines the shape of the roof and makes the visual transition from siding to roofing. They need to be straight and plumb. Because of PVC’s flexibility, I have to ensure that the framing beneath the fascias also is straight.
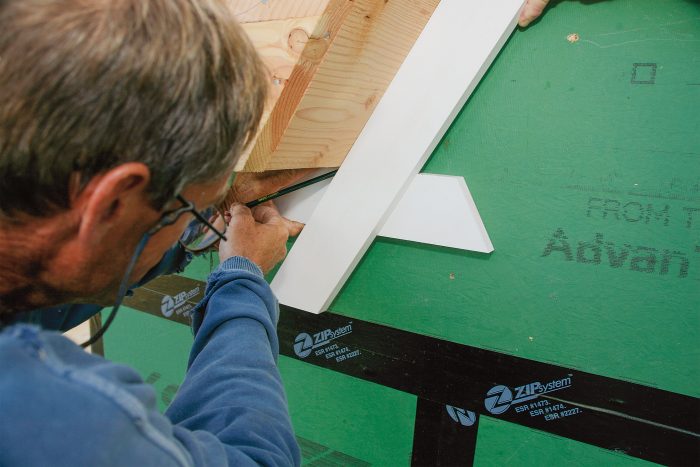
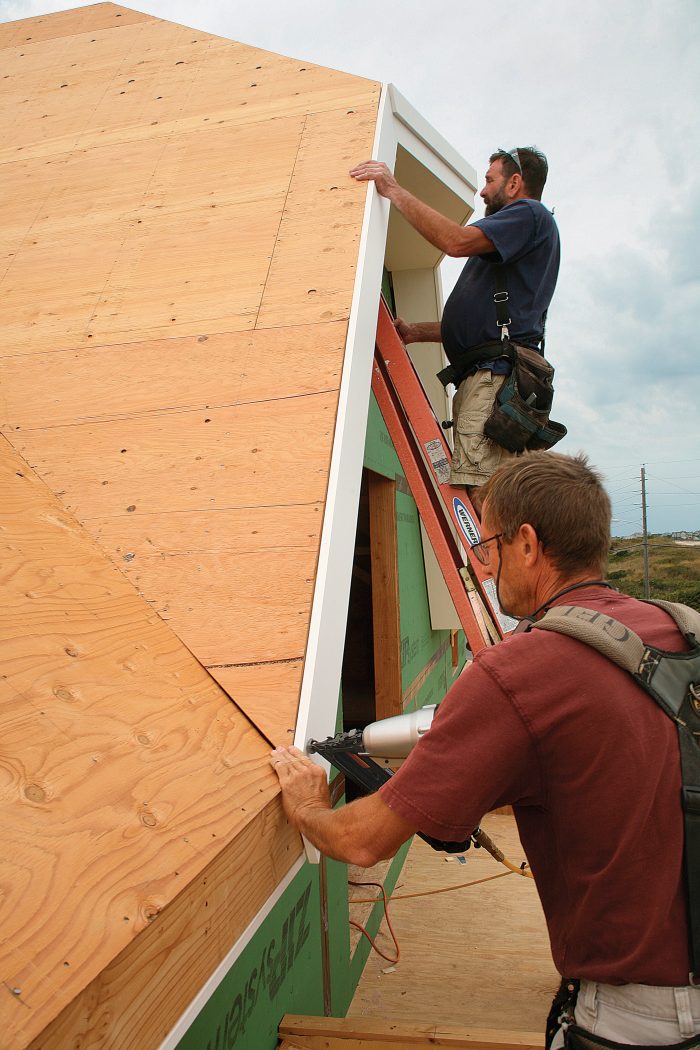
I install the rake fascia first, starting with a plumb cut at the peak. If I know the exact roof pitch, I can transfer the angle to the miter saw and make the plumb cut; alternatively, I can mark the board plumb with a short level and then cut to the line. Holding the board in place, I mark and cut the lower end where it transitions into the eave fascia.
Next, I cut the eave fascia. I use a mitered scrap to establish the first corner, and then I use scarf joints in the field. (During the framing stage, I add a 2x subfascia for strength and stability, so when I’m trimming, I don’t need to worry about aligning trim joints over rafter tails.) With a helper supporting the other end, I can usually hold the last piece of fascia in place and mark the cut.
Many houses have a second, narrower piece of fascia on the rakes called a double rake; I install this after the eave fascia is done by snapping a line, working from the peak, and cutting it flush at the eave corner. I often switch from the plumb cut I used on the rake peak to a butt joint on the double, which covers most of the plumb cut and helps to keep water from penetrating to the framing.
How to handle floppy boards
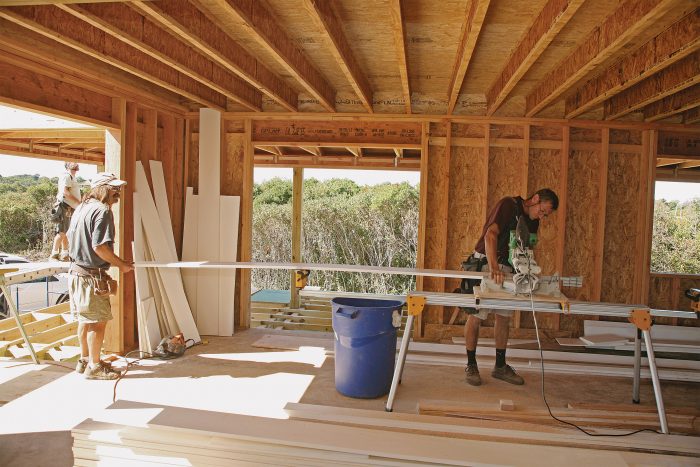
Straight Soffits Simplify Assembly
Align soffits with the outside edge of the 2x subfascia. Before installing them, make sure the subfascia is straight. If it’s not, adjust the framing. In addition to creating an even substrate for installing the fascia, this makes for faster trim installations with tighter joints.
Fix the framing
Start with the rake
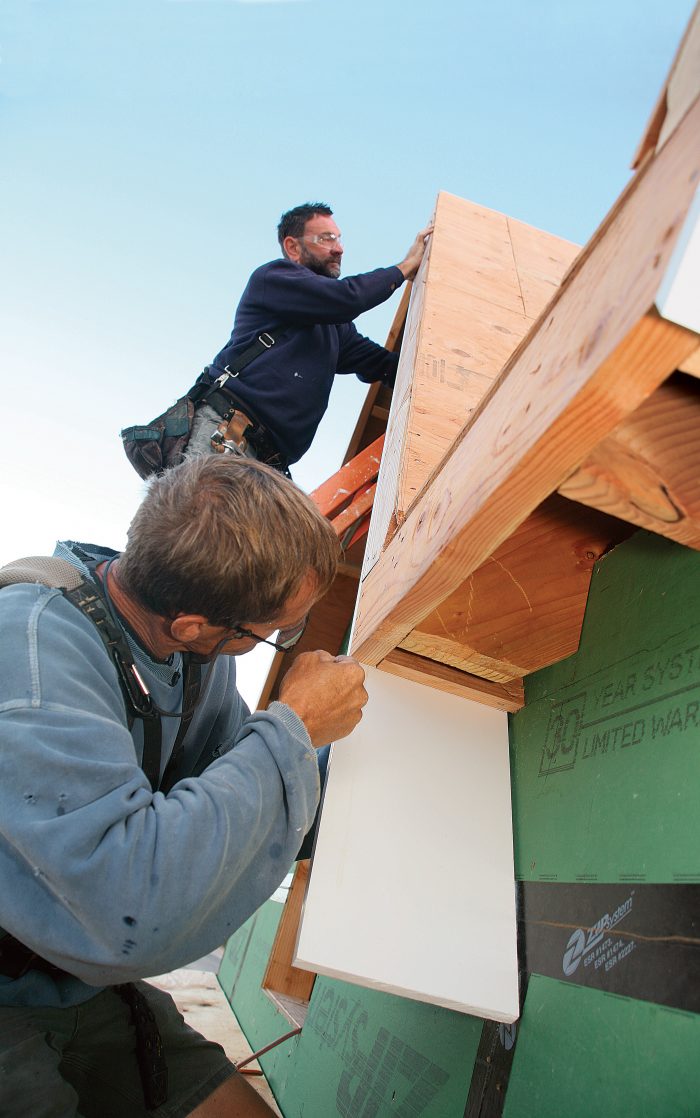
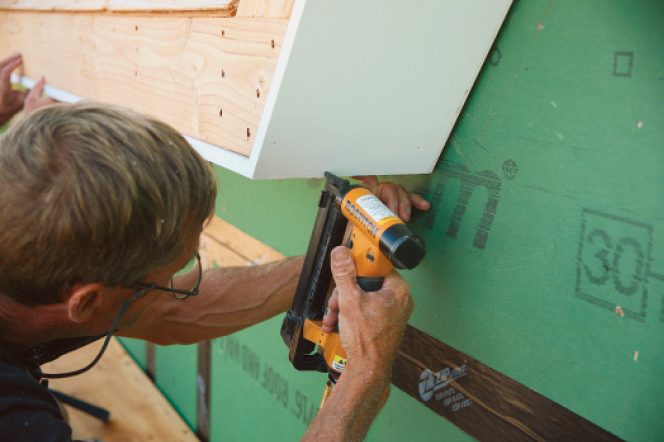
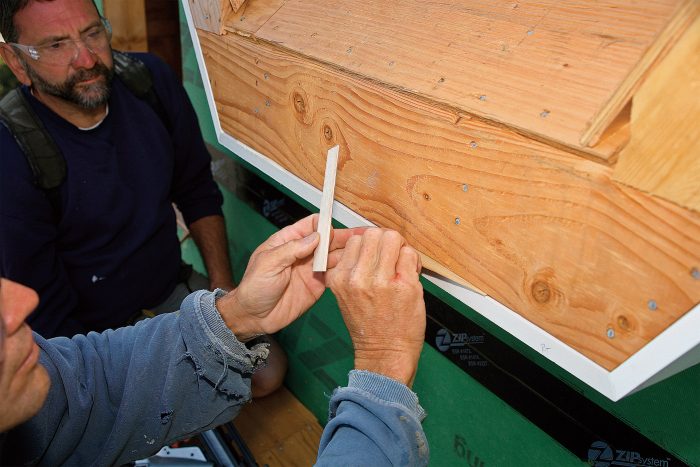
Finish at the eaves
Fascia defines the roof
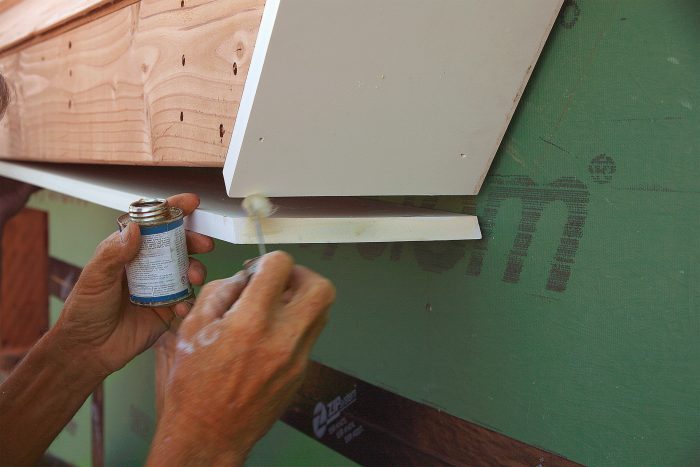
As the most visible part of the roof trim, the fascia needs to run straight and neat. Bumps and uneven joints in the framing can prevent the fascia from making even contact with the soffit, so sand or grind them flat. To minimize seasonal movement, secure the fascia joinery with glue and nails.
Make a flat base
Secure the joints
Miters start the eaves
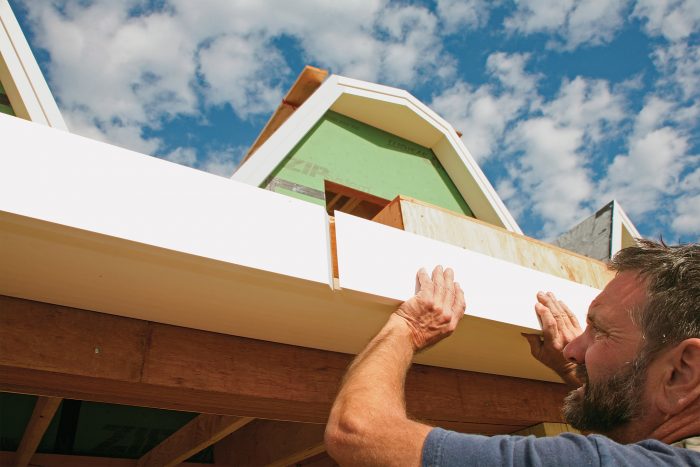
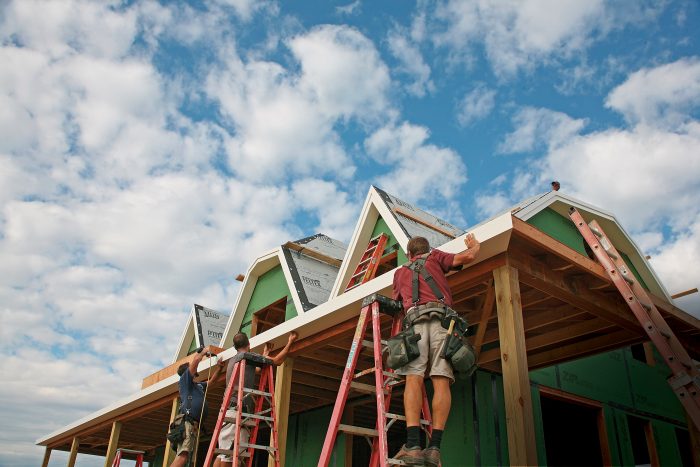
For more photos and details, click the View PDF button below:
Fine Homebuilding Recommended Products
Fine Homebuilding receives a commission for items purchased through links on this site, including Amazon Associates and other affiliate advertising programs.
Flashing Boot Repair

Roofing Gun
Fall Protection
