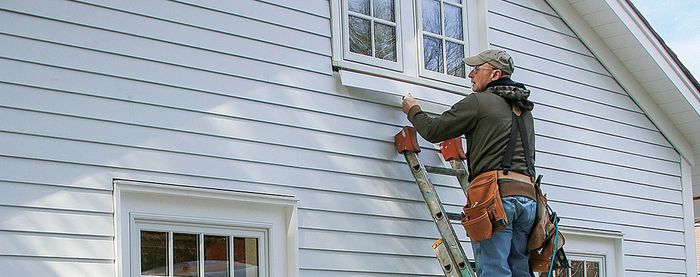
Replacing a Damaged Clapboard
Use an oscillating multitool to remove and replace the cracked section.

I have one cracked clapboard I’d like to replace. It has just a small amount of damage, so it might be possible to cut out only the bad section. How do I go about this?
— Mike Geraghty, via email
Andy Engel Replies
The hardest part about this job might be buying just one clapboard. In my area, they’re often sold in bundles of 10. Clapboards are fastened to the wall with nails (which are supposed to be driven into studs, not just the sheathing) near the bottom of each board. The next board above laps the one below by about ¾ in., holding the top of the lower board tight to the wall.
The nails are supposed to be placed just high enough to miss the top of the board below. The idea is to fasten only one edge of any clapboard so that it’s free to expand and contract in width with changes in humidity. Nailing both the top and bottom of a clapboard can cause it to crack if the board shrinks.
I’ve actually never encountered clapboards that were installed correctly. They’re almost always nailed through the top edge as well as the bottom. So to remove a section of clapboard, you need to remove the nails at the bottom of the board and the nails near the lower edge of the clapboard above it.
Before you start removing nails, though, decide how much of the board needs to be removed. There’s rarely any reason to take out the entire length of a long board. As you mentioned, you can remove the section between the defect and nearest end joint.
Locate the stud just beyond the defect (assuming there isn’t a joint directly above or below that spot), and draw a square line across the width of the board. Score this line with a knife to minimize splintering. The best saw I’ve found for cutting claps in place is an oscillating multitool. Use a new blade and a steady hand to make the cut up to the bottom of the board above. Try not to cut into the water-resistive barrier (WRB), but don’t sweat it if you do—the fix is easy.
Next, use a hammer and a nailset to punch all the visible nails in the section of clapboard you’re removing through to the surface of the sheathing. Then cut the nails in the clapboard above. You could punch them through with the nailset, but that leaves big holes to patch and may crack the upper board in the process.
I prefer to insert a multitool’s metal-cutting blade between the two boards and cut each nail. When all the nails are cut, pry the upper clapboard a little bit away from the wall over the cut you made. Sneak a sharp knife blade into the gap, and finish cutting the board you need to remove.
The piece of clapboard should now slide out. Once it’s out, go back with the multitool and trim every nail flush with the sheathing. If you did cut into or tear the WRB in the process of removing the board, seal those holes with a sealant or sealing tape approved for use on your WRB. Before reinstalling the board, cut a piece of flashing 2 in. wide and a bit longer than the clapboards are wide. Slip this under the end of the remaining piece of clapboard, leaving an inch on each side of the joint.
The flashing should lap onto the top of the clapboard below but should be held up enough so that it won’t stick out below the board that covers it. Cut the new clapboard to length, and if your siding is painted, be sure to prime all six sides of the new board with oil-based primer to prevent tannin bleed. Finish with paint to match the house. If your siding is stained, be sure to apply stain to all six sides as well.
Slip the new board into place and nail it home, being careful to miss the top of the clapboard below. After you renail the upper clapboard, touch up the exposed nail heads. Finally, step back and admire your work.
RELATED STORIES


