Weaving Designs Into Sidewall Shingles
Learn how to weave patterns into shingle siding using contrasting red and white cedar shingles.
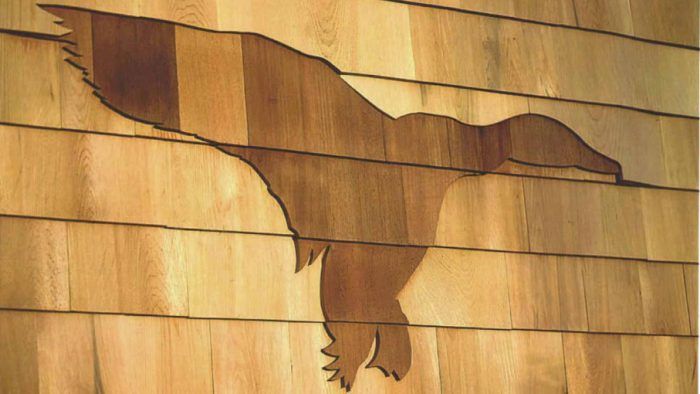
Synopsis: The author demonstrates a technique for weaving patterns into shingled exterior walls using contrasting red and white cedar shingles.
Ever since I saw the outline of a flying goose shingled into the siding in a photograph in “Finishing Touches”, I wanted to do one. But clients are reluctant to let me experiment on their houses, let alone pay for it. Fortunately, I had the opportunity to experiment when I built my own house a few years ago. Through this experience and others since, I developed a system for laying out and installing shingle designs.
I used a design/weaving process to shingle a wildlife scene into the sidewall of my friend Rick Arnold’s house. The techniques I used can be applied equally to any design.
Start with an appropriate design, then make a template
Weaving a successful pattern into sidewall shingles begins with a design that’s a combination of the right size and the right amount of detail. Images between 8 sq. ft. and 20 sq. ft. seem to work best. Figures smaller than 8 sq. ft. won’t have enough shingle courses passing through them to capture the image, and larger images like a life-size cow are lost in the field of shingles. The ducks Rick chose work well because they’re a good size and they aren’t too detailed. A simple design in red cedar against a white-cedar background works best. Finely detailed images such as antlers are nearly impossible; if the image makes a pleasing silhouette, it’s probably a good candidate.
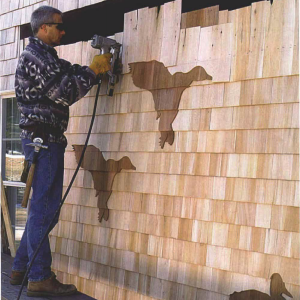
Before tracing the outlines of the three ducks onto the shingles, I needed to know where on the sidewall of the house the ducks would land in relation to the shingle-course layout. I arranged the templates on the sidewall of the house and tacked them up.
With the templates in place, I snapped chalklines on the house’s sidewall at the bottom of each shingle course. This step left chalklines on the wall and across the templates. Before removing the cardboard templates, I traced the ducks’ outlines on the wall for future reference. Finally, I made story poles that were long enough to include reference marks representing two shingle-course lines above and below each of the patterns. Now that I had gotten reference marks on the story poles and the templates, I could transfer the reference marks to a piece of oriented strand board (OSB), which I laid across my sawhorses. Working on a horizontal surface facilitated the layout and fabrication of the decorative shingles.
For more photos, drawings, and details, click the View PDF button below:
Fine Homebuilding Recommended Products
Fine Homebuilding receives a commission for items purchased through links on this site, including Amazon Associates and other affiliate advertising programs.
Smart String Line
Plate Level

100-ft. Tape Measure
