
A Fearless Approach to Epoxy Grout
When durability is paramount, epoxy can’t be beat, and with careful prep work, it’s not as fussy as you think.
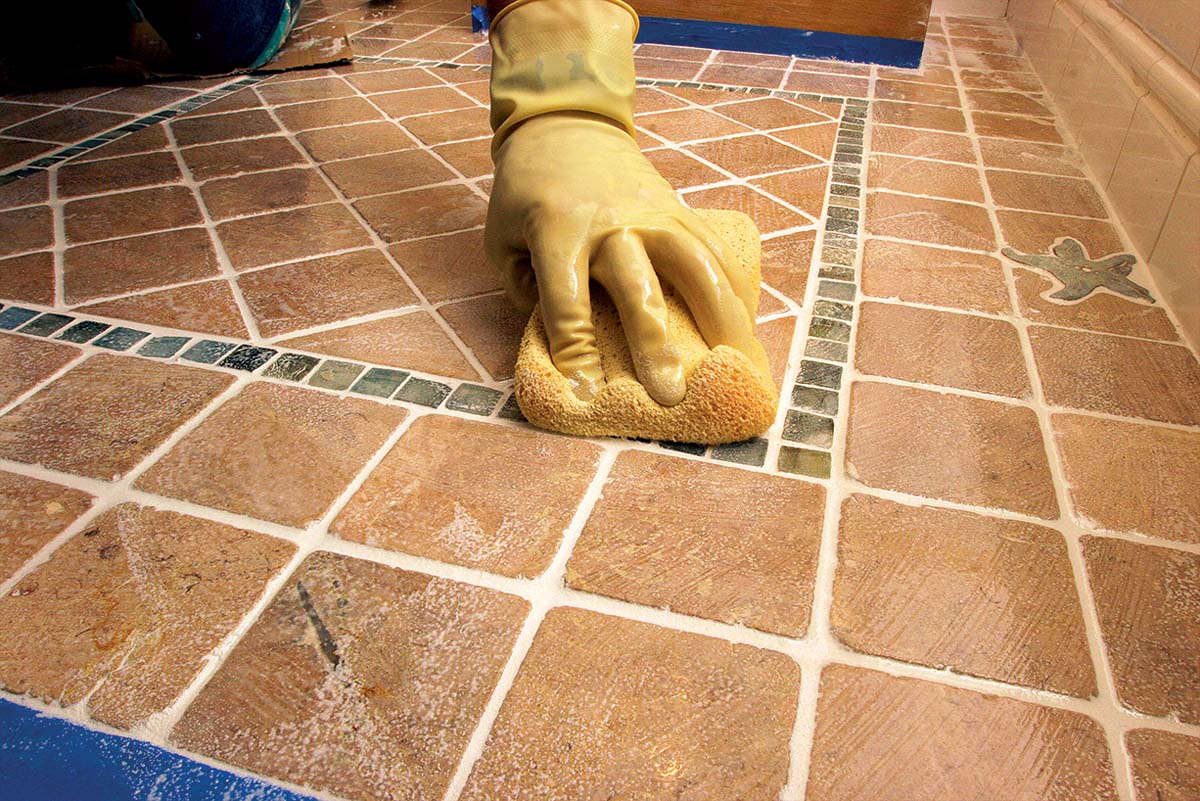
Synopsis: Epoxy grout has a reputation for being difficult to work with. With veteran tilesetter Tom Meehan’s expert advice, you’ll be able to master the epoxy learning curve easily. Meehan advises purchasing a kit, which includes most of the materials you need for a smooth installation. If you go a la carte, be sure to have a clean bucket, a new float, grouting gloves, mixing tools (a margin trowel and a drill-powered mixer), non-terrycloth rags, and a new sponge. Start the project by prepping properly; clean grout joints and sealed tile are a necessity. After mixing the grout, you have about 80 minutes of working time. Be efficient as you scoop, spread, and scrape the epoxy into the joints. Wash the tile surface gently by thoroughly after about 20 minutes, then wash again. Finally, buff the floor with a cotton rag, taking care to remove all sticky residue.
For the past 25 years, tile setters have been relying on epoxy grout as their ace in the hole for grouting stain-prone areas such as countertops, showers, and high-traffic bathroom floors. The early forms of epoxy grout quickly earned the material a reputation for being difficult and messy. I can attest to that fact, too. Epoxy grout used to be tricky to mix and difficult to spread, and the smell always left me feeling sick by day’s end. Unless the mixture was perfect, the temperature was fixed, and the moon was in alignment with Saturn and Pluto, the goopy grout would sag in wall joints and settle below the edges of floor tiles. The cleanup, which was unforgiving in every sense of the word, often concluded with my work clothes being tossed in the garbage. If you can approach the material with an open mind, though, I think you will find that today’s epoxy-grout products have changed for the better.
Several manufacturers make epoxy grout, and although their products differ slightly, all have significantly simplified the installation process. The Laticrete product I use is sold in kits, which include individually measured components that ensure the right mix every time. A pair of gloves in each bucket guards against the temptation to work unprotected, packaged additives make cleanup easier, and a fresh sponge means less chance of leaving yellow bits of debris in cured joints. If you throw in your own grout float and heed the advice offered here, a smooth installation is in the bag.
Epoxy grout needs a well-prepped surface
Now that the necessary supplies are close at hand, there are a few housekeeping items to check off the list before mixing the epoxy components.
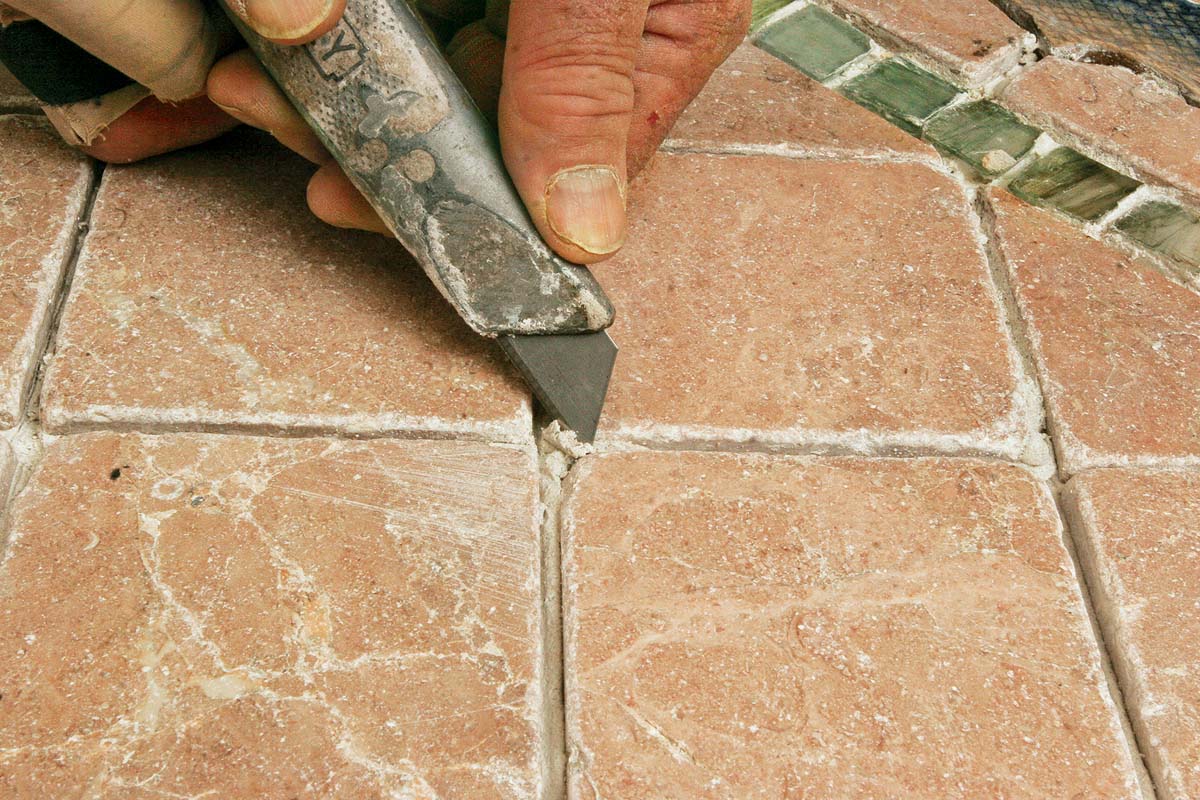
Clean the joints. Use a utility knife or the edge of a margin trowel to remove any hardened chunks of thinset from the tile. Nothing in the joints should be within 1⁄8 in. of the tile surface.
Vacuum the joint. This step is often skipped, but it’s a must. Any dust or small specks of debris left on the floor will appear in the grout joints. The tacky epoxy makes debris difficult to remove before it hardens.
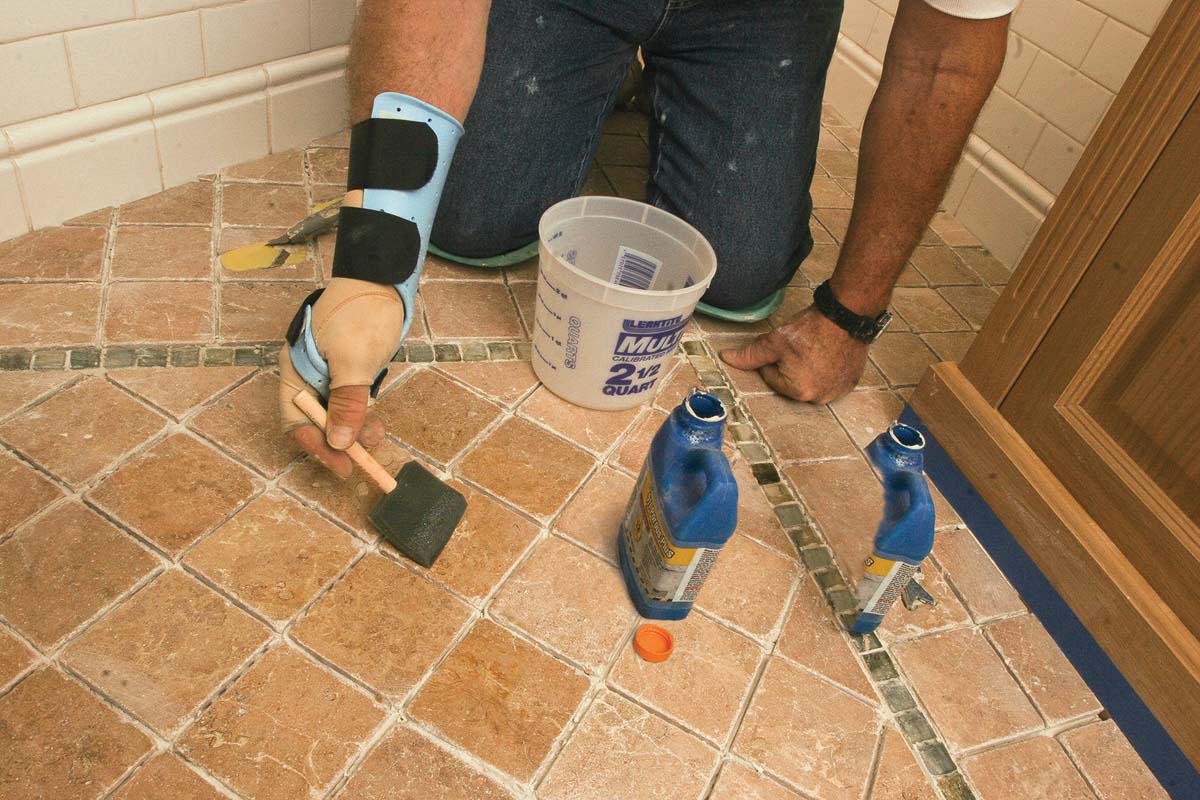
Seal the tile. This is especially important when grouting natural stone (two coats if the stone is extremely porous), but is also a good idea for porcelain and ceramic tile with a flat finish. Allow the sealer to dry for at least a couple of hours.
Protect the area. Don’t risk getting this stuff on your bathroom vanity, baseboard trim, door threshold, carpet, or hardwood flooring. Anything that’s near the tile but is not supposed to be grouted should be masked off with painter’s tape.
 |
 |
Once you’re mixing, the clock is ticking
Expect to have about 80 minutes of working time, but don’t try to beat the clock by making only partial batches of grout. If the A:B:C ratio isn’t exact, the product won’t perform as expected.
Mixing made easy. Combine Part A and Part B in a clean (preferably new) bucket, mixing with a margin trowel and rolling each bag like a tube of toothpaste to squeeze out as much liquid as possible. After stirring, add Part C, the cement-based colorant. Blend all three components until the mixture has a consistency similar to sticky cake batter.
A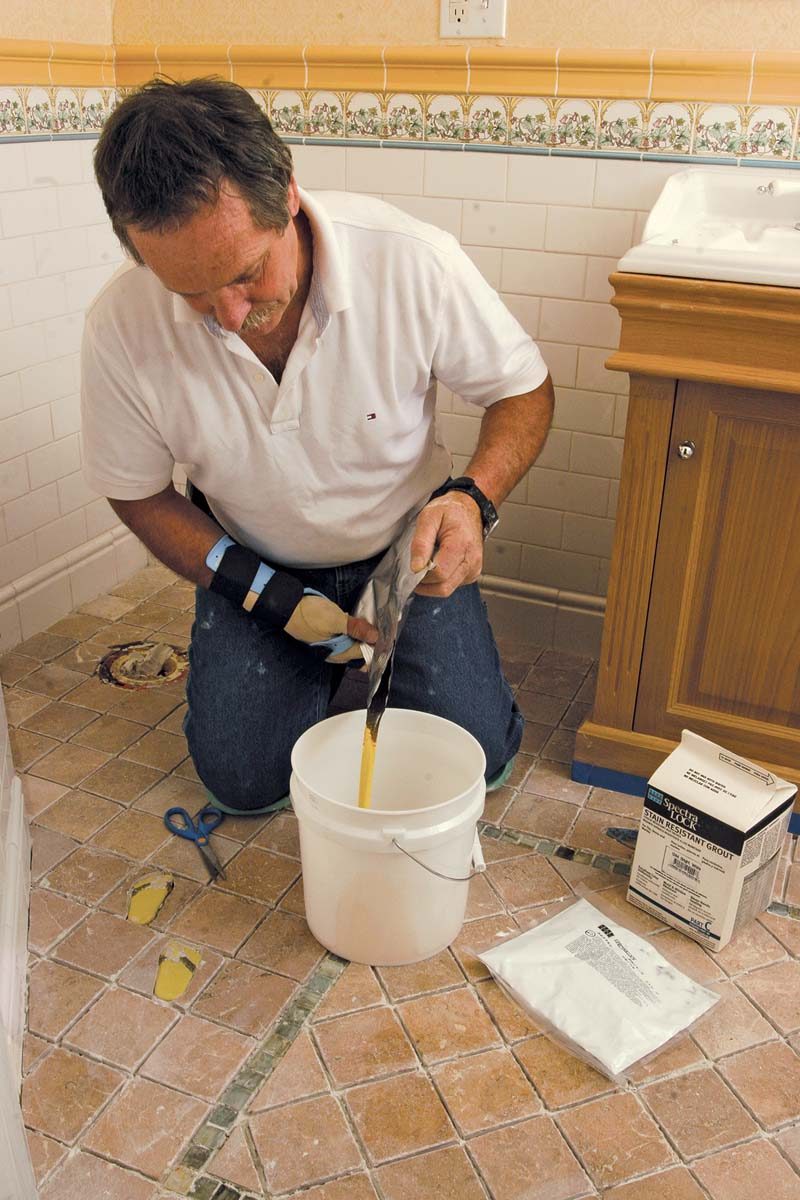 |
B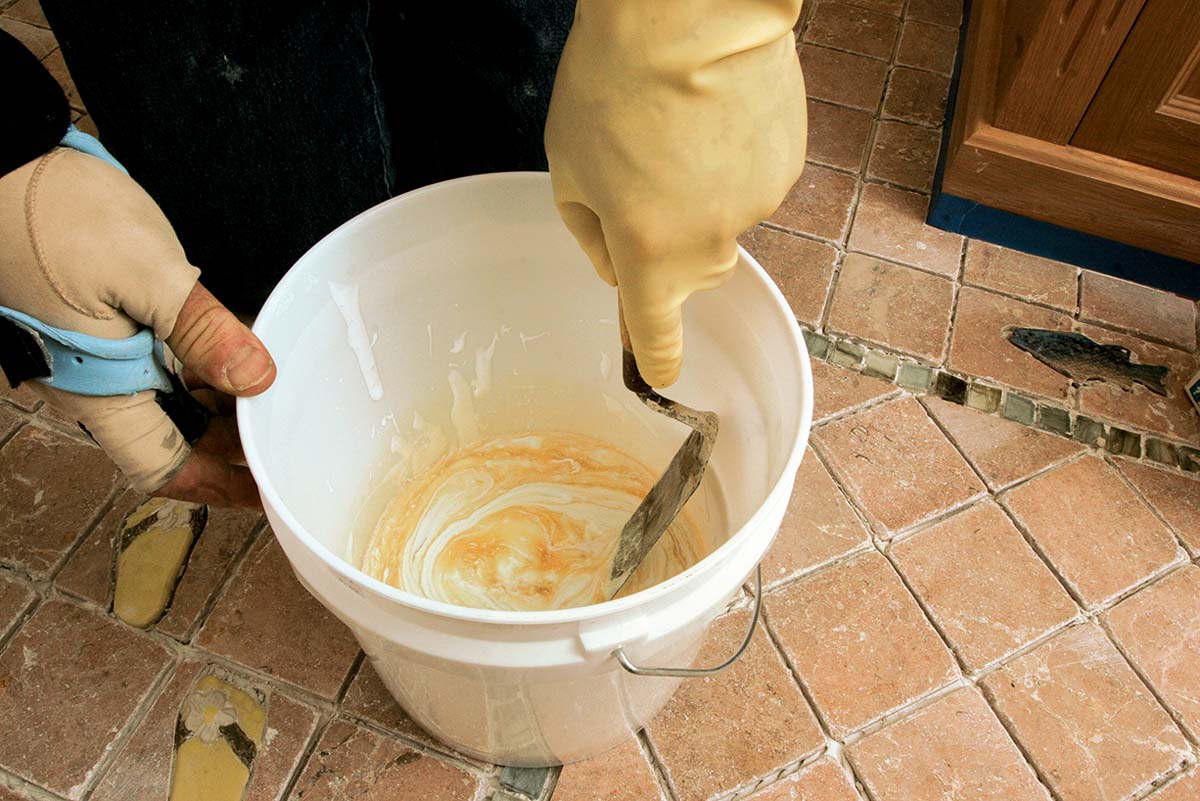 |
C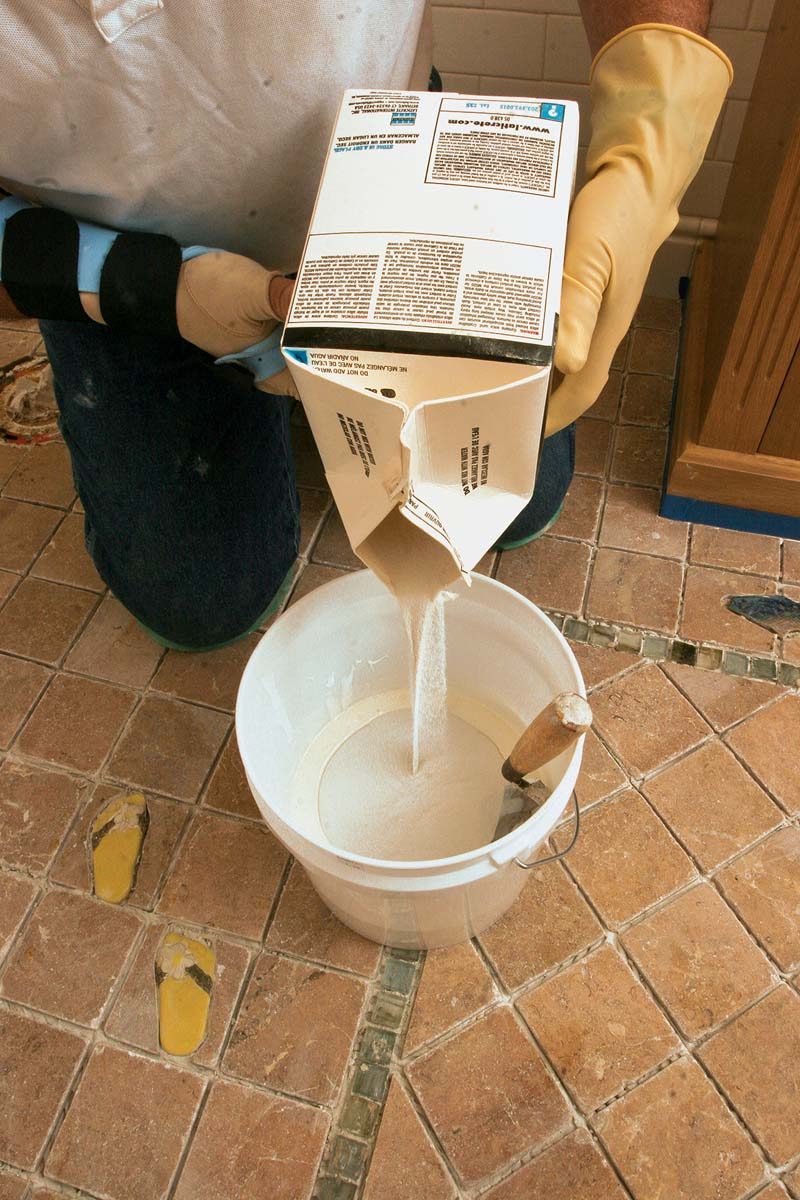 |
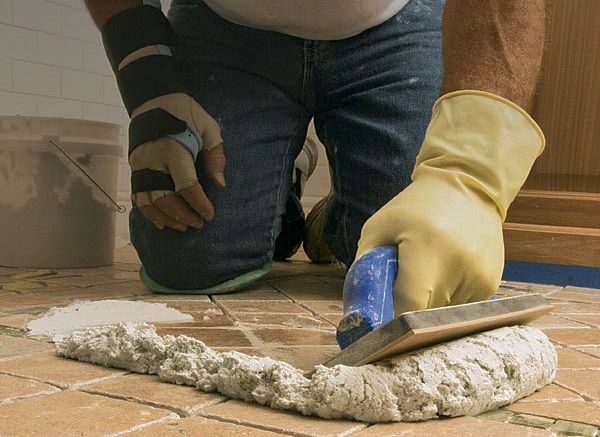
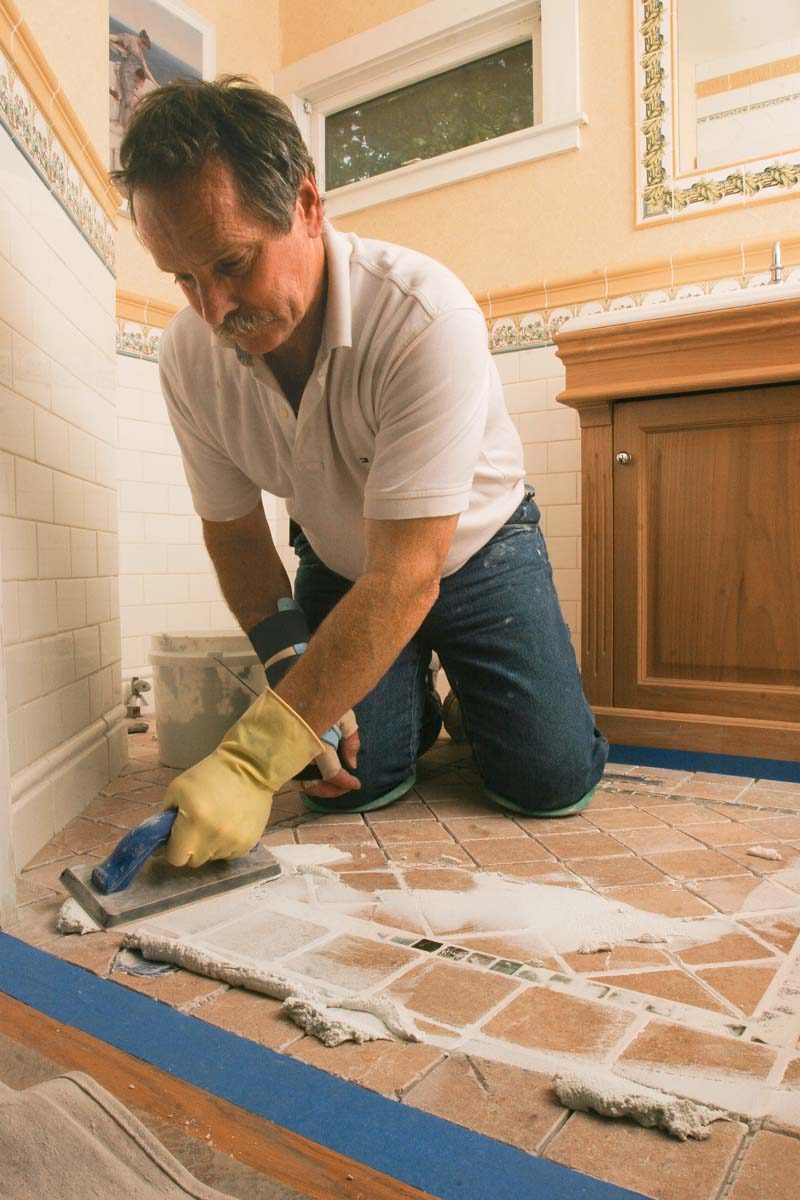
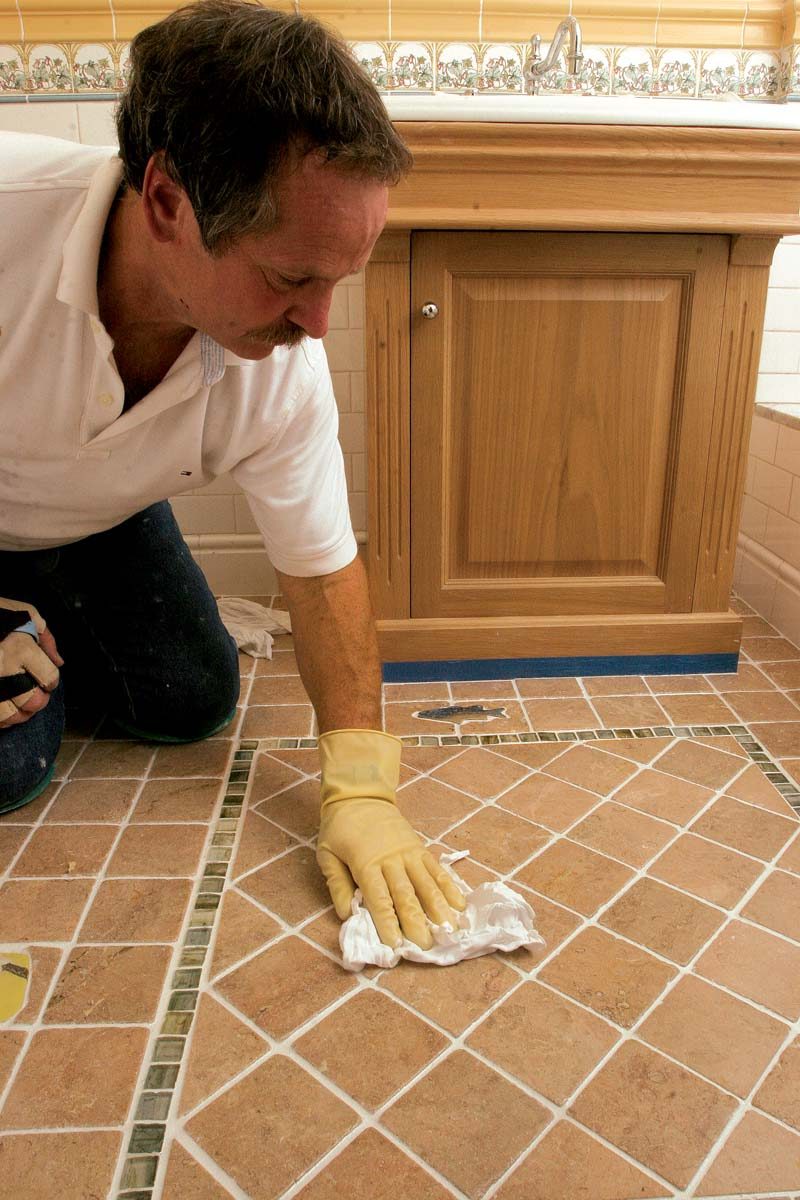
Spread quickly, and clean completely
The grouting process for epoxy is basically the same as with conventional grout—pack the joints firmly, but leave as little excess as possible—only the stakes are a bit higher. Work quickly and thoroughly; recklessness will leave you with a mess.
 |
 |
 |
From Fine Homebuilding #208
For more photos and details, click the View PDF button below:
