A Few Words on Planning and Layout
Follow these layout guidelines to avoid out-of-place-looking narrow cut tiles and to keep cut tile symmetrical.
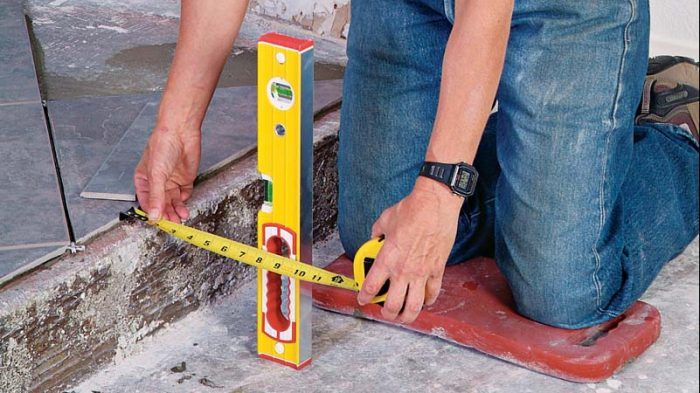
Careful planning is essential for a beautiful and well-crafted installation. Layout starts after you’ve selected your tile, decided on the size of your grout joints, and properly prepared your substrate. The process of layout involves creating a design and a plan of how tile will be located and oriented. The layout also allows you to anticipate how many cut tiles you’ll need and what kinds of cuts you must make for your installation.
Even the best quality tile, installed with great care and precision, won’t make up for a poorly conceived layout. In a really good layout, the tiles seem to flow across the surface, with spacing that appears even and regular. So take the time to measure carefully so that you’ll make the best use of your materials.
Methods of Planning Layout
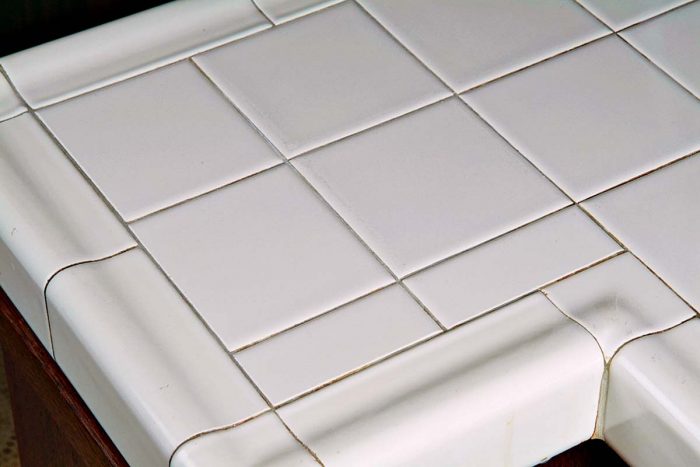
A good layout plans the locations of cut tiles carefully so that the tile’s factory edges (rather than cut edges) show in prominent locations and there are no out-of-place-looking narrow cut tiles.
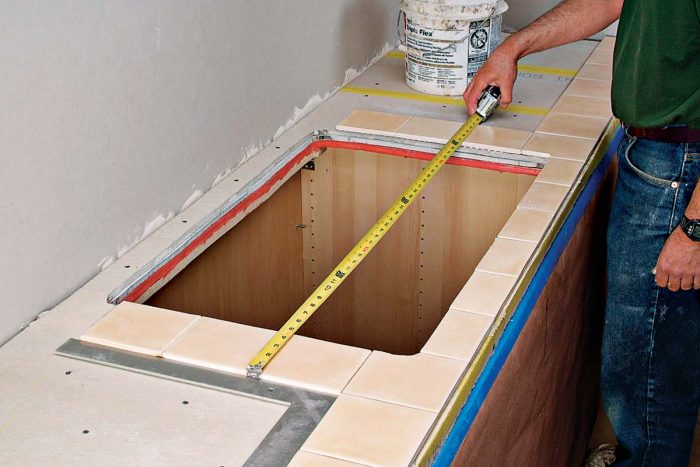
By exploring various layout options before setting the first tile, you can make sure tiles are arranged symmetrically around sinks, cooktops, and cabinetry, and prevent an awkward misalignment between rows of tile and trim.
Depending on the size of your tile job and your working preferences, there are several methods for creating a layout plan.
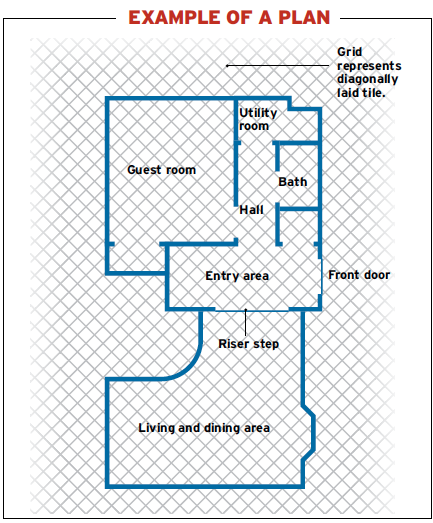
Drawing on graph paper is an easy way to do a scale drawing of a small tile layout, such as a countertop, bathroom floor, or entryway (make 1/4 in.= 1 ft.). Do your drawing in pencil, so you can try out different ideas. Once you’ve worked out cut tile locations, decorative tile placement, and so on, you’ll end up with a drawing you can refer to while setting tile.
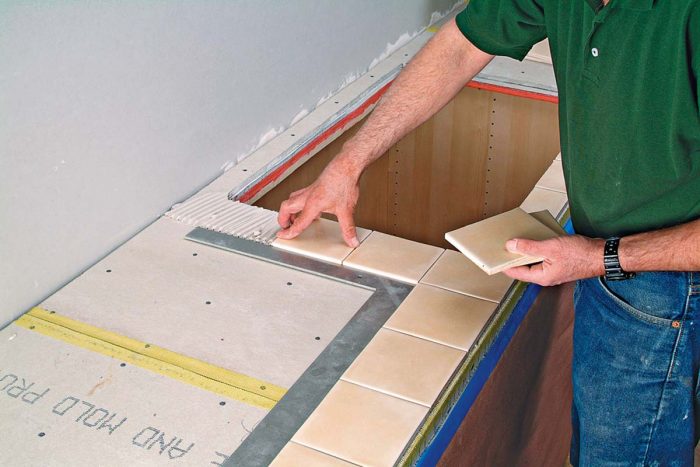
For smaller jobs, like countertops and bathroom floors, you can lay out the tiles on a work surface.
For larger jobs, it’s easier to do the trial layout on the floor, where you have plenty of room to work. Lay out a row or two, using spacers between tiles if necessary, and check the dimensions to determine where the cut tiles will be. Although time-consuming, this method provides a preview of exactly how a tile installation will look.
For complex situations, such as multi-room tile floors, a CAD (computer-aided design) program provides great assistance and flexibility with tile layout. Simple CAD programs are affordable and provide all the features and options you’ll need to try out different arrays (tiles laid square or diagonally), centering options, and border or trim configurations without having to erase a single line or lift a single tile. Print out a copy of your plan and you’re ready to tile.
 Excerpted from Tiling Complete, 2nd Edition by Robin Nicholas and Michael Schweit.
Available in the Taunton Store and at Amazon.com.

