Applying Caulk
Learn how to achieve a good-looking caulking job between adjacent sections of tile or between tile and a different material.
Caulking creates a pliable, waterproof joint between adjacent sections of tile or between different materials, like granite and ceramic tile. This flexible seam is necessary because of the slight movement between surfaces: backsplashes and counters, walls and floors, and so on. Even slight movement can cause grout (an inflexible material) to crack around sinks or between tiled backsplashes and granite counters. Movement that causes substrate under the tile to move can even cause cracks in the tile itself. Tiles can expand and contract, which is why, for example, it’s imperative to caulk all seams between glass-tiled surfaces and surrounding materials.
The caulking material used for most tile jobs is a flexible, waterproof product that’s silicone based. You can buy caulks in a wide variety of textures and colors, allowing you to choose caulk that matches both the color and texture of the grout you’ve used.
Basic application method
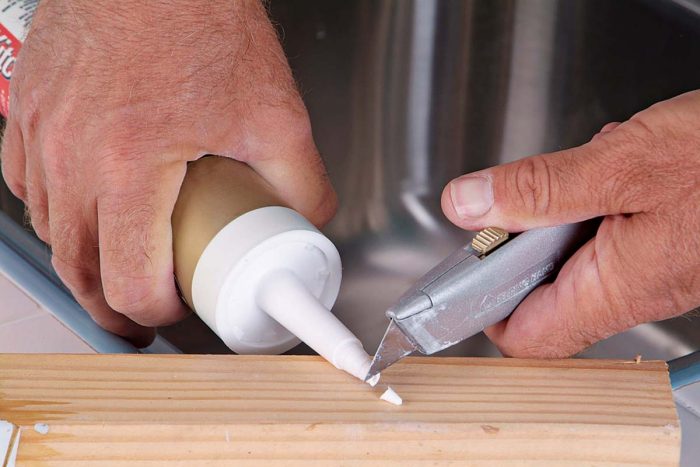
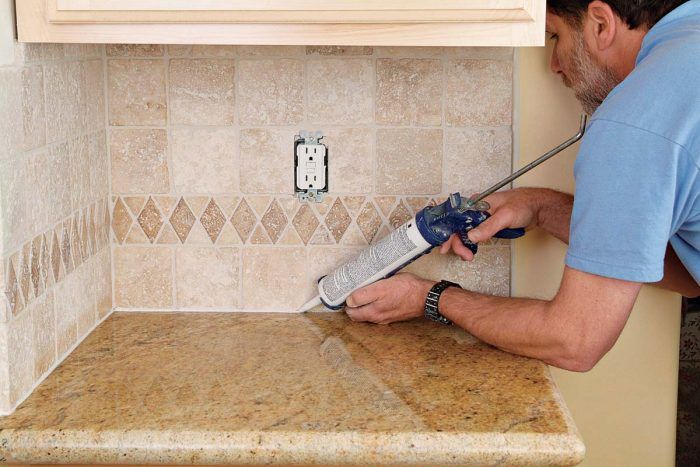
Use a squeeze tube of caulk for small projects, but for medium and larger jobs, a caulk cartridge applied with a caulk gun is the best choice. To achieve a good-looking caulking job, you must use the gun properly. To load the gun, press and hold the plunger release button with your thumb, pull the plunger back, then slip the caulk tube in place. Push the plunger in until it contacts the inside of the cartridge and take your thumb off the release. Now cut the tip of the caulk cartridge at a slight angle with your utility knife 1. Cut near the tip, to create a small opening; you can always enlarge the opening later, if necessary. Some caulk tubes have an inner seal where the tip joins the tube. Use a small stick or large nail to break the seal.
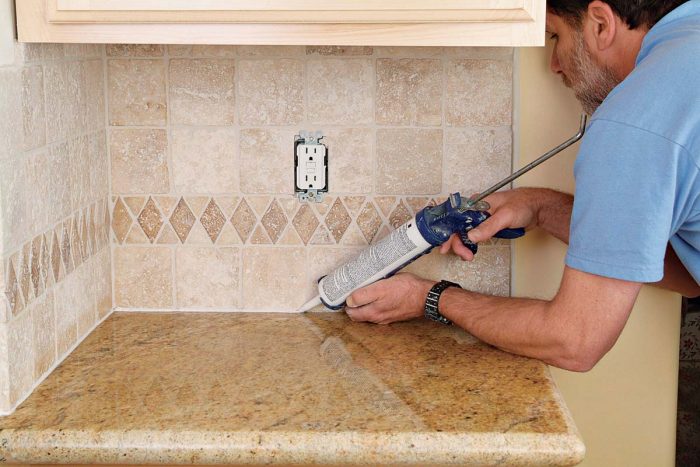
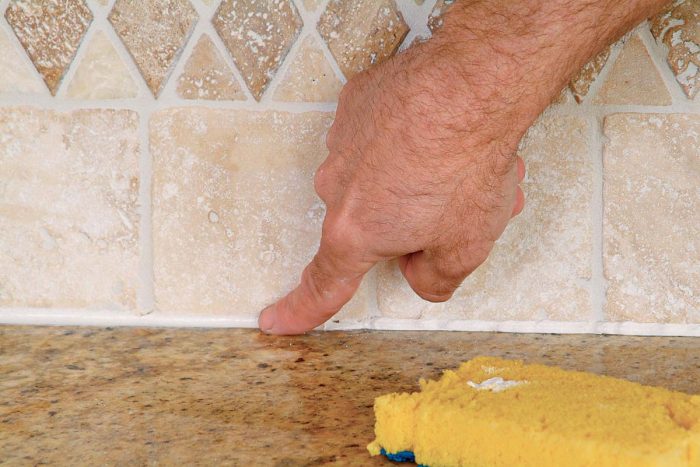
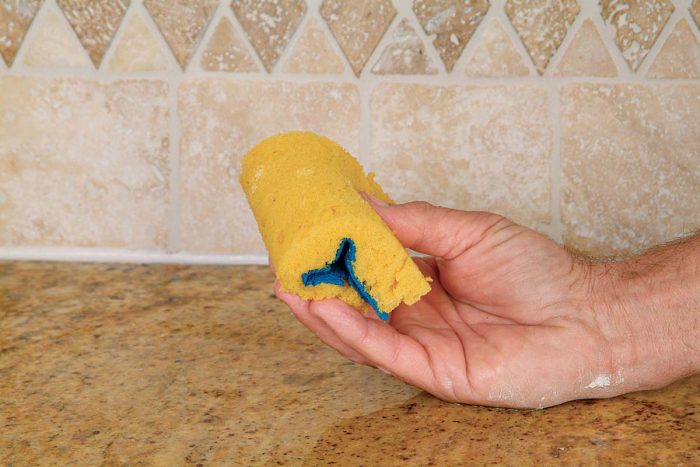
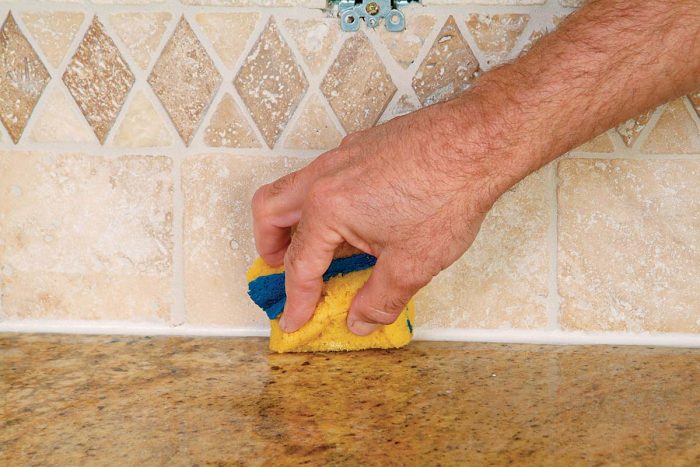
Before you tackle the tile, practice running a bead of caulk on a piece of cardboard or scrap wood. When you’re ready to caulk, squeeze the gun’s trigger gently and move the tip of the tube along the grout joint steadily to lay down a continuous, even bead 2. It is better to use less caulk and add more on a second pass than to apply too much. After finishing a section, use a dampened finger to smooth the caulk bead along the joint 3. It’s best to run a bead that’s about 5 ft. long or less at a time, then smooth that section before starting on the next. After smoothing, take a small, damp sponge and bend it in half in your hand 4. Run the sponge along the joint line to do a little final smoothing and to clean any remaining caulk residue from the tile and/or counter surface 5. The final caulk joint should be about the same size as a grout joint. If it is too small, immediately add caulk sparingly and smooth the joint again. If the joint is too large, use a paper towel to remove the excess caulk, then smooth again. Make all repairs to your caulk joints immediately. Otherwise, the caulk will skin over and you will have to scrap it all off and start over.
 Excerpted from Tiling Complete, 2nd Edition by Robin Nicholas and Michael Schweit.
Available in the Taunton Store and at Amazon.com.

