Backsplash Prep
Get ready to tile a backsplash with these five simple steps.
Tiling vertical surfaces requires a little more care than setting tile on horizontal surfaces, but it’s not difficult to learn. It’s especially important to get your thinset mixture right and to use good technique when troweling it on the wall.
Tile backsplashes can be set above any counter surface and even above a stand-alone laundry sink to prevent water spills and splashes from ruining the wall. Tiling a wall is not very different from doing a backsplash, but there are some considerations where the wall meets the floor. In both cases, lay out the installation carefully, especially if you’ve chosen to add decorative elements or mix types of tile.
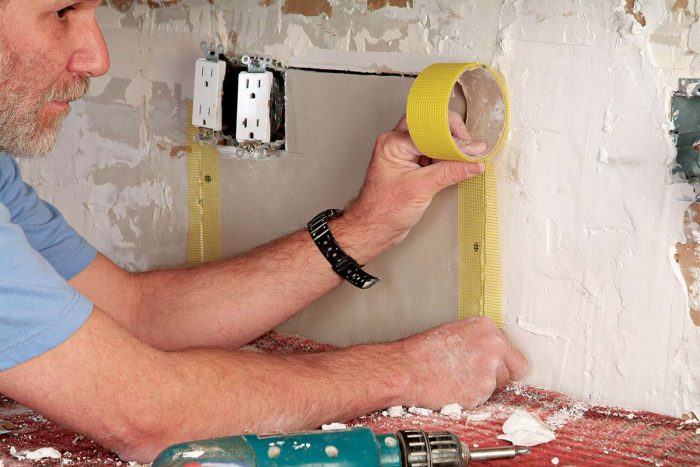
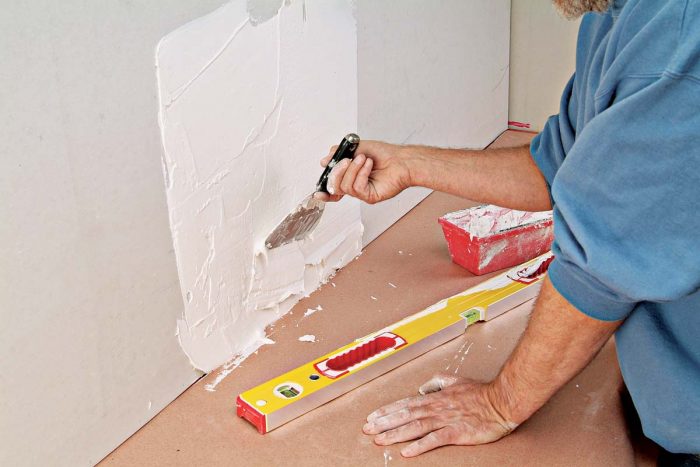
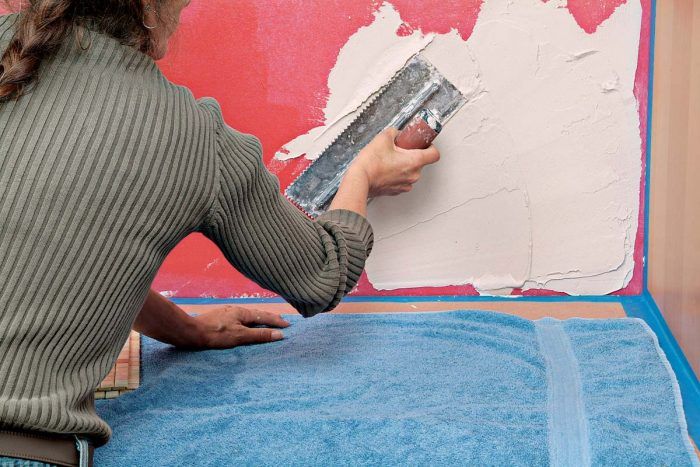
Before starting on your backsplash, you’ll need the field tiles, trim and/or decorative tiles, plastic wedges, and spacers. You’ll also need thinset, water, and perhaps a fortifying additive to blend it with. If you’ve made repairs or installed backerboard, be sure to tape all the seams 1. When using tile smaller than 2 in. sq., it’s especially important that the wall is flat. If necessary, fill hollow spots with quick-setting wall patch compound 2.
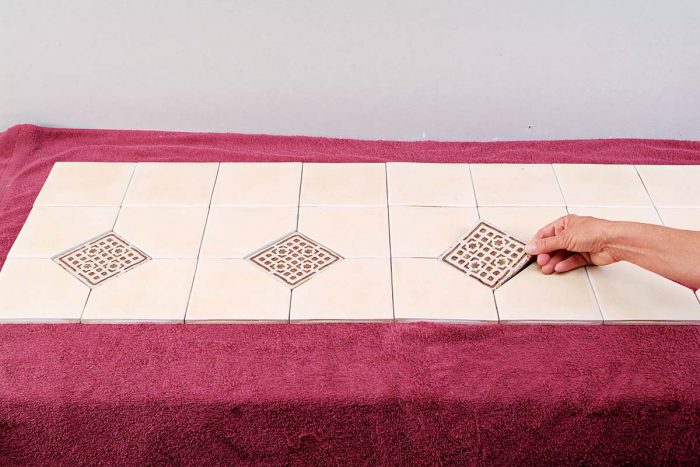
Make sure you plan and do a test run of your layout before setting the tile. This is especially important if your design includes decorative tiles or complex patterns 3.
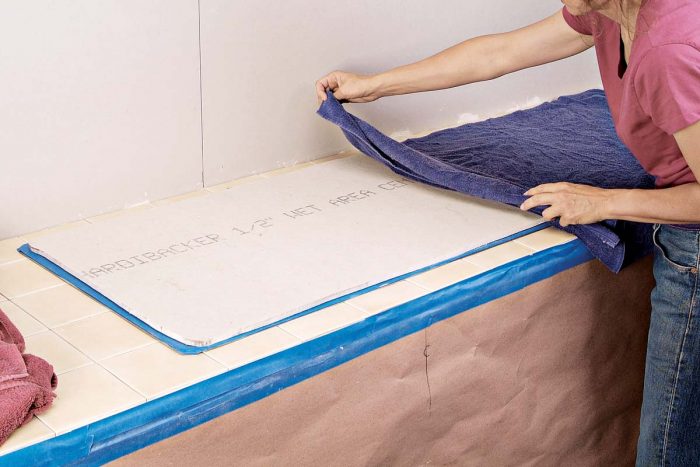
Before tiling a backsplash, it’s important to cover sinks with a soft towel or blanket, then set a piece of backerboard or plywood on top, for protection. Protect the rest of the countertop with towels, tarps, or drop cloths 4.
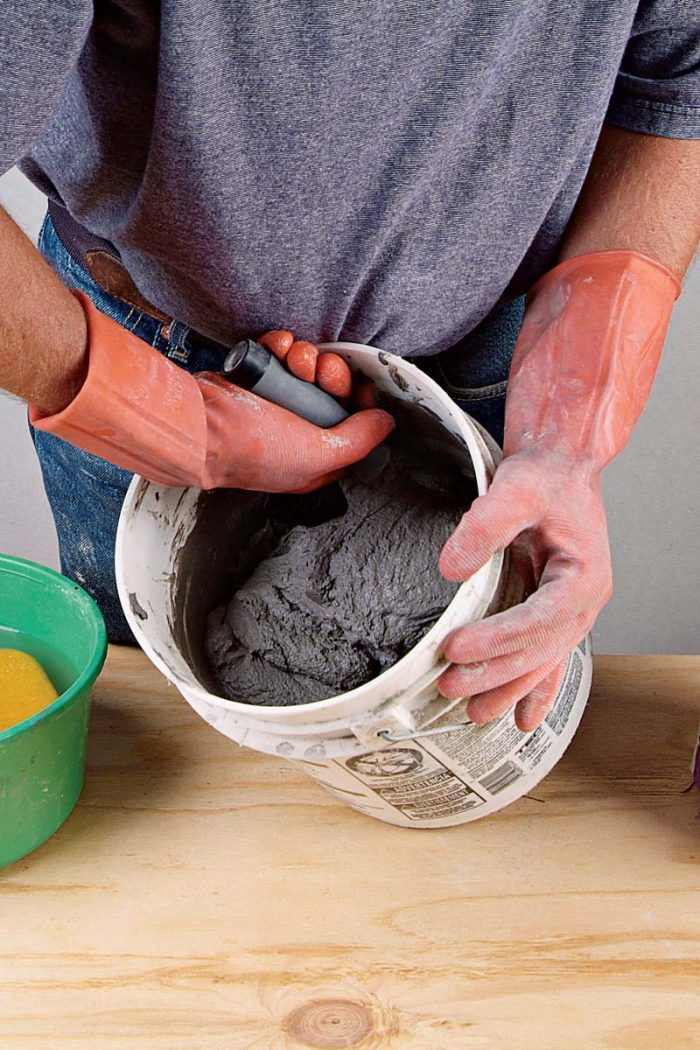
You can mix thinset either by hand or with a drill and paddle wheel. The hand method is good for mixing the small batches you’ll likely need for simpler backsplash installations. Make sure to break up any lumps and thoroughly mix in any dry material that clings to the side or bottom of the bucket 5.
 Excerpted from Tiling Complete, 2nd Edition by Robin Nicholas and Michael Schweit.
Available in the Taunton Store and at Amazon.com.

