
Grouting Terra-Cotta Pavers
These irregular pavers typically require larger grout joints and a special grout mix.
Unlike other types of tile, terra-cotta pavers, such as Saltillos, have idiosyncrasies that require a little special attention come grouting time. To accommodate their irregular nature, it’s best to set them with larger grout joints than you’d use with most tiles. For joints up to 1⁄2 in. wide, you can use regular sanded grout. But big pavers with joints up to 1 in. wide require a special grout mix called Saltillo grout. This is because terra-cotta tiles absorb moisture from grout as it dries, which will cause regular sanded grout to crack. Commercially made Saltillo grout typically comes in two colors: gray and tan; but you can mix your own custom color if you wish.
Before grouting, you must clean the grout joints, as always. But be extra careful with pavers, because one slip with the razor knife can lead to a deep scratch and a tile that must be replaced 1. All paver tiles must be sealed before grouting 2. The sealer prevents the grout color from moving into the faces of the pavers and slows down moisture absorption from the grout. Make sure the tile sealer is dry before going on to the next step.
Learn more about sealing tile and grout
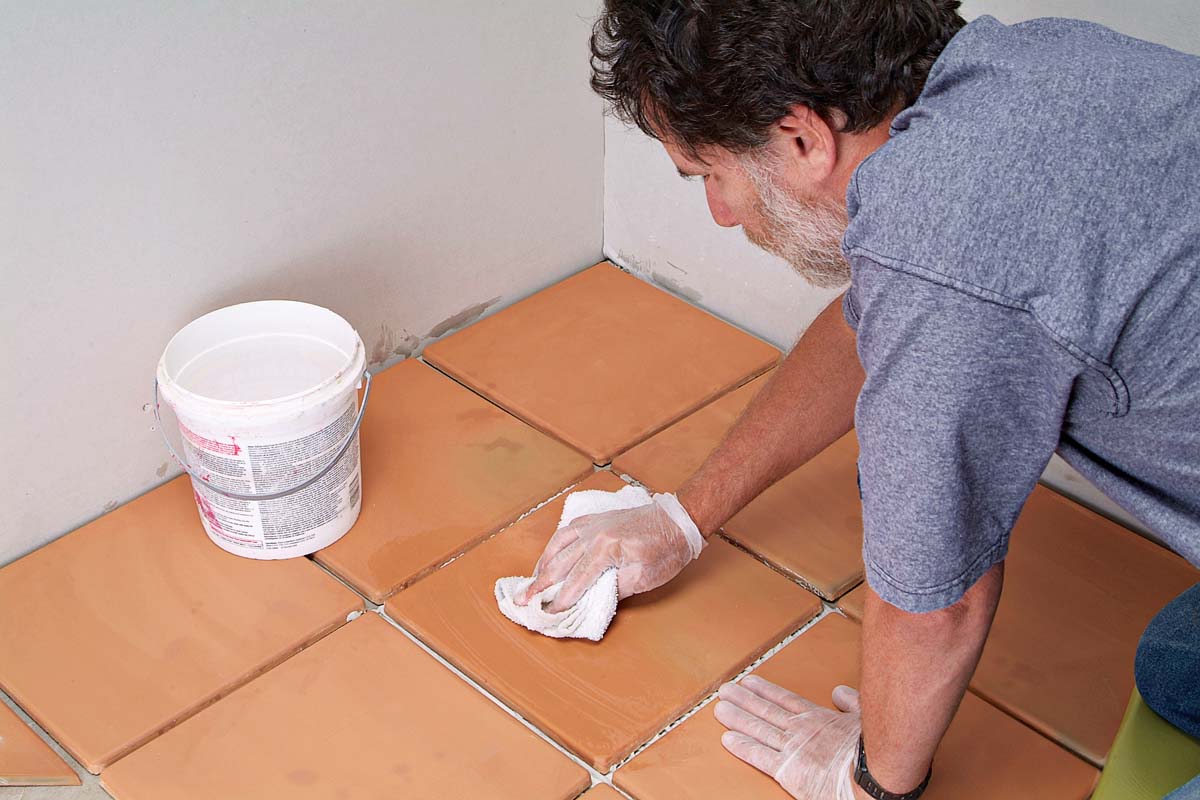
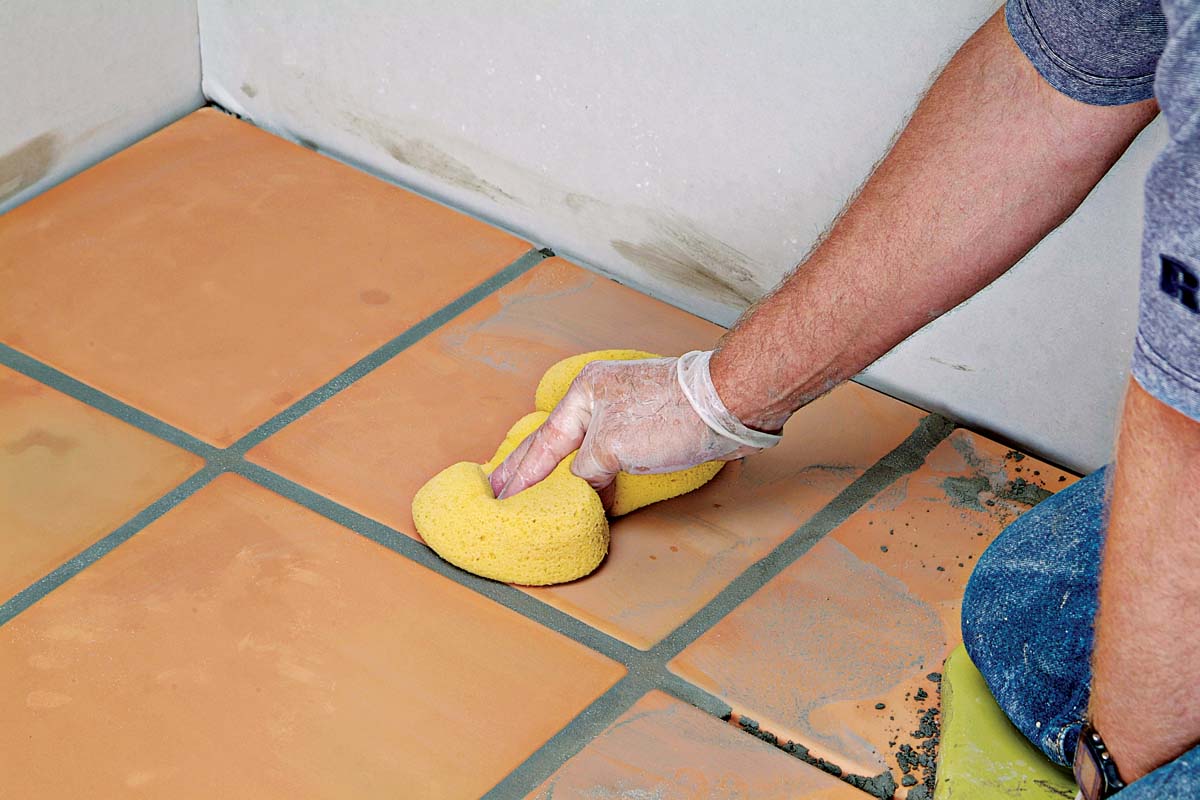
Wide grout joints between pavers require lots of grout, so you’ll need to mix a fairly large quantity to cover even a modest area of floor. While your grout is slaking, dampen the tiles with water. This helps slow down the setting up of the grout and makes grouting easier. For smaller areas, use a sponge and water and wipe the tiles down 3. Mist larger areas using a pump sprayer, like the kind used for misting indoor plants. For really big floors, use a garden hose fitted with a mist nozzle. Don’t leave any standing water, just dampen all tiles and grout joints.
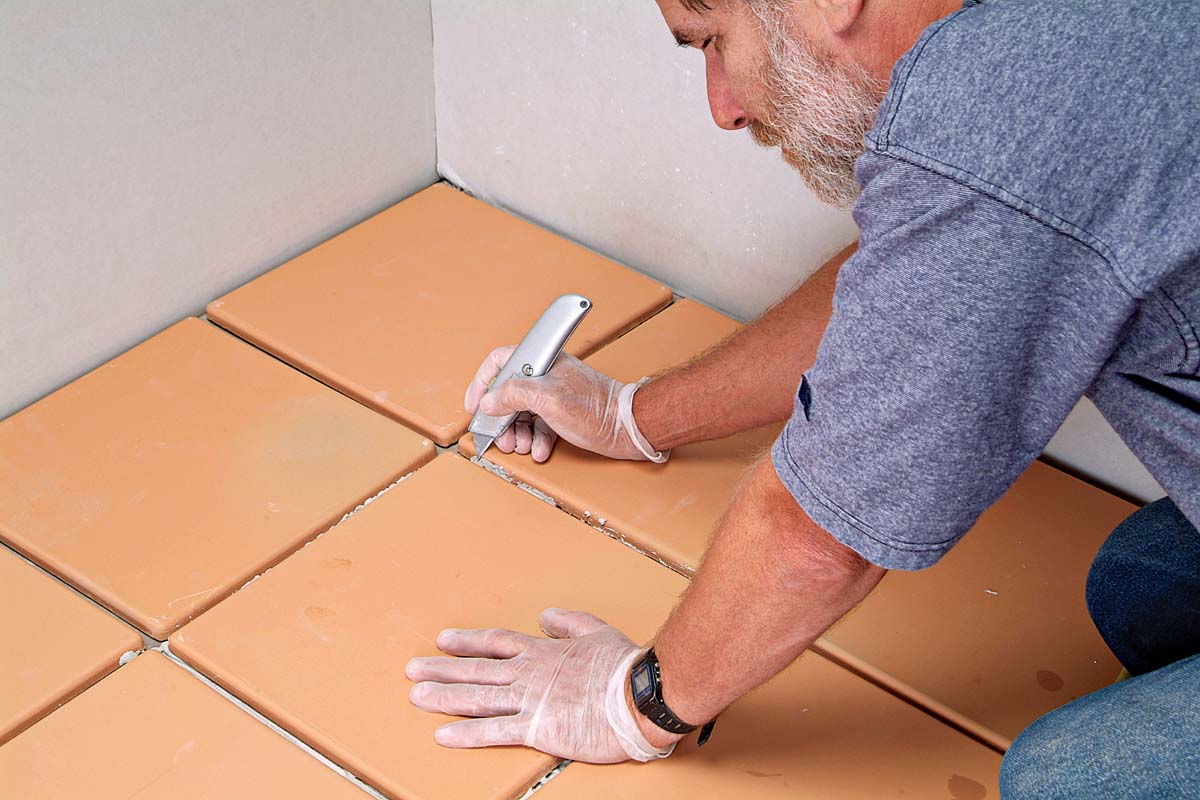 |
1. Take care to not scratch the pavers when you are cleaning the joints. |
 |
2. Apply sealer with a clean cloth in one direction to cover the tiles. |
 |
2. Dampen the installation with a clean sponge before grouting. |
| TRADE SECRET: If you are grouting more than 100 sq. ft. of paver tiles, have extra sponges on hand. Sponges shred and wear out quickly, and you don’t want to have to pick bits of sponge out of the grout. |
Using a grout float
There are two ways to apply grout in the large quantities needed to fill wide joints.
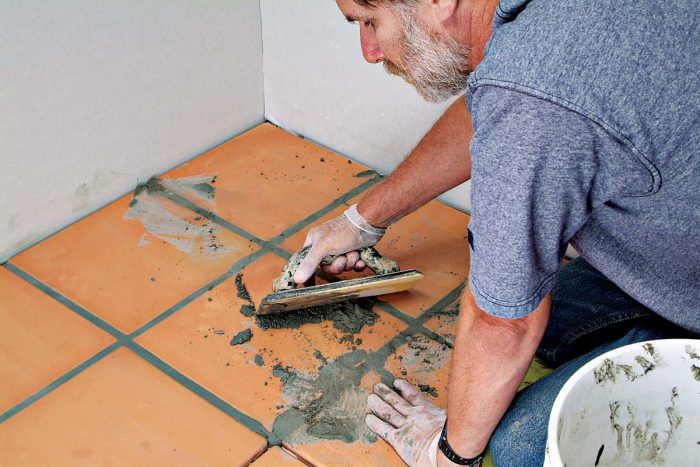
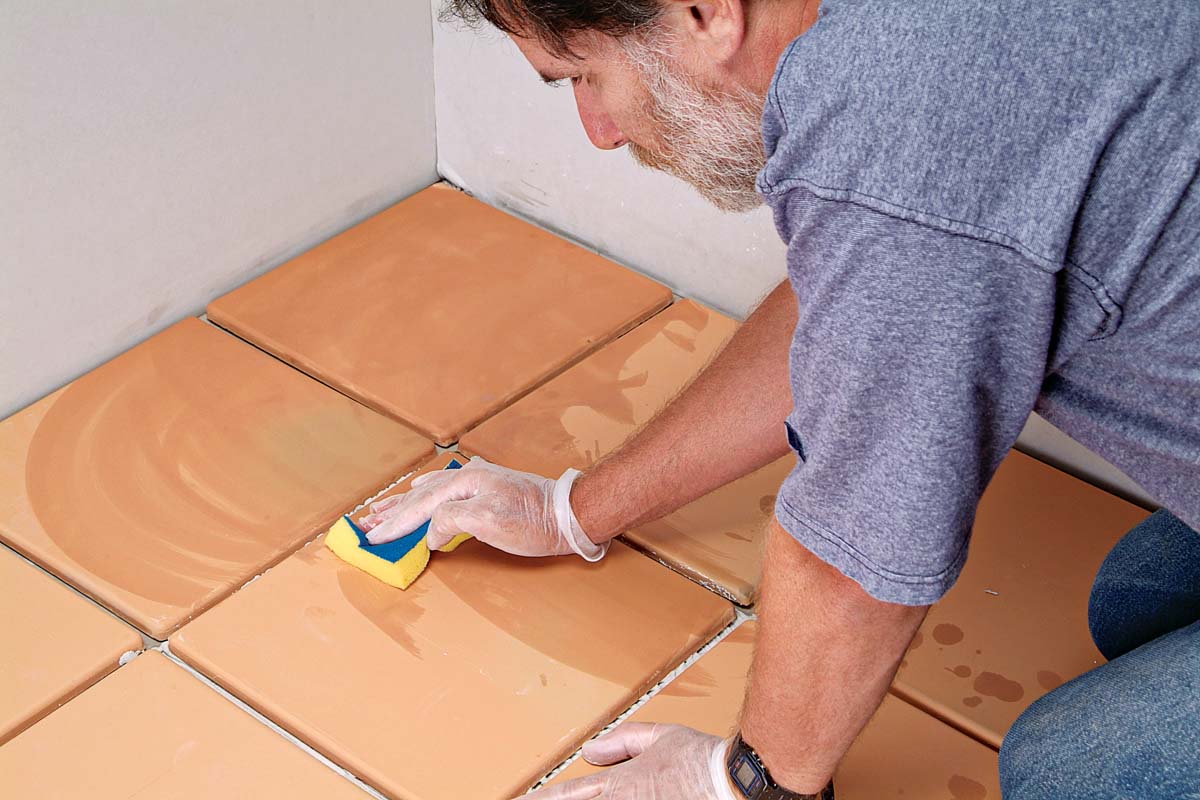
The first method is to transfer handfuls of grout to the tile, then use a grout float to spread it into the joints 4, 5. You need to spread a lot of material with the float, but big joints are easier to grout than narrow ones, so this way of working isn’t all that bad. It’s advisable to work an area no bigger than what you can cover in 5 minutes. Once the joints in the work area are filled, hold the float at an angle and sweep across the tile diagonally to remove excess grout 6. Use the sponge to shape the joints and wipe off excess residue as with smaller tiles 7. Since grout sets up fast on pavers, don’t let it dry too much before you wipe down. Work your way across the floor from one corner of the room to a doorway where you can exit the room without tracking back across the tile.
 |
4. Put a good amount of grout on the floor to start. These are big grout joints. |
 |
5. Force grout into the joints with the short end of the grout float. |
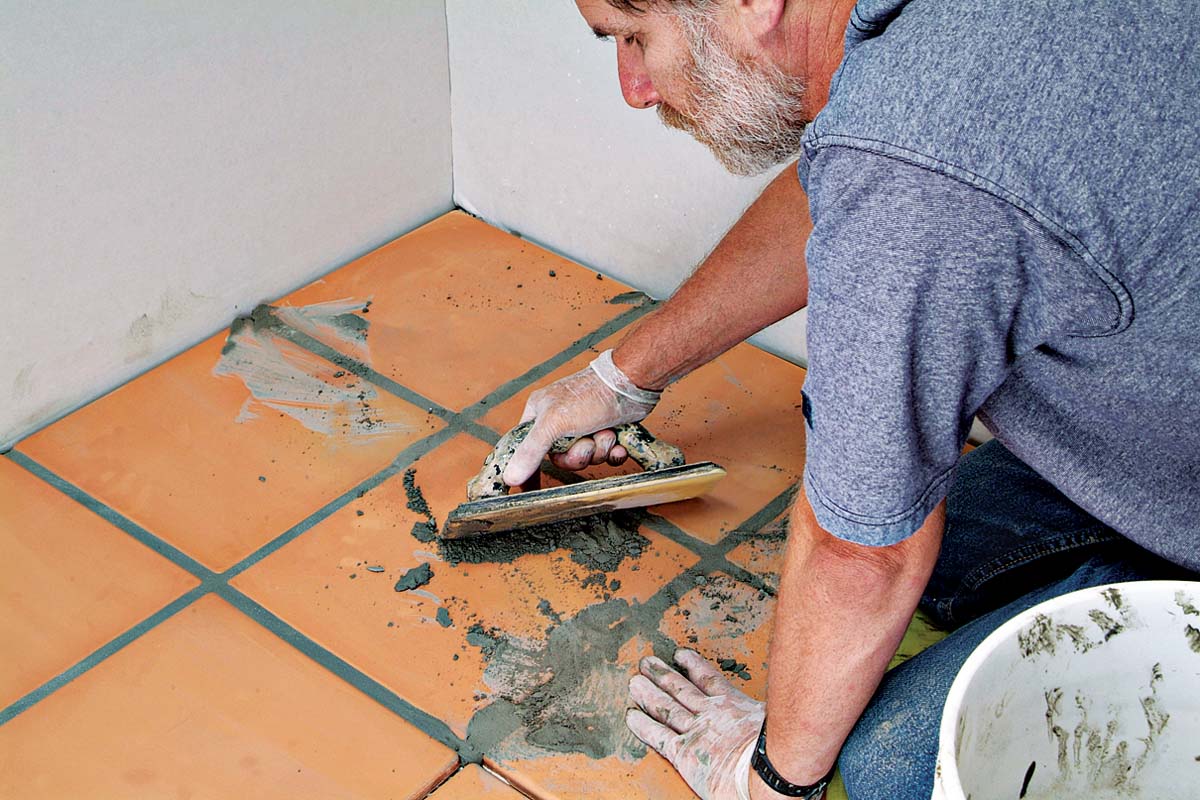 |
6. Work in a diagonal direction. |
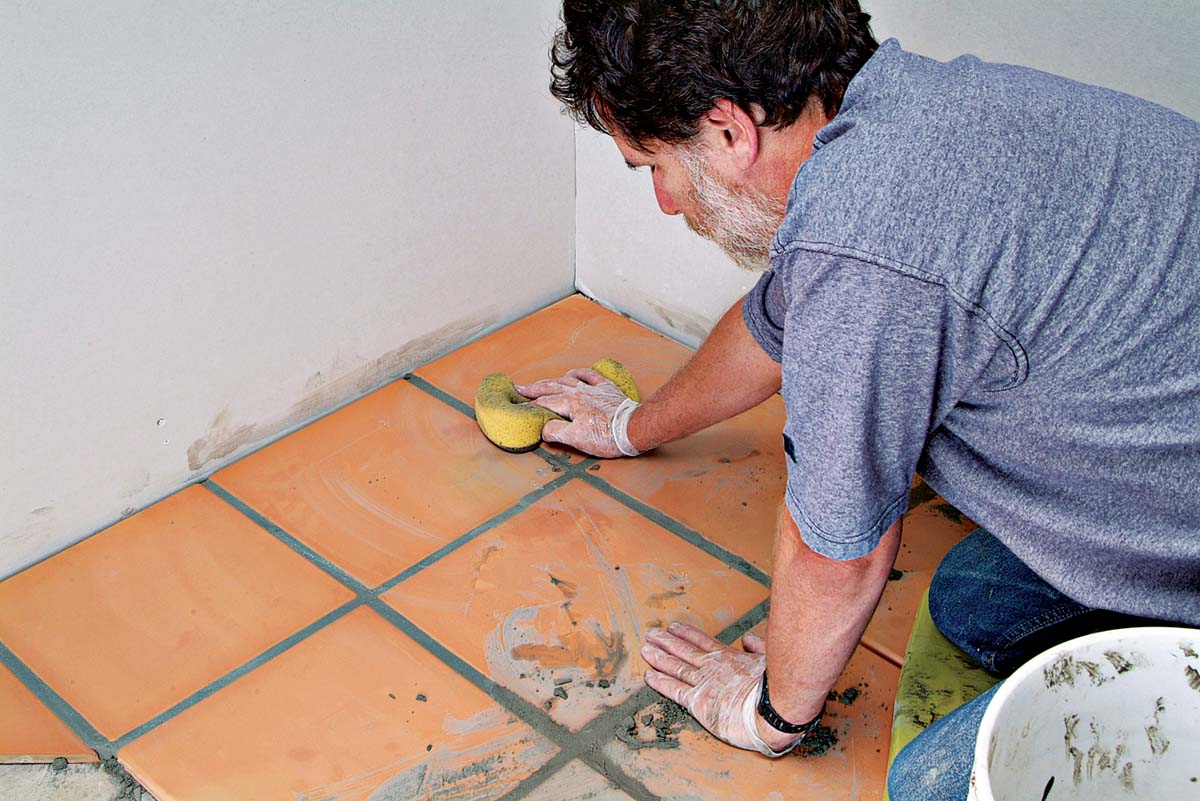 |
7. Wipe and shape the grout joints with a sponge. |
Using a grout bag
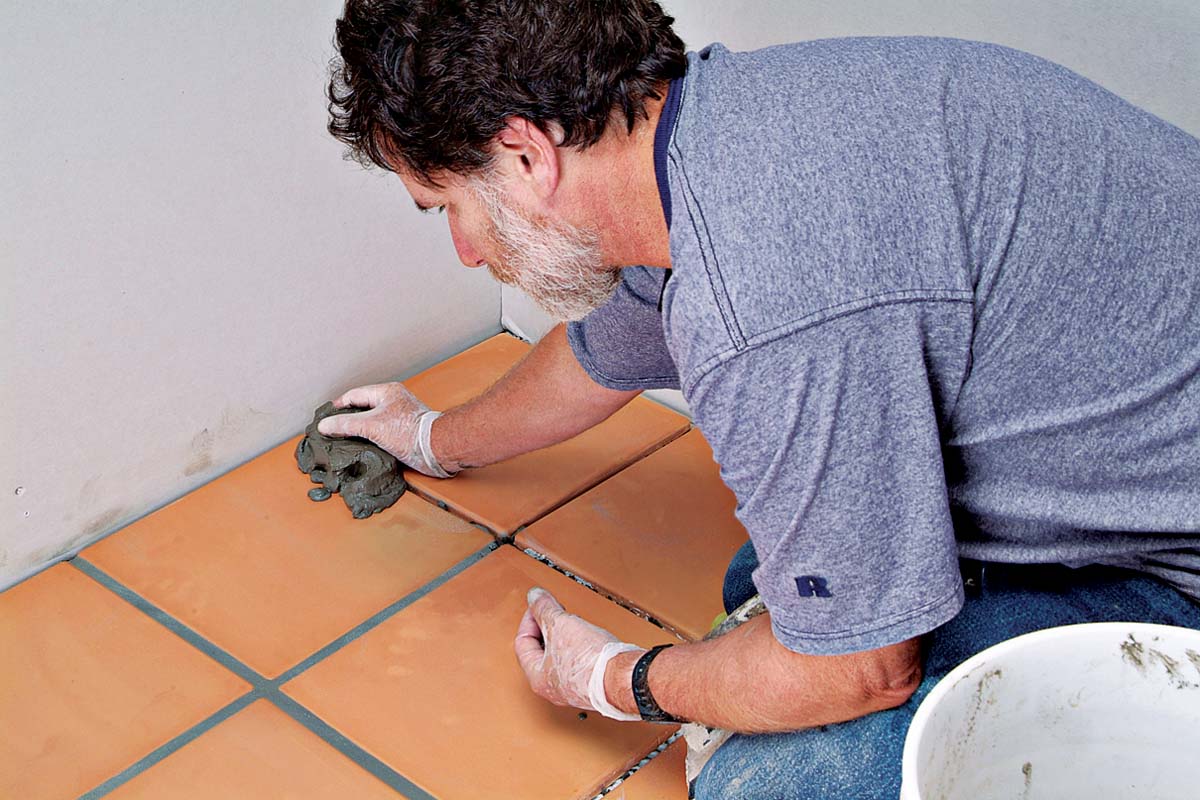
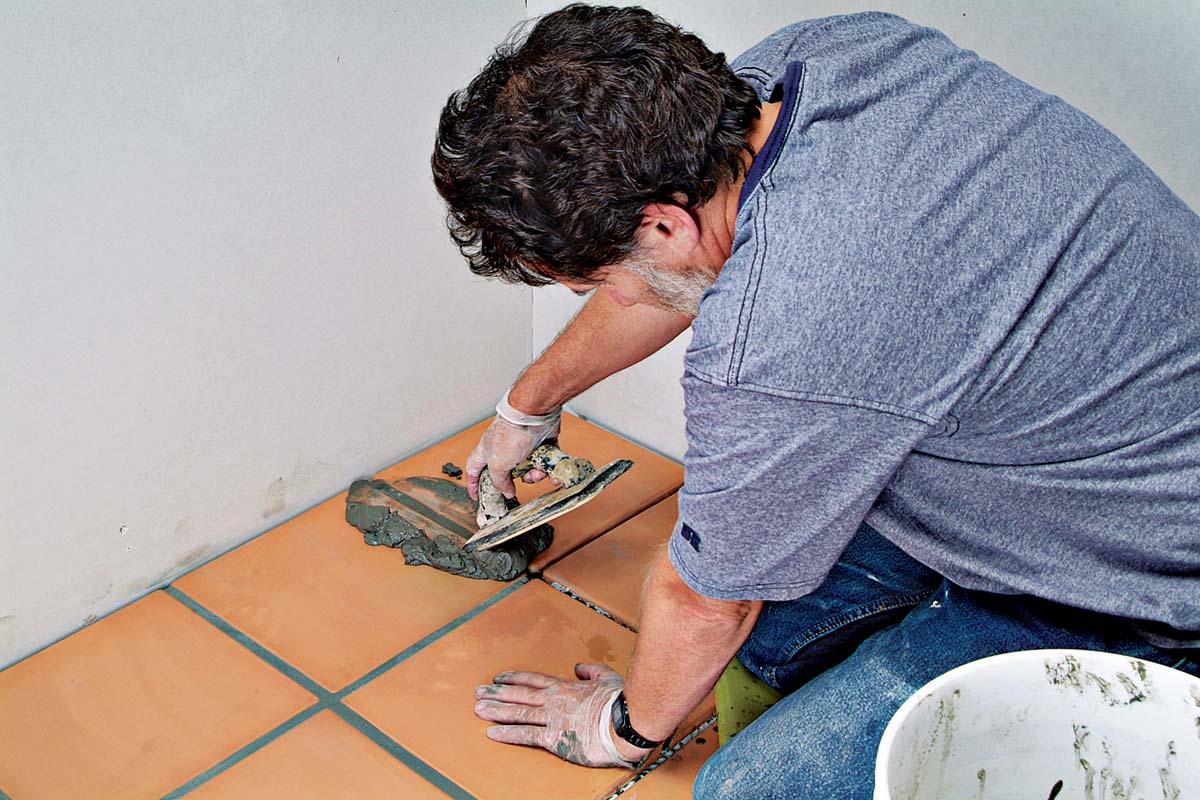
The other way to grout pavers is what we call the “arm-buster” method. It requires a special grout bag, which looks like a really big pastry bag you’d use to decorate a cake. Although it’s difficult to master, the grout bag lets you grout large joints quickly. Fill the bag with a grout mixture that’s wetter than usual (so it will squeeze out easily), then fold the end of the bag over. Squeeze the bag to dispense grout directly into the joints 8. Work your way down each joint, filling it until it overflows slightly. If you are working by yourself, do an area of about 4 sq. ft. to start. Now put the bag aside and use a margin trowel as a spatula to press and firmly compact grout into each joint 9. Then use the edge of the trowel to slice off excess material 10. As always, if you see a spot you missed, fill it with a blob of grout 11. Since grout sets up quickly on terra-cotta tiles, wipe down may begin soon after the grout has been applied. As before, use your sponge to first shape the joints to a uniform look. Then do a final wipe down to remove as much grout residue from the face as possible 12. Wait a few hours, then use clean rags, towels, or cheesecloth to remove any surface hazing. It’s also normal to end up with a fair amount of loose sand that has separated out of the grout. Vacuum the sand off the tiles or sweep it up with a soft-bristle brush.
The finished grout job should have consistent joints 13.
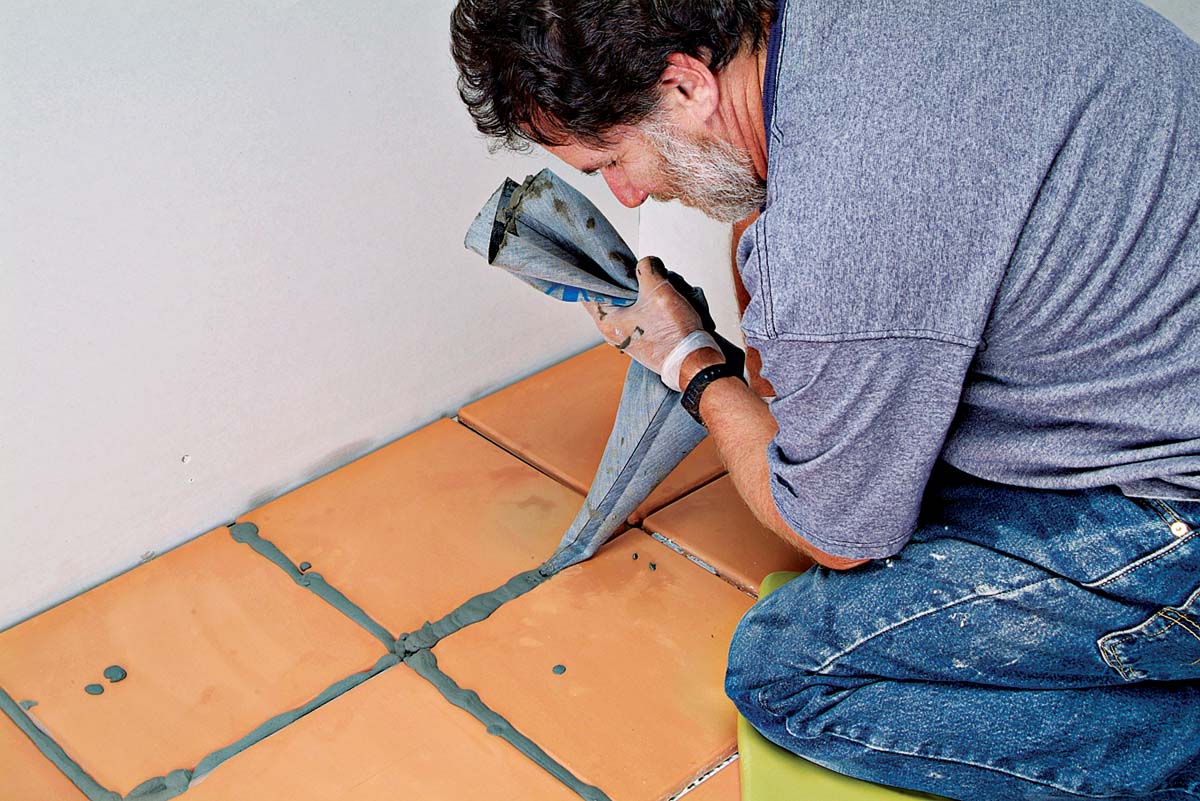 |
8. Strong arms are handy for squeezing grout from the bag. |
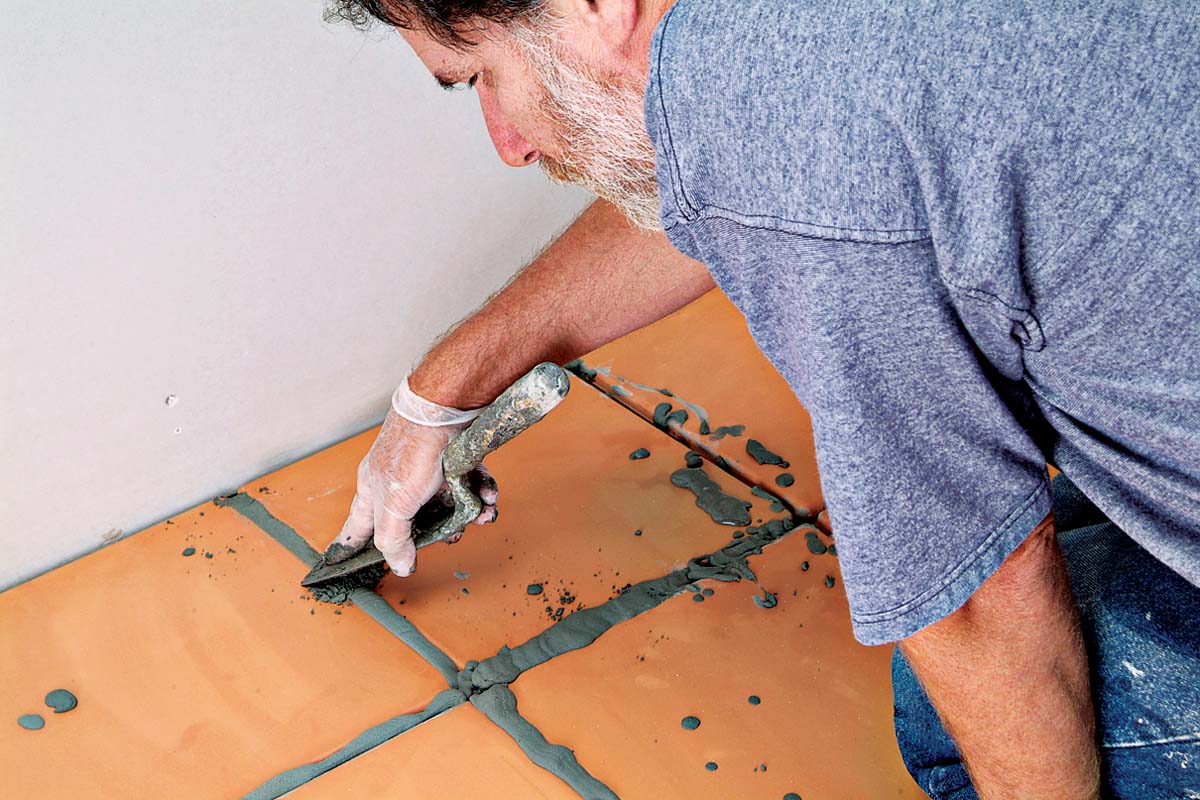 |
9. Compact the grout in each joint with the end of the margin trowel. |
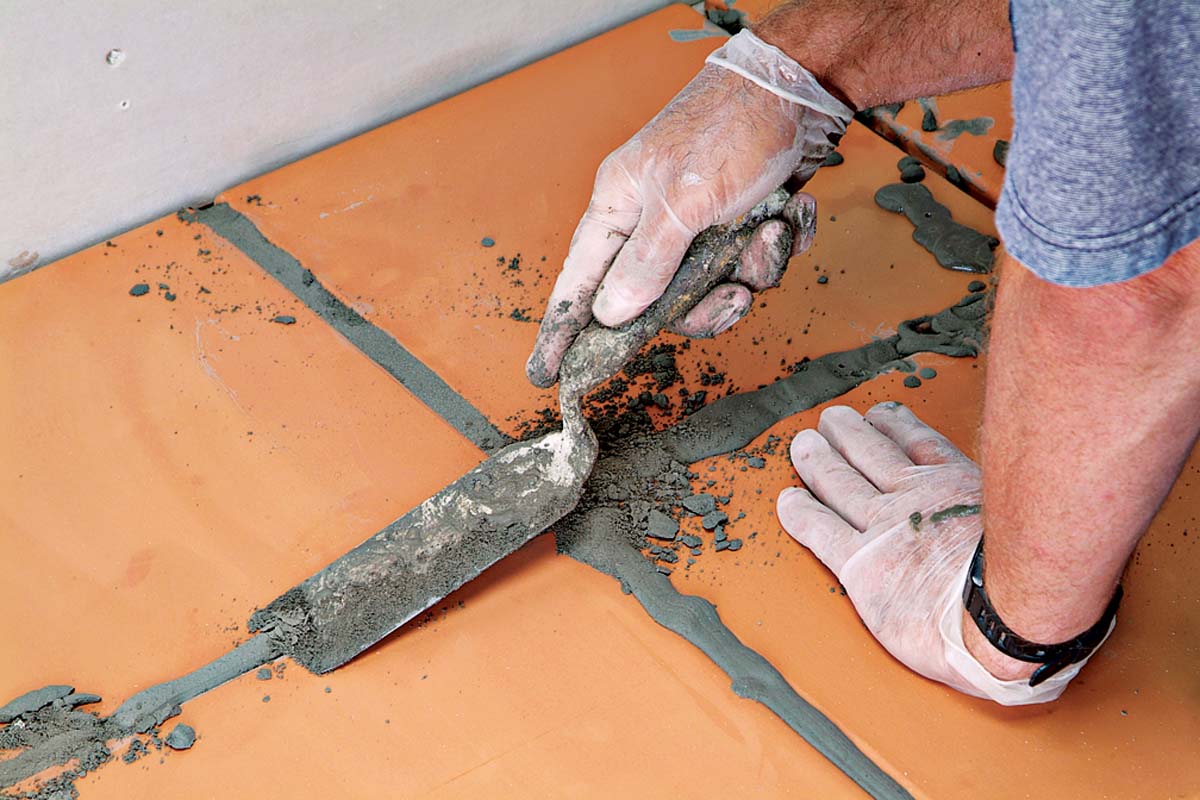 |
10. Remove any excess grout material with the margin trowel. |
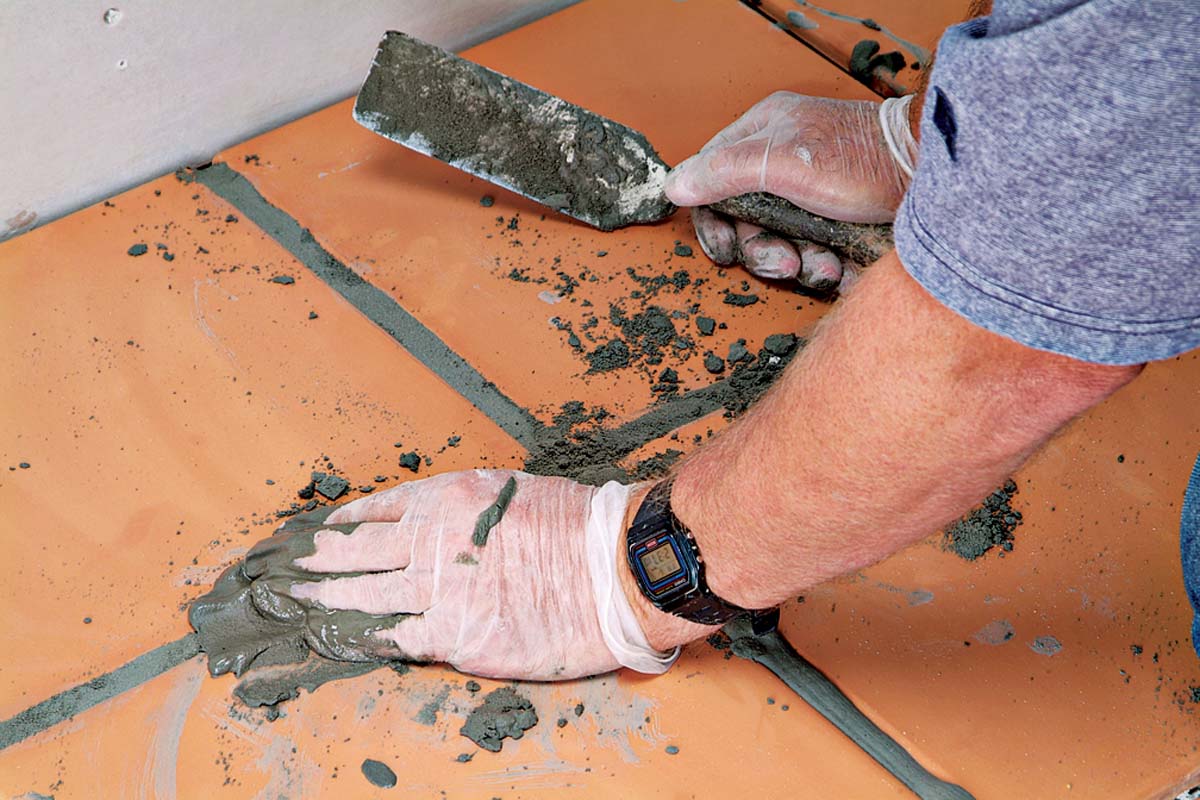 |
11. Fill any holes or low spots with excess grout. |
 |
12. Clean the faces of the tiles without disturbing the grout joints. Clean as well as you can so that final cleanup will be minimal. |
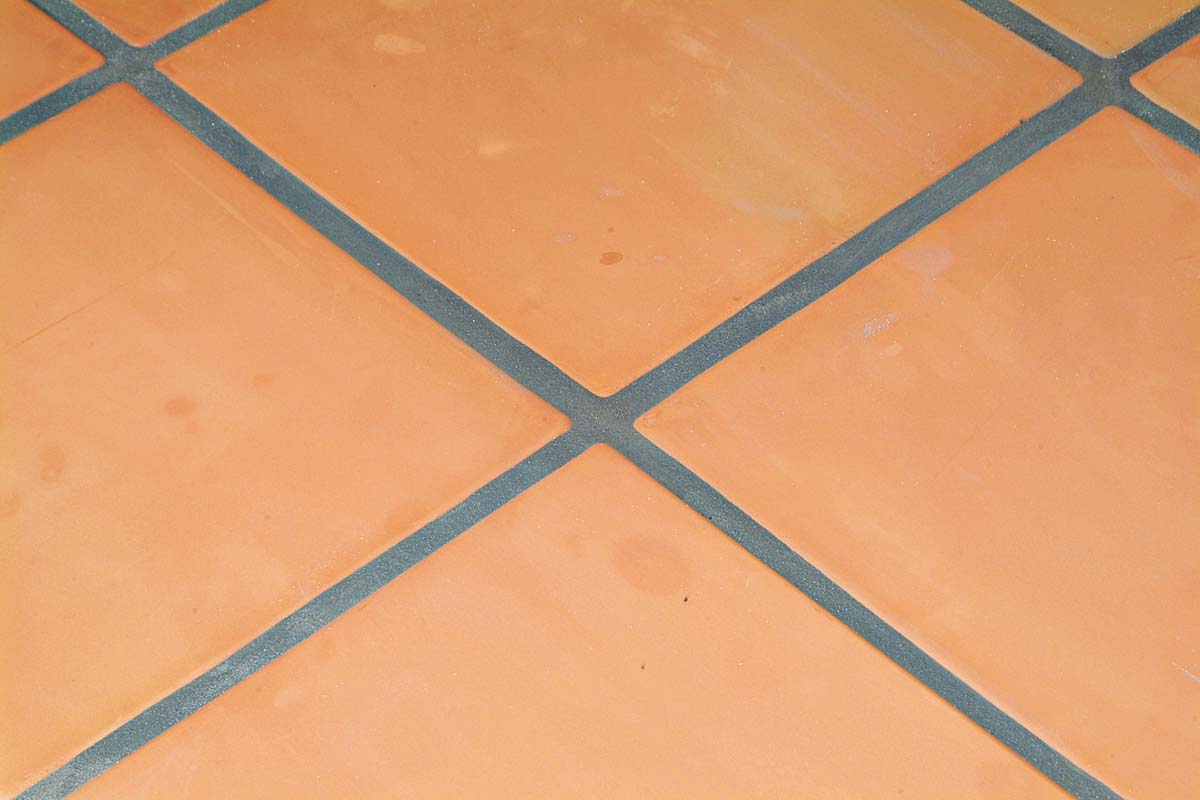 |
13. Nice work! Uniform, consistent grout joints. |
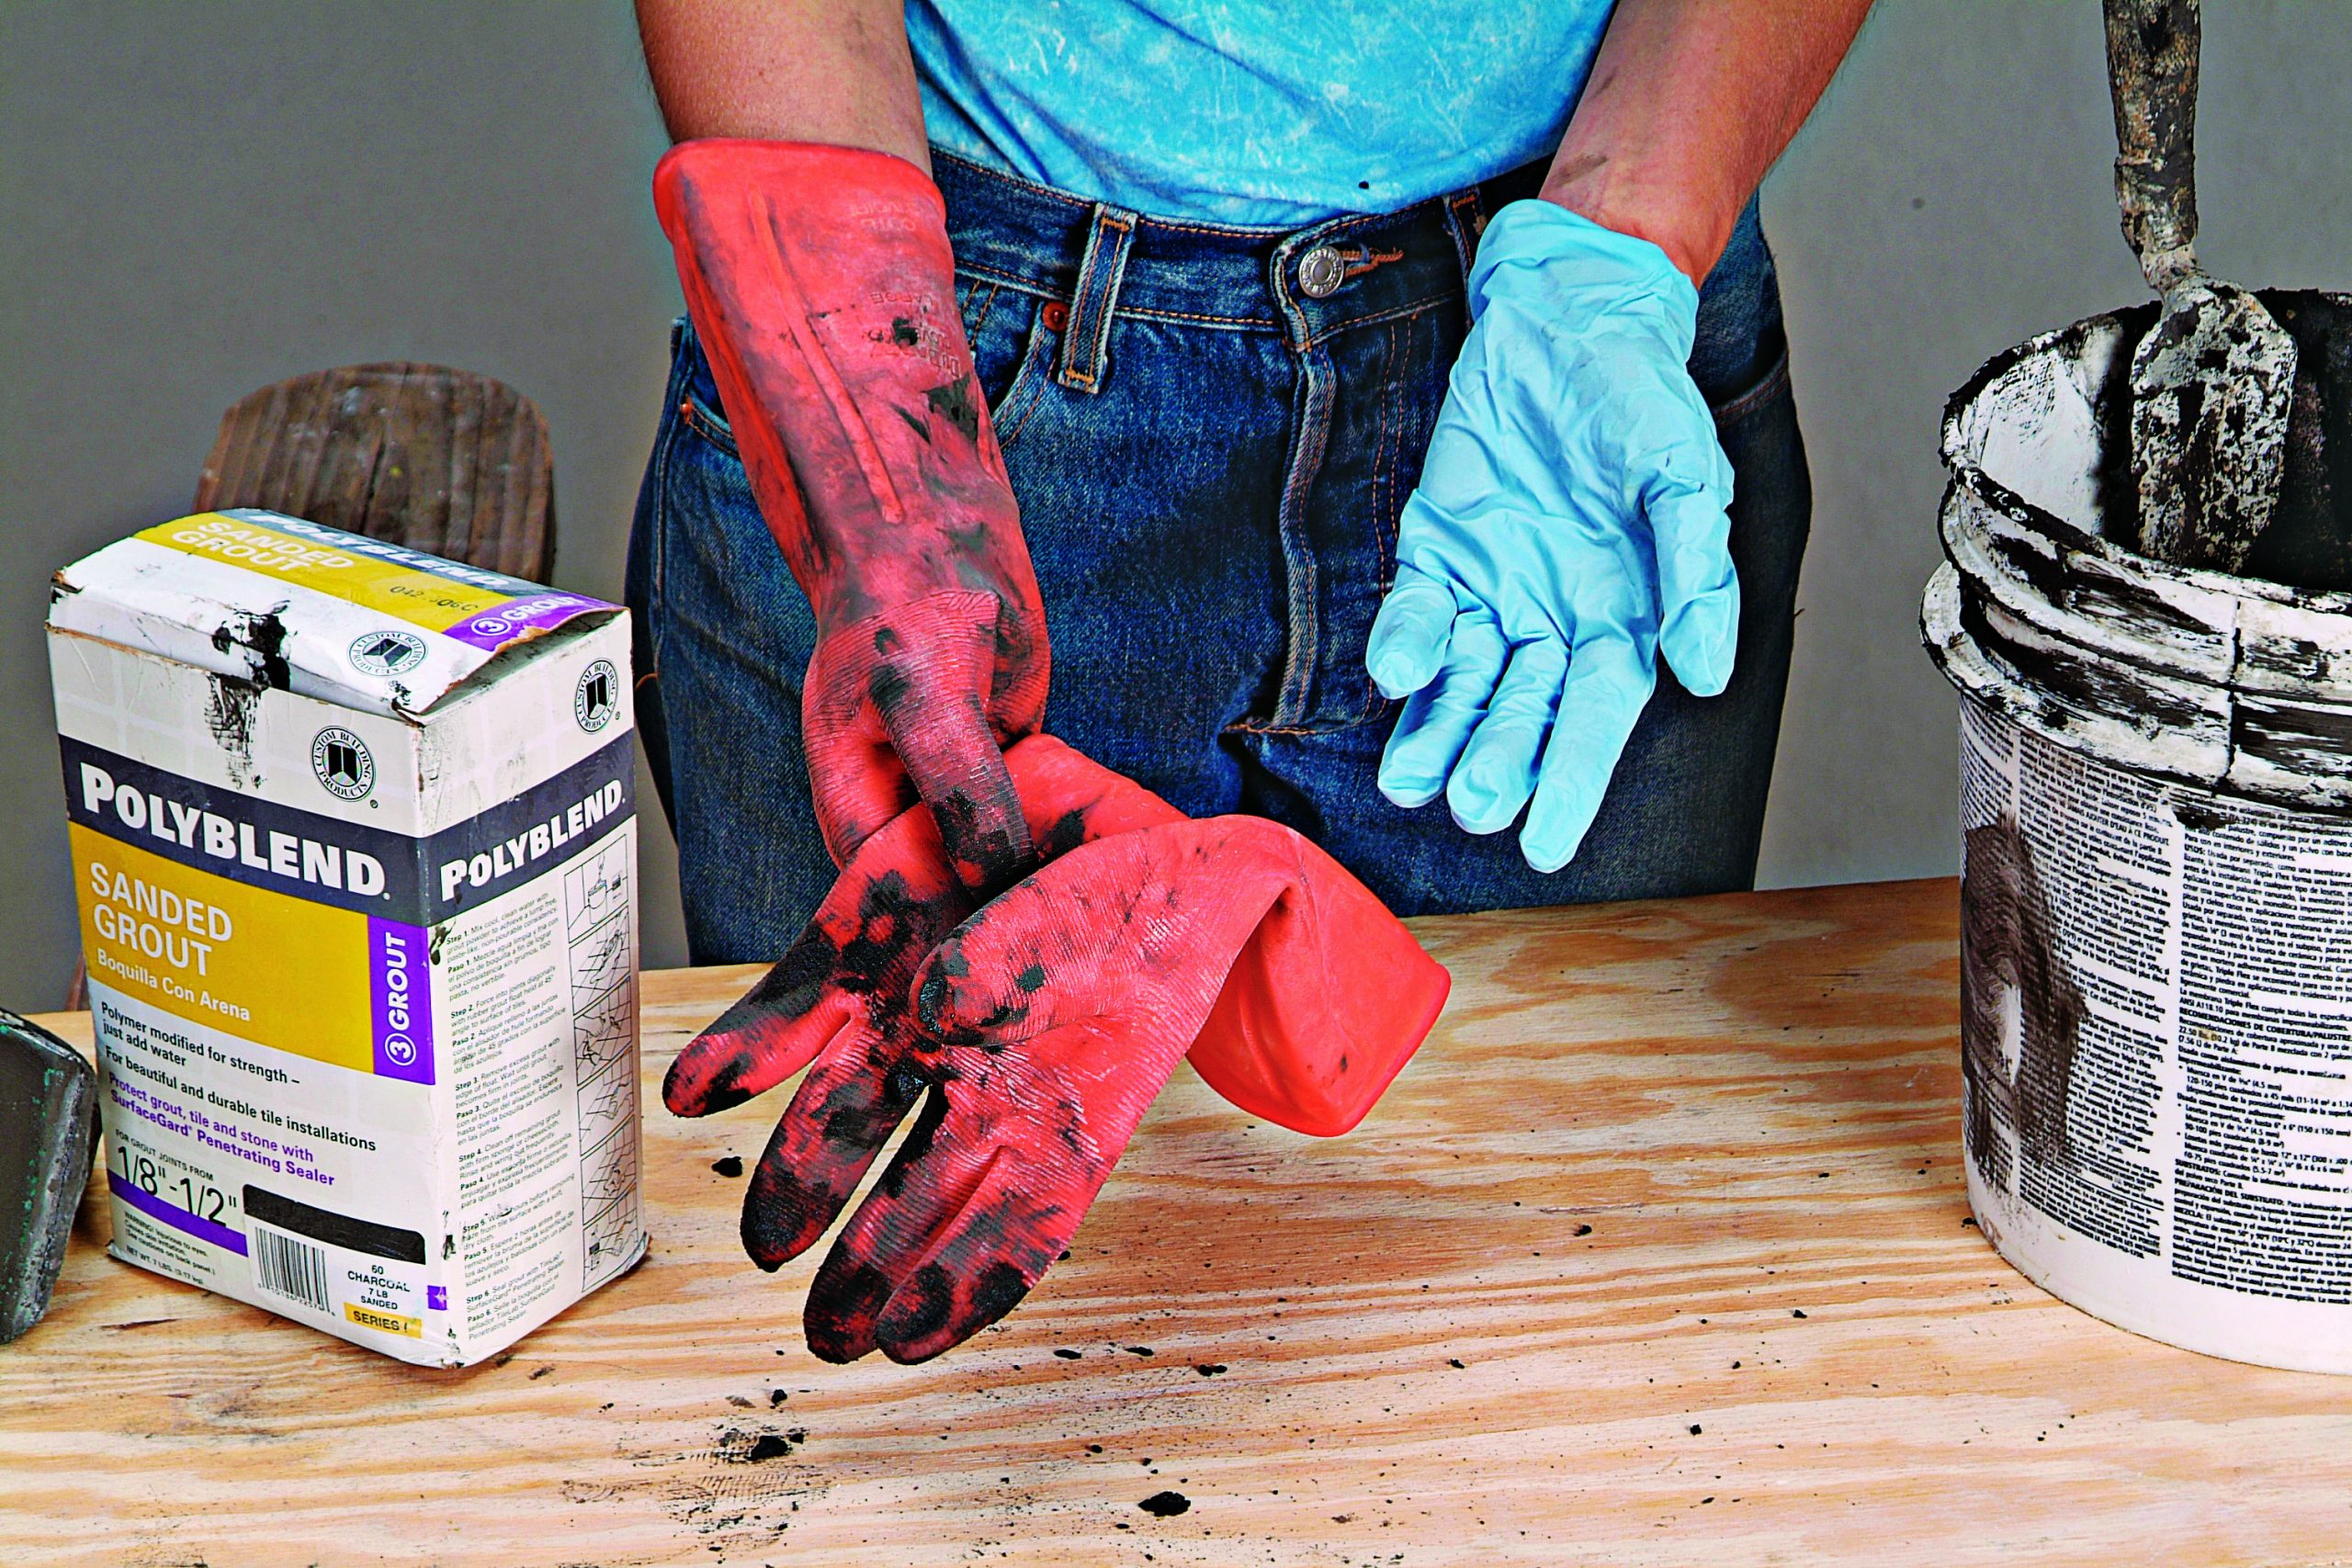
| Working with Black Grout
Working with black grout Grouting with black grout can add a classy look to your tile job. Unfortunately, the pigment that makes black grout black stains pretty much everything it touches. Before you begin, tape off all walls, baseboards, trim, and anything that might possibly make contact with the grout. Always mix black grout in a clean container or pail that’s expendable after the job’s done. Don two pairs of gloves for grouting: An inner pair of latex or Nitrile gloves, covered by an oversize pair of rubber gloves. Double gloving not only protects your hands from stains but allows you to pull off an outer glove to do the occasional touchup without getting black fingertips. Wear at least a single pair of gloves when polishing tiles with a cheesecloth to prevent the black haze from ending up on your hands. Keep your grouting tools from touching anything until you’ve cleaned them thoroughly with lots of water.
|
 Excerpted from Tiling Complete, 2nd Edition by Robin Nicholas and Michael Schweit.
Available in the Taunton Store and at Amazon.com.

