Perfecting the Tiled Tub Surround
Take your time with the layout, and the rest of this tiling job is a breeze.

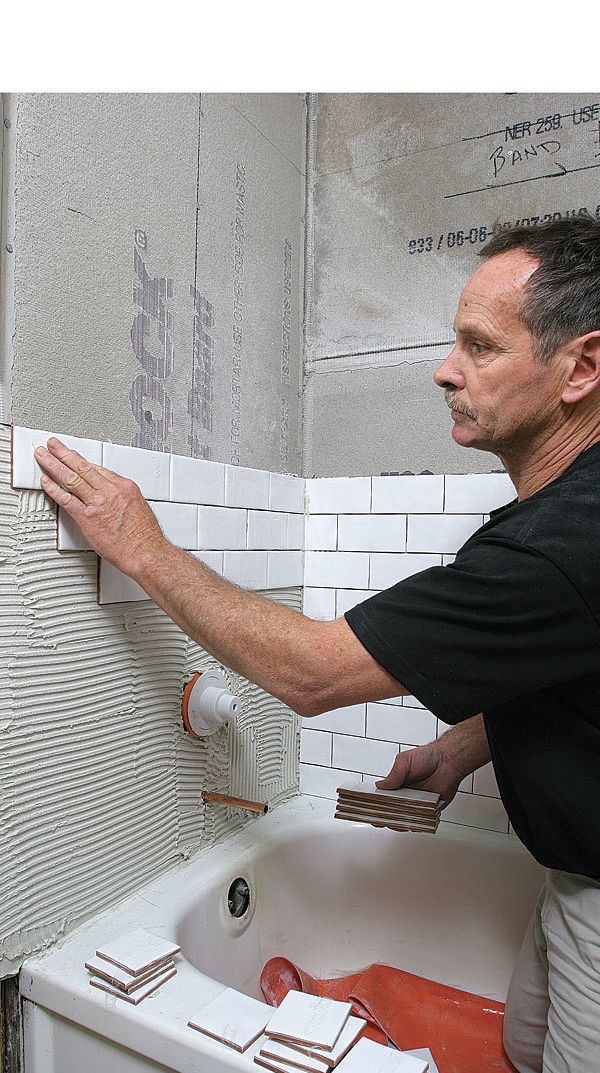
For veteran tilesetter Tom Meehan, tiling a tub surround isn’t a project for a first-timer. If you have tiling experience, however, it’s possible to get great results if you know how the last tile will fit before you begin the job. In this article, Meehan goes through the process of installing 3×5 subway tile in a tub surround. Before he even begins the job, he creates a story pole, which helps him to plan the vertical and horizontal layout. When he’s ready to tile, he begins with the bottom half, starting with the back wall and then moving on to the sidewalls. He compensates for a tub that’s not level by starting the bottom row at the lowest point and cutting subsequent tiles as needed. He discusses the different tools available for cutting tile—a snap cutter, nippers, a wet saw—and recommends when to use each one. The job ends with grouting, and Meehan shares some tips for ensuring a good-looking and durable grout application. On the specific job profiled in this article, Meehan included two of his favorite custom features: a corner shelf and a contrasting mosaic band. Both are fairly simple and inexpensive, but they can make a big impression.


